GUEST SPONSOR DEPLOYMENT
1. DEFINITION
This scenario allows the guests to access the network. Efficiently provide connectivity to third parties (consultants, contractors, etc.), with the adequate security controls to access your critical assets
For more high level use case information review Guest Use Case.
2. MECHANISMS (How does it work?)
- When the host is connected to a switch interface the guest access to a “Registration VLAN” which has a DNS poisoning to redirect all request to openNAC user portal, (openNAC can do this function).
- The guest must complete a registration formulary, then openNAC sends a mail to a sponsor.
- The sponsor grant the access to guests.
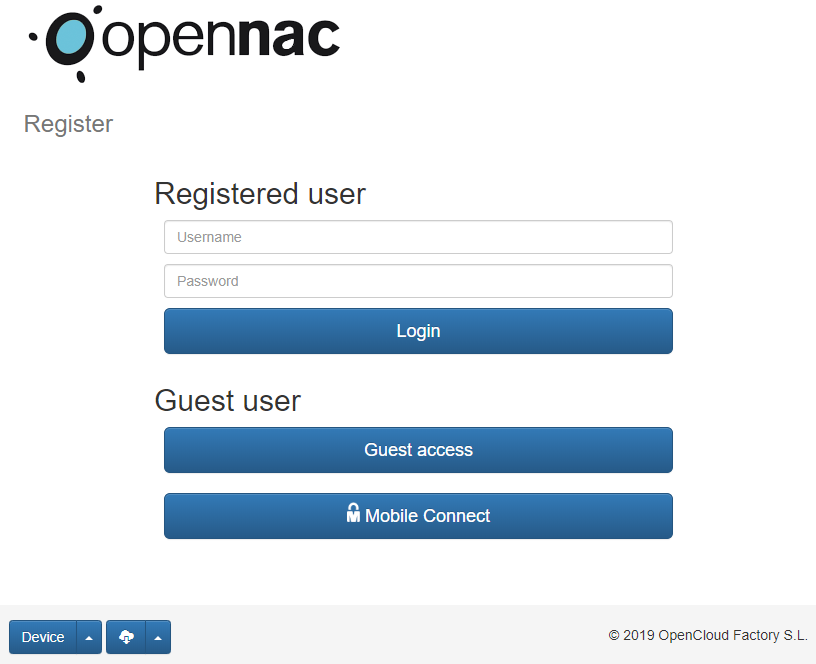
3. USER PORTAL (How do we display the portal?)
This is how openNAC shows the user portal.
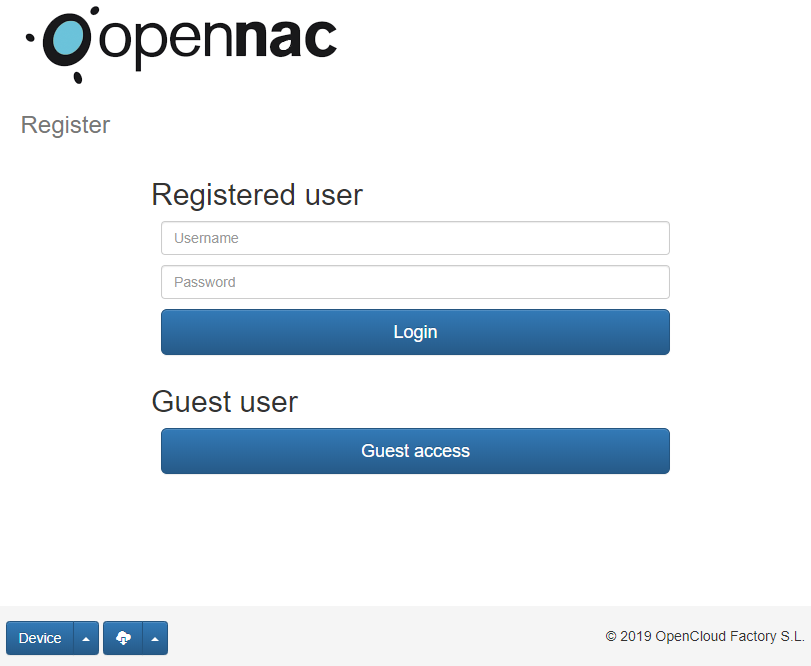
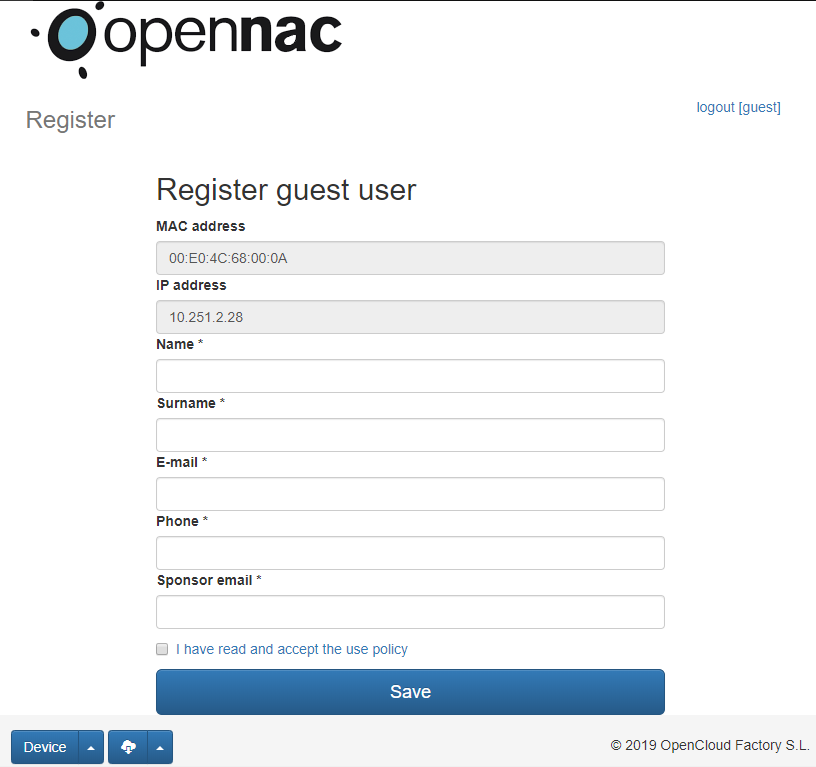
Access to Guest formulary
4. DEPLOYMENT (Do it yourself)
The following is a light guide to deploy Guest based on basic lab.
4.1 REQUIREMENTS
- openNAC Core.
- Network device 802.1x (switch, ap..) in the following scenario will be used Cisco switch with IOS 12.2.55 or higher.
- openNAC Analytics.
- Client PC, in the following scenario will be used Windows 10.
- User Database as LDAP, AD server or local user database in openNAC core. If is required.
4.2 SCENARIO ARCHITECTURE

4.3 SETTINGS
On Switch
The following link contains the required configuration on switch for UNAC use case that is necesary for this use case.
Basic 802.1x Cisco Switch Configuration
On Core
Configure radius shared secret.
Edit globals.ini file in Core terminal.
vim /usr/share/opennac/userportal/application/configs/globals.ini
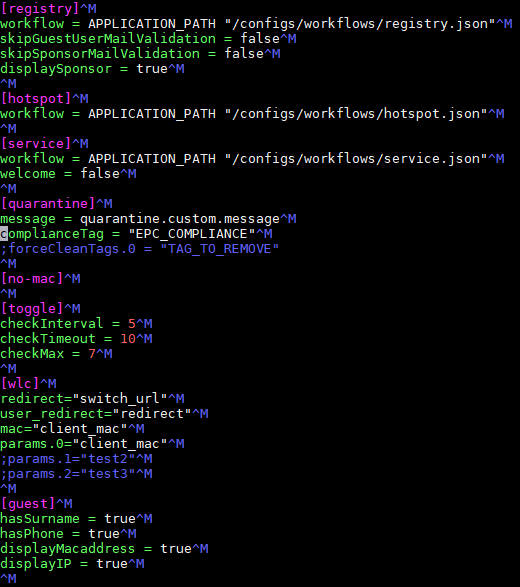
In the “registry” section you can define the follow options:
skipGuestUserMailValidation –> this option permit to skip the check the guest email sending a mail which shuold be confirmed by the guest. In false the guest should be confirm his email, and with true the guest not need confirm the email.
skipSponsorMailValidation –> this option permit to skip the Sponsor aprovement. In false the sponsor should be accept the request, and with true the sponsor not need aprove the request and the guest will be aproved automatically.
displaySponsor –> this option shows the sponsor. In false can show the sponsor, and with true can’t show the sponsor.
In the “quarantine” section you can define the compliance:
complianceTag –> this option define the specific tag to verify the complince of the device.
In the “guest” section you can define the fields which the guest see.
In order for openNAC to send emails, the smtp must be configured in the postfix configuration.
Edit the file main.cf
vim /etc/postfix/main.cf
Search the relayhost examples and add a new line after the examples with the value of the smtp mail server.
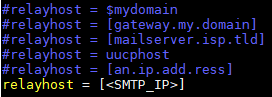
The SMPT server must be configured to allow mails from openNAC host.
Restart the postfix service
service postfix restart
Policy Configuration
Before configure the policy rule enable Discover plugin. For visibility propose, openNAC use a plugin knows as Discover, this plugin runs a “scan” over each endpoint which can reach trough IP address. So the first step is enable the plugin.
Go to Configuration –> Configuration vars, select plugin tab and enable Discover plugin.

This plugin is optional, but is very recomended to enable.
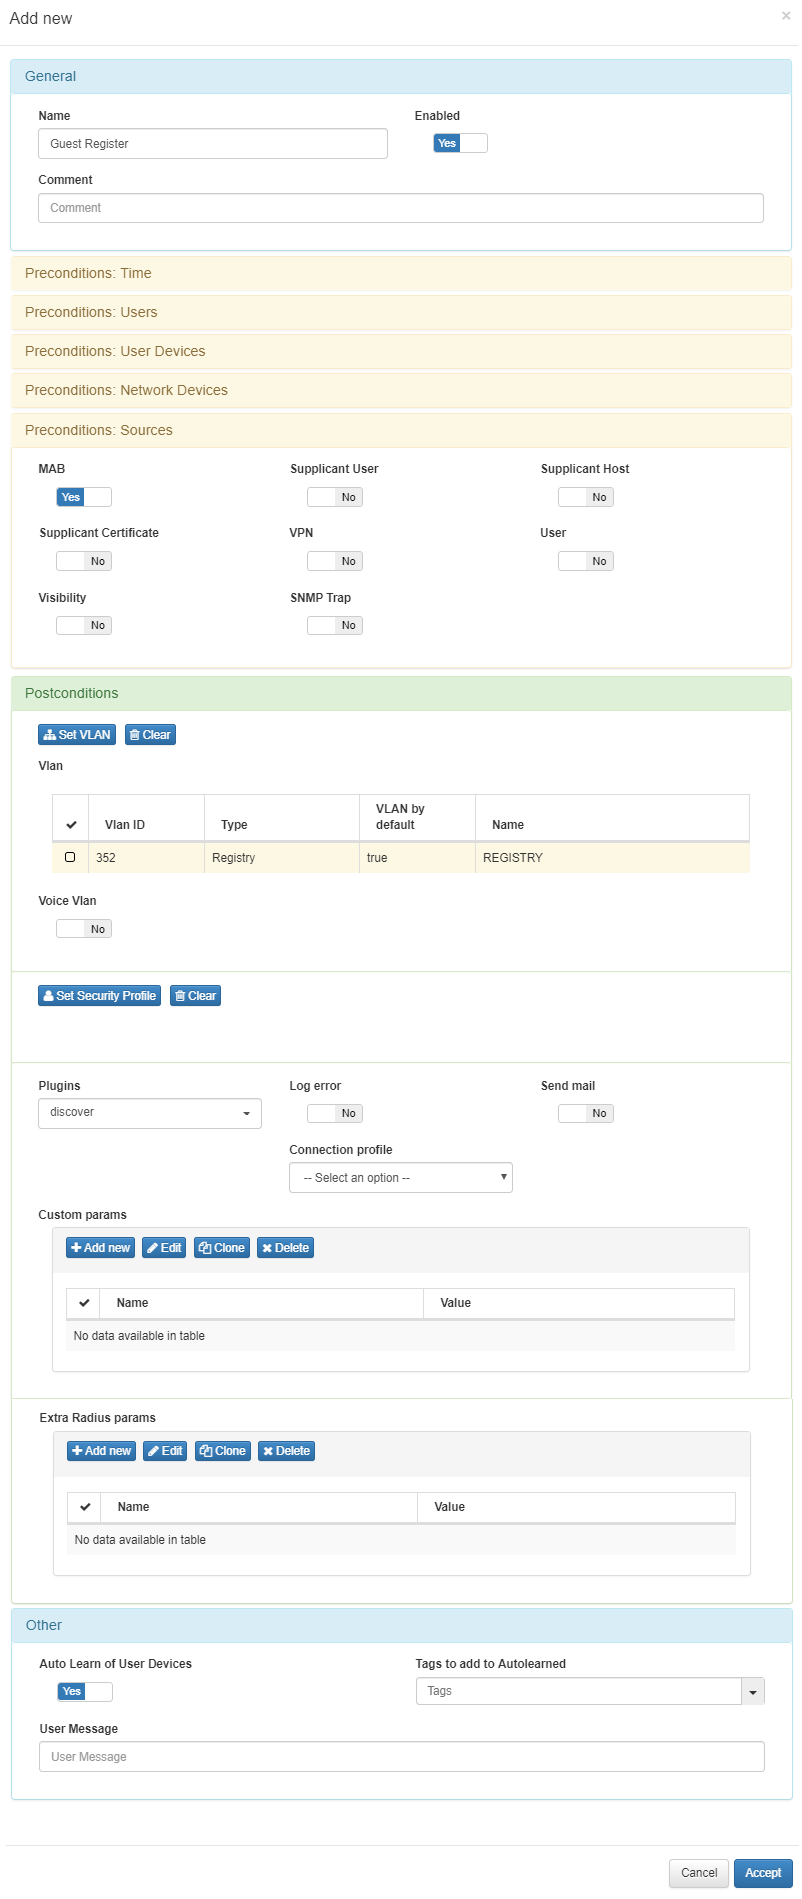
Create a new policy in ON NAC –> Policies –> Add new. In this policy the “Source” will be MAB, and the Register “VLAN”. For more info of the device select the discover plungin, and activate autolearn option.
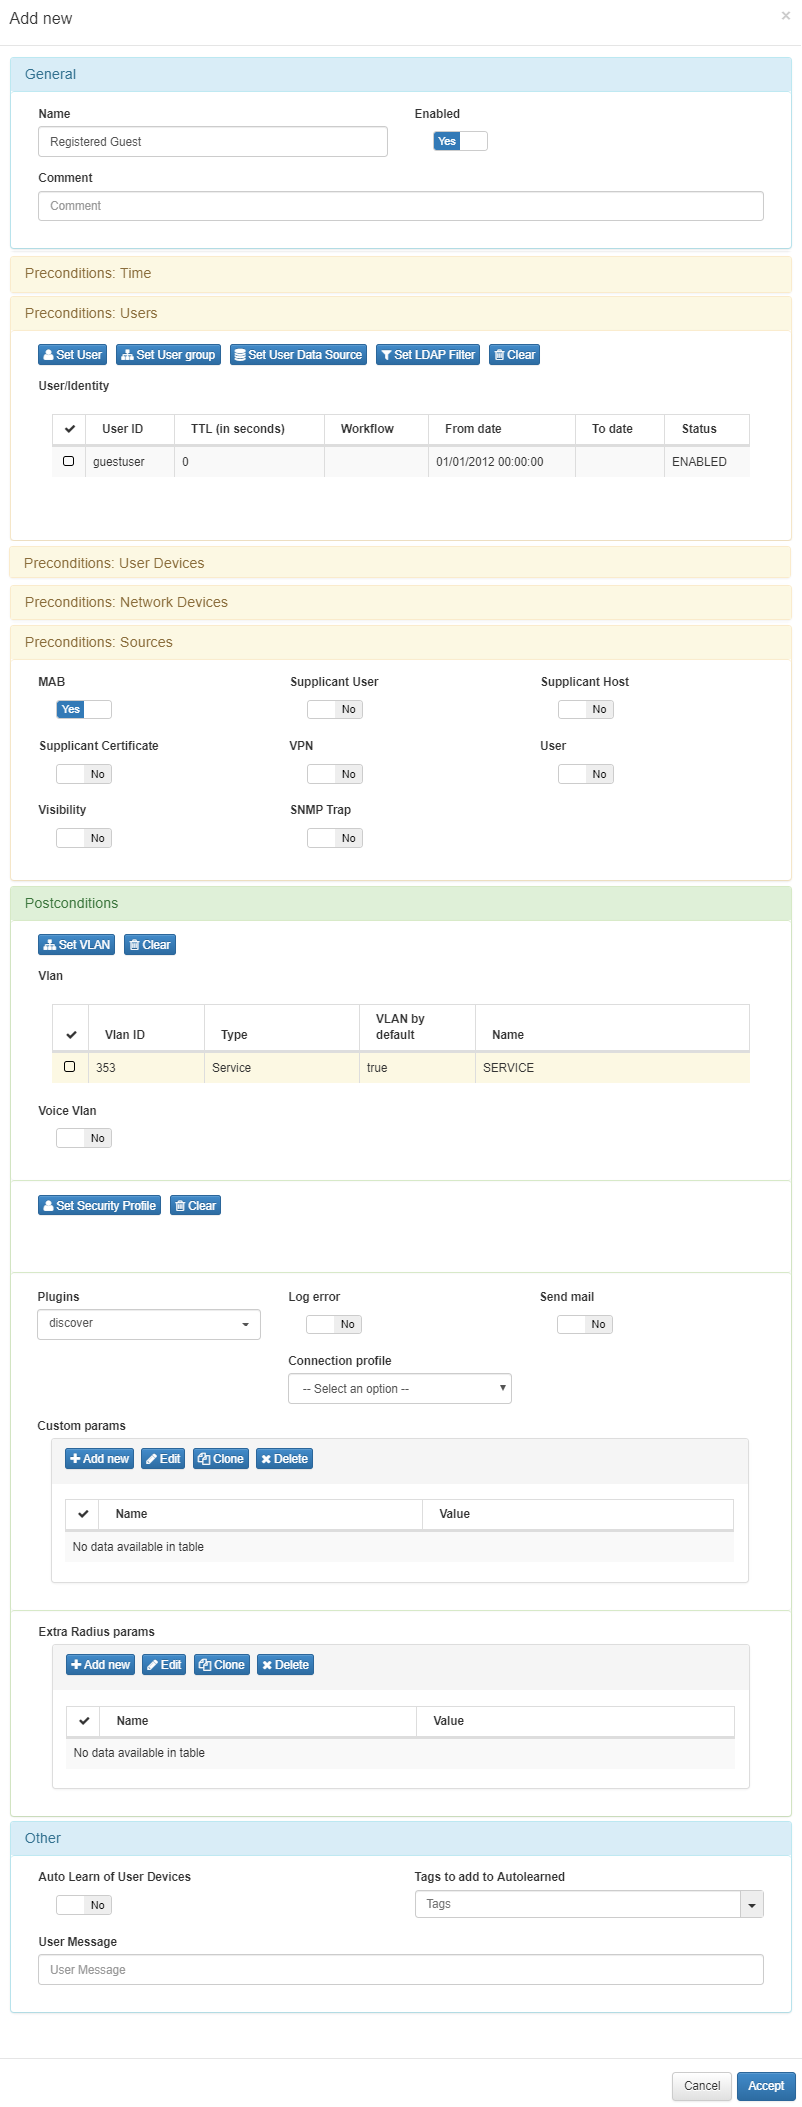
Create another policy in ON NAC –> Policies –> Add new. This policy should have as Preconditions: Users the “guestuser”, the “Source” will be MAB, and the Service “VLAN”. For more info of the device select the discover plungin.
Remember the order of the policies is very important in openNAC, the second rule that allow the access to Guest should be before the first policy that send the guest to the “User Portal” for fill the registration form.
DNS Poison
In order to be able to redirect all the requests in the registry VLAN to the User Portal, the client must configure it in his DNS server. However openNAC allows DNS poison to be carried out in the following way:
Instal the dnsmasq package.
yum install dnsmasq
Copy the openNAC preconfigured files to the dnsmasq config directory.
cp -rfv /usr/share/opennac/utils/dnsmasq/etc/dnsmasq.conf /etc/
cp -rfv /usr/share/opennac/utils/dnsmasq/etc/dnsmasq.d/ /etc/
Edit catchall.conf file to configure the redirections.
vim /etc/dnsmasq.d/catchall.conf
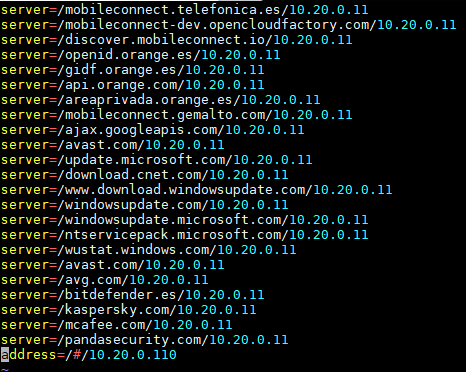
If you want to resolve a specific URL with a specific DNS server, use the following line:
server=/<URL>/<DNS_SERVER_IP>
For redirect all requests to any site to the openNAC User Portal use the last line in the image:
address=/#/<OPENNAC_USER_PORTAL_IP>
Stop and dissable named service.
service named stop
chkconfig named off
Start and enable dnsmasq service.
chkconfig dnsmasq on
service dnsmasq start
It is important that the DHCP in the registry VLAN configure openNAC as a DNS server
User Portal Configuration
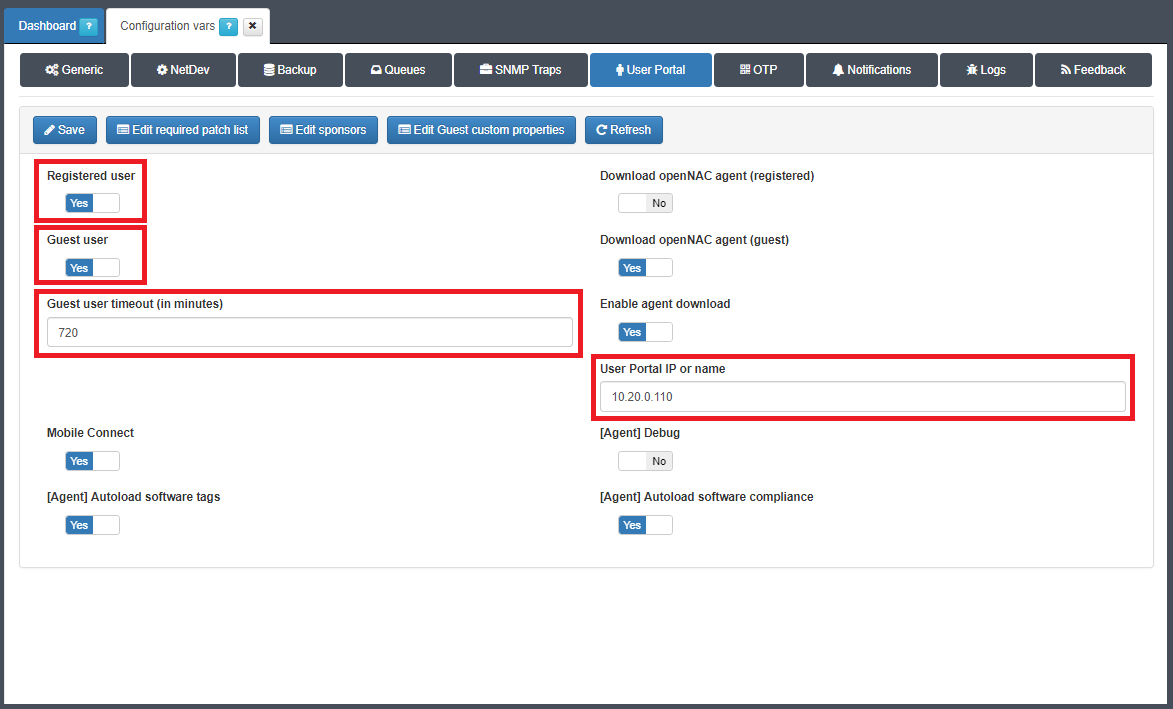
The first thing will be to make the configuration of the user portal to be able to access the different mode of access for guests; sponsor and mobile connect. It will also be necessary to have the IP or the url configured to access the guest portal.
Finally you must set the access time (in minutes), which will be granted to the guest.
A quick view the sponsor and mobile connect in the user portal.
The sponsor will be responsible for approving requests for access to the network through the guest portal.
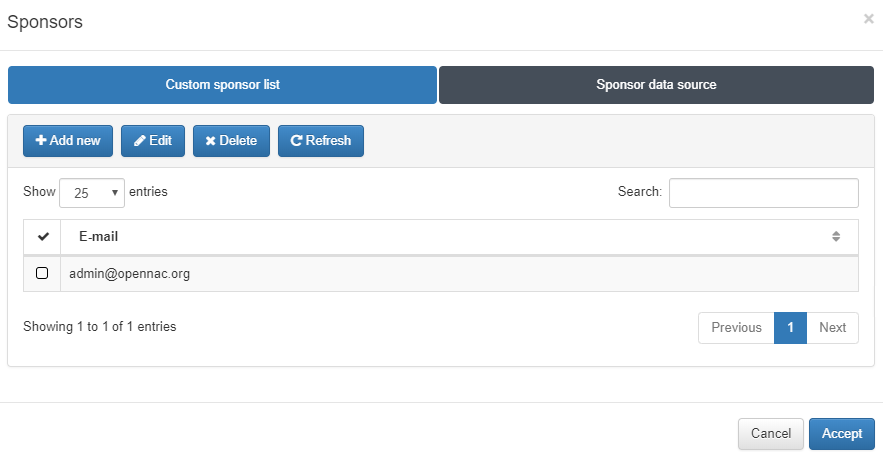
Go to Configuration –> Configuration vars –> User Portal tab, Edit Sponsors.
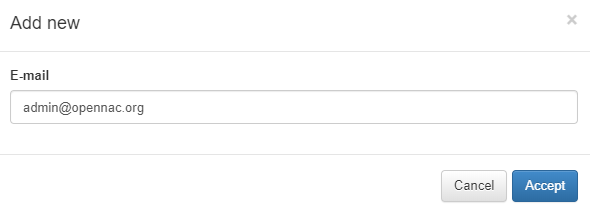
In “Custom sponsor list” we can create a fixed list of sponsors.
In the case of having only one sponsor in the form for the guests, the sponsor field will not exist, thus avoiding having to know the identity of the sponsor in advance.
If there is more than one sponsor, the guest must complete the sponsor field with a valid one, for which he must know it beforehand.
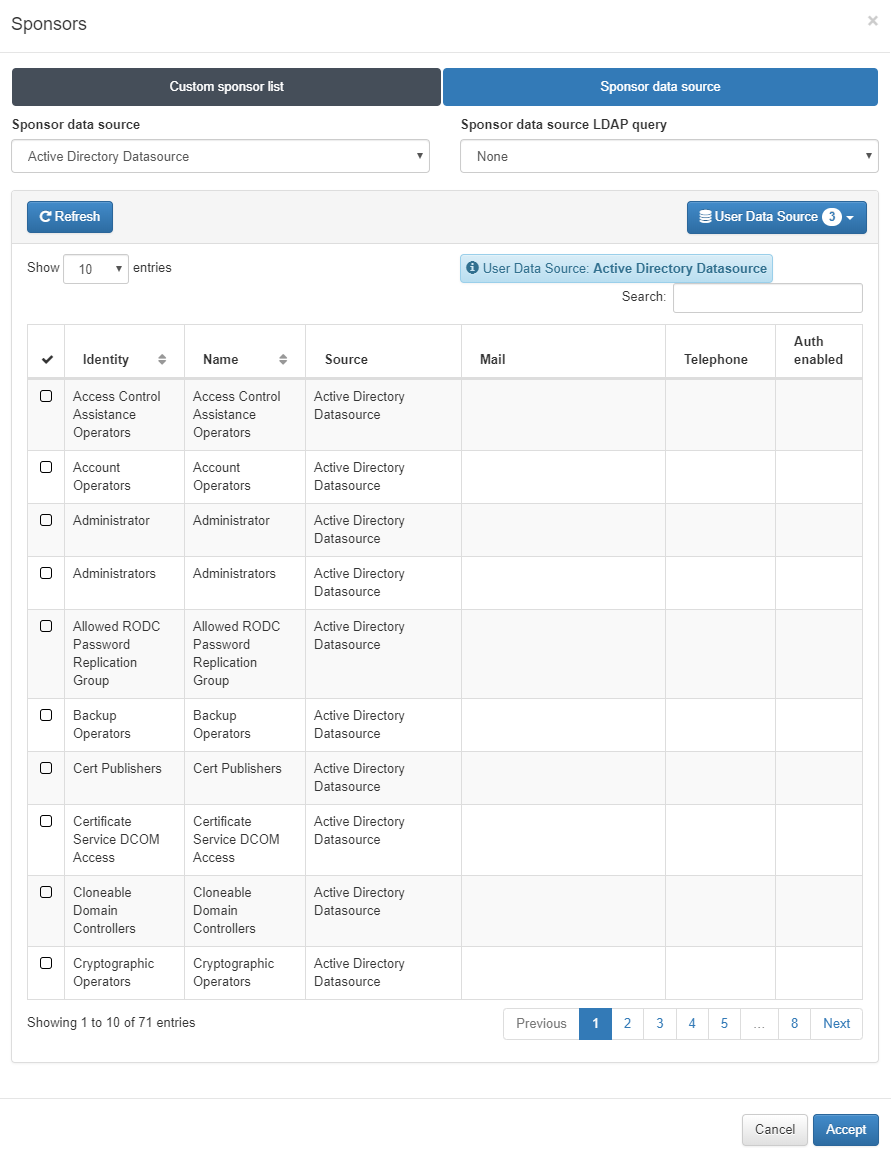
In “sponsor data source” you can create rules through sources such as the AD, on requirements to be a sponsor, such as belonging to a specific group of the AD.
4.4 TESTING
Go to ON NAC –> Business Profiles –> Default View. In this section you can see in real time the access from endpoints. Also administrators can check graphic output of business profiles Analytics –> openNAC –> User Devices
If there’s a business profile associate to Guest policy the output should be available here. First Step in the Register process.
In detail we can see the Register VLAN
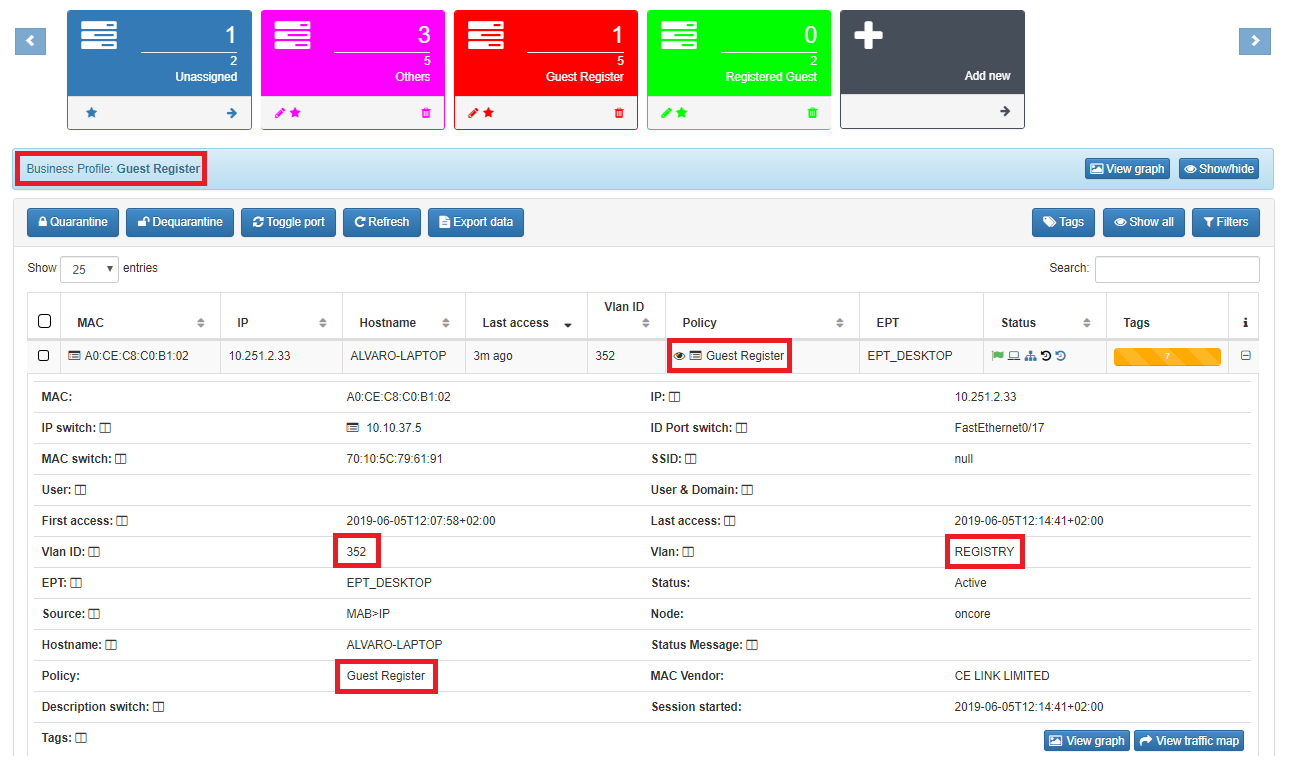
Is important to capture the IP address, using it openNAC will run the plugin over each know asset which match with the previous configured policy.
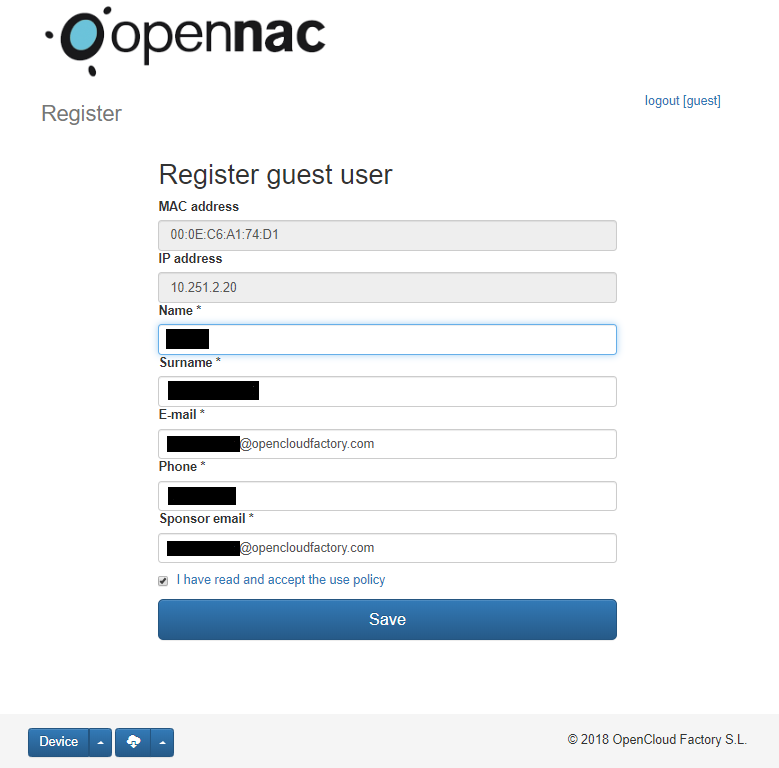
The guest will be redirect to the User Portal and fill the form. As mentioned before if there is only one sponsor, the field “Sponsor email” will appear already filled.
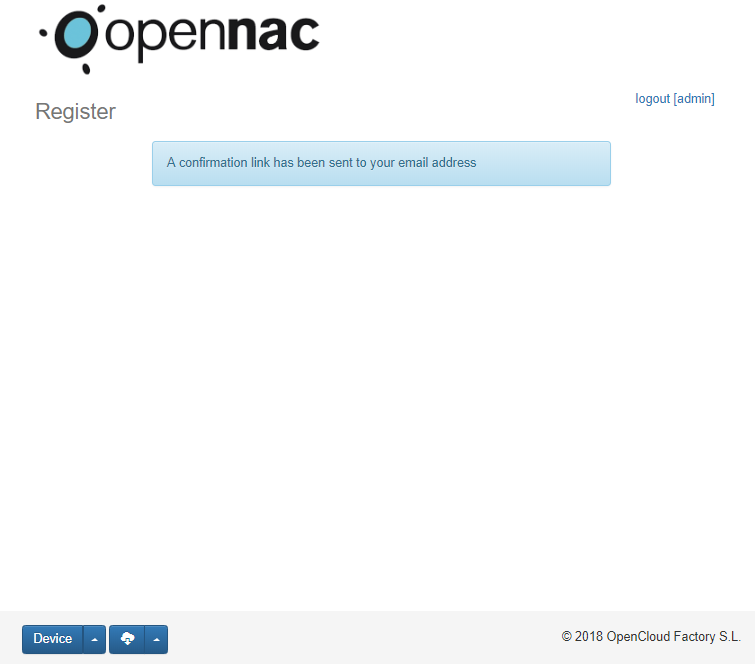
After complete the form openNAC shows a confirmation.
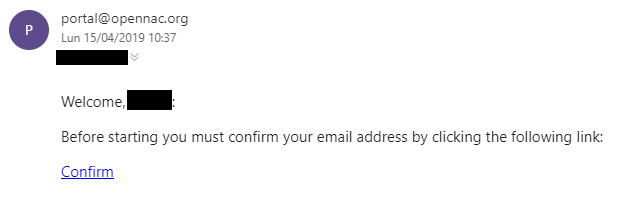
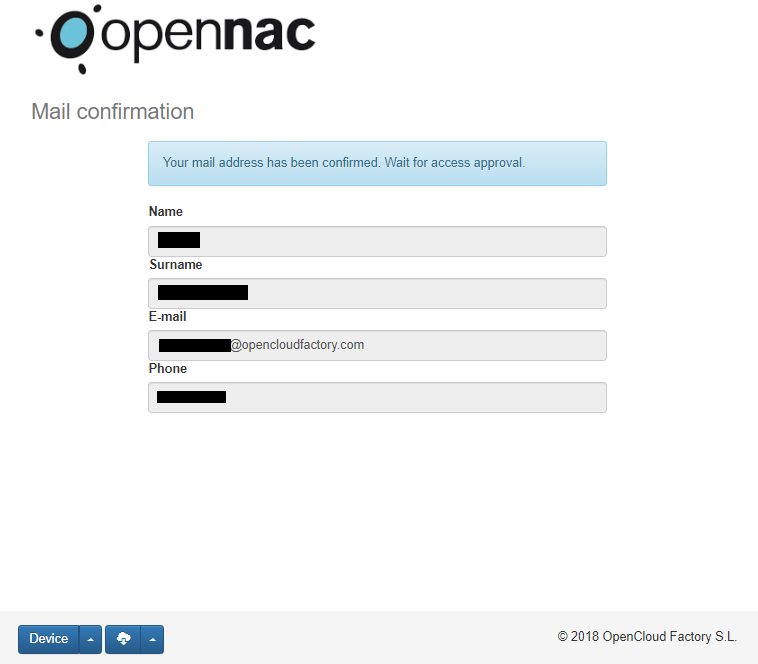
The guest will receive an email to confirm his identity.
Accepting the confirmation email openNAC will show the guest information.
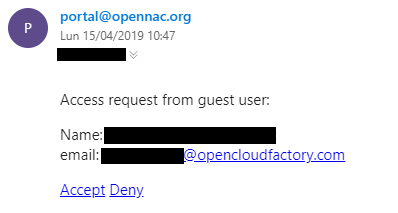
openNAC automatically sends an email to the sponsor.
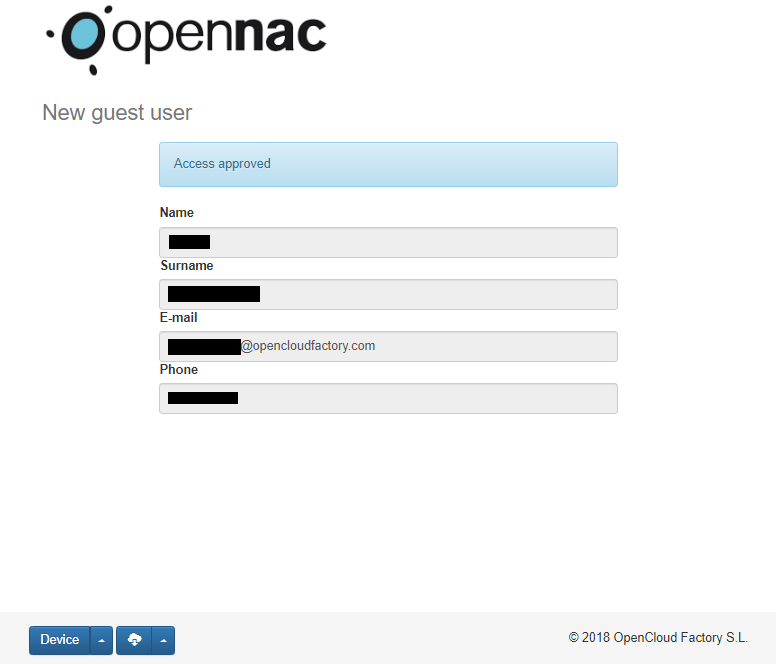
When the sponsor confirm the guest, openNAC will show the information.
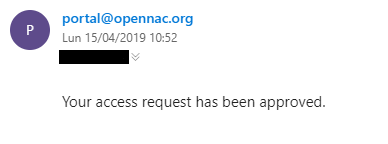
The guest will receive the final confirmation access in his email.
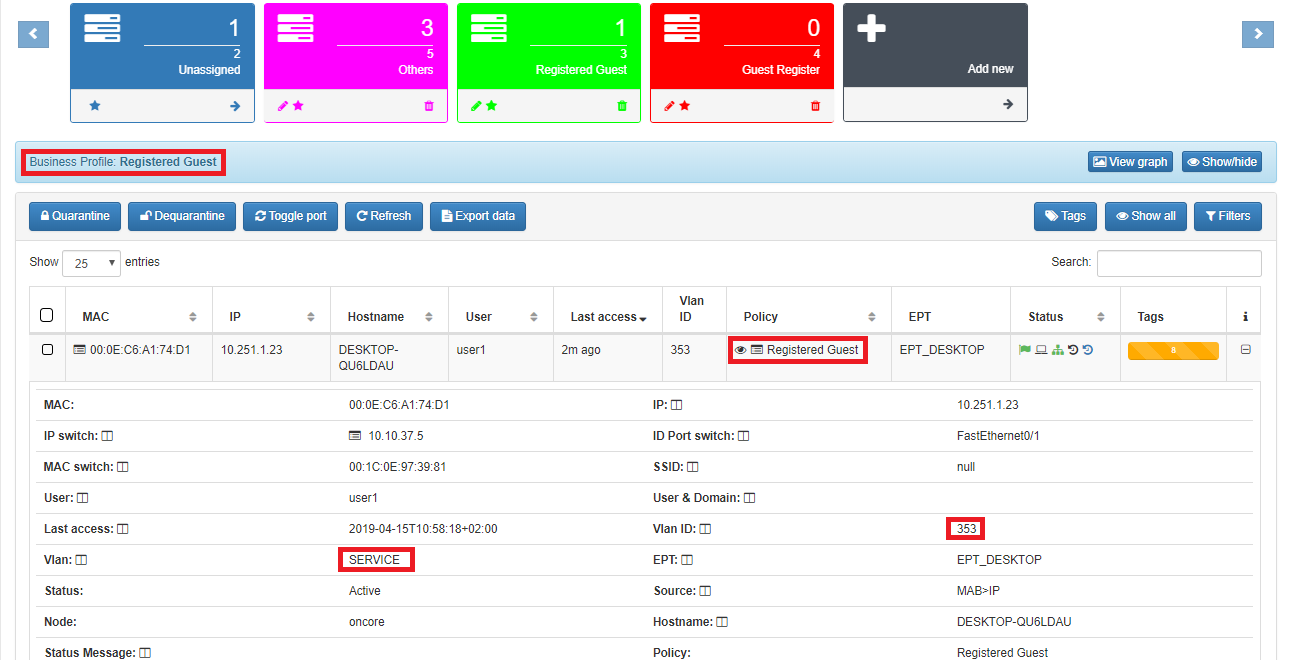
In the Administration Portal go to ON NAC –> Business Profiles –> Default View
If there’s a business profile associate to Guest policy the output should be available here. Now we can see the Guest in the service VLAN.
4.5 TROUBLESHOOTING
- Please perform a basic review Basic Check.
- To perform a debug of authentication proces you can verify the link Radius Troubleshooting.
- To validate sponsor mail issues Guest Troubleshooting.