6.3.1. Installing the Agent
To download the OpenNAC Agent, access the URL given by your administrator. It will display the Agent Download options:
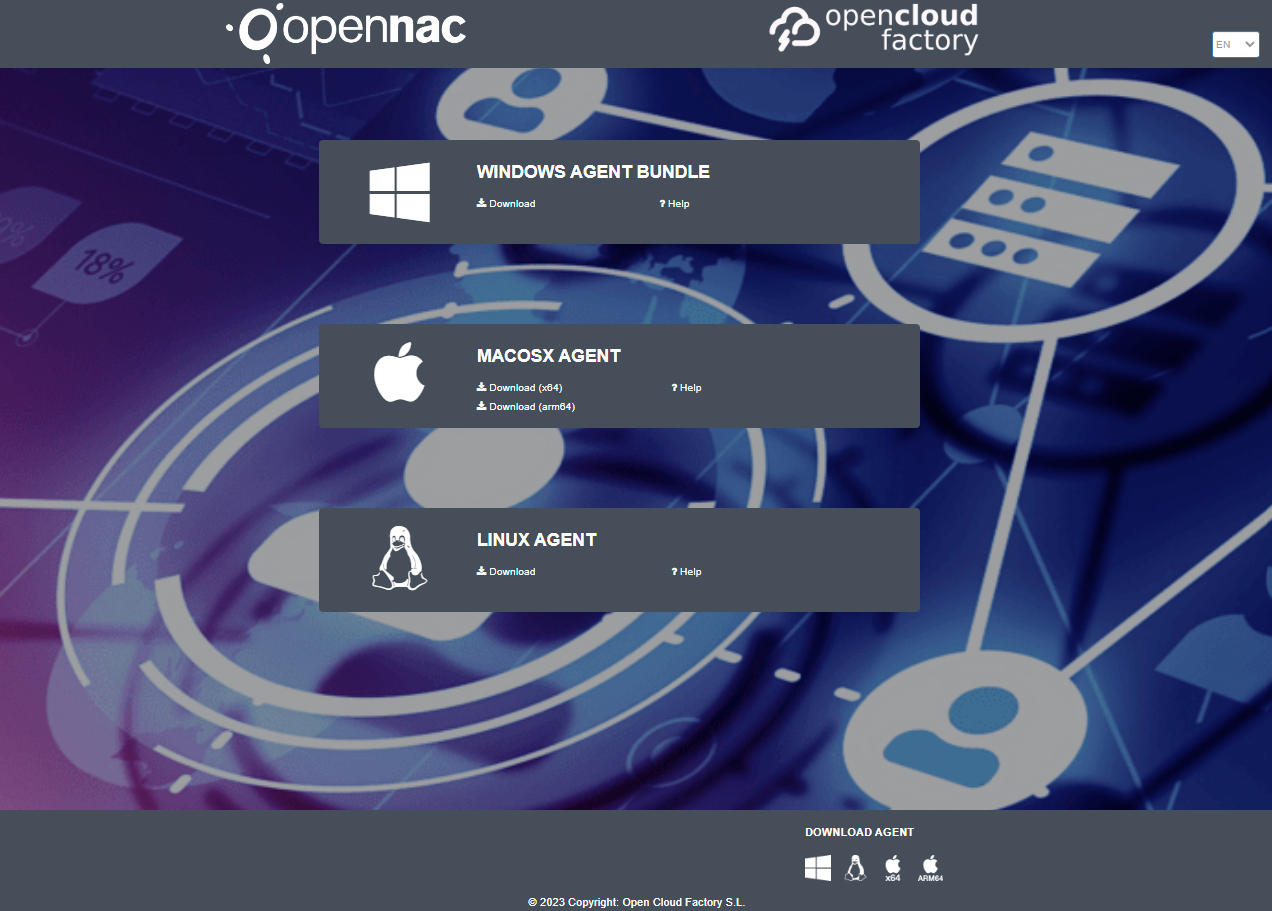
Choose the type of agent that you want to install and click on Download. In this example, we will download the Windows installable agent.
The file download starts automatically. Select in which folder in our computer you want to save the file (Documents, Downloads, etc.). It is important to remember the location of the file for future steps.
The download file name will have a format similar to the following one:
opennac-agent-{Version}-release-{Platform}-xxxxxxxxxxxxxxxxxx
Warning
IMPORTANT: DO NOT modify the file name, otherwise it will not work properly.
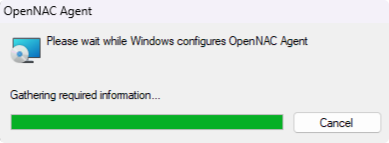
Once the download is complete, go to the folder where you have saved the file and double-click on it to start the installation process.
A dialog will ask for you permission to execute the file. Once you accept it, the installation process will begin.
Once the installation process is complete, you will need to agree to the Agent’s Terms and Conditions. If you choose to ignore or reject them, you will receive a notification and the application will close.
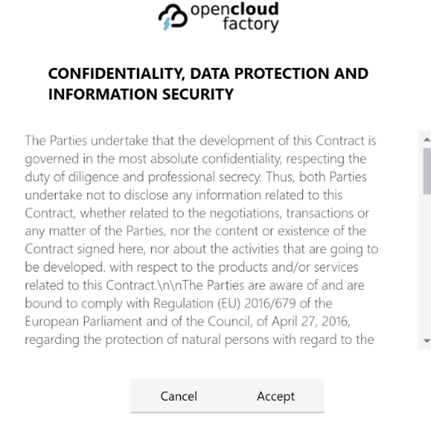
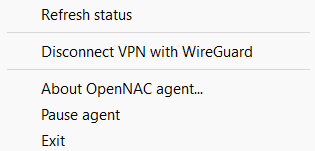
After accepting the Terms and Conditions, the installation process is finished and the On Agent Icon will be displayed in your taskbar.

After a few minutes, you can right-click on this icon to authenticate the client or establish a connection to the VPN.
Refer to the Agent Troubleshooting section in case you encounter any errors during the installation process.
6.3.1.1. Active Directory GPO remote deployment
For cases when you need to deploy the Agent remotely across multiple computers within an Active Directory domain, you can use Active Directory GPO to automate the installation process. This section will guide you through the steps to install the Agent on your network.
6.3.1.1.1. Downloading script
To begin, you need to download the script for installing the Agent using Active Directory GPO. Follow these steps:
Log in to the Administration Portal.
Go to ON Agent > Agent Configuration.
Scroll down to find the Download latest agents options.

Click Download for the “Script to install using ActiveDirectory GPO” option.
Save the script with the desired name.
6.3.1.1.2. Configuring the script
After downloading the file, configure the script by modifying the following variables:
$agentDownloadUrl
$downloadAgent
$agentInstallerPath
################################### CONFIGURE VARS ###################################

#OpenNAC Agent download URL
#NOTE: The script will download the openNAC Agent installer from this url with $downloadAgent = $true
#Examples: https://opencloudfactory.com/agent/download?type=multiplatform
$agentDownloadUrl = ""

#Download agent installer from server - $true: YES, $false: NO
#Examples: $true
$downloadAgent = $true

#Path where we have downloaded the OpenNAC Agent installer
#NOTE: To be used only with $downloadAgent = $false
#Examples: C:\temp\opennac-agent-1_0_14000-release-windows-80-FT-633132332d716f7065636f756663746f792e636d-d8.exe
$agentInstallerPath = ""

################################### CONFIGURE VARS ###################################
6.3.1.1.3. Creating a new GPO
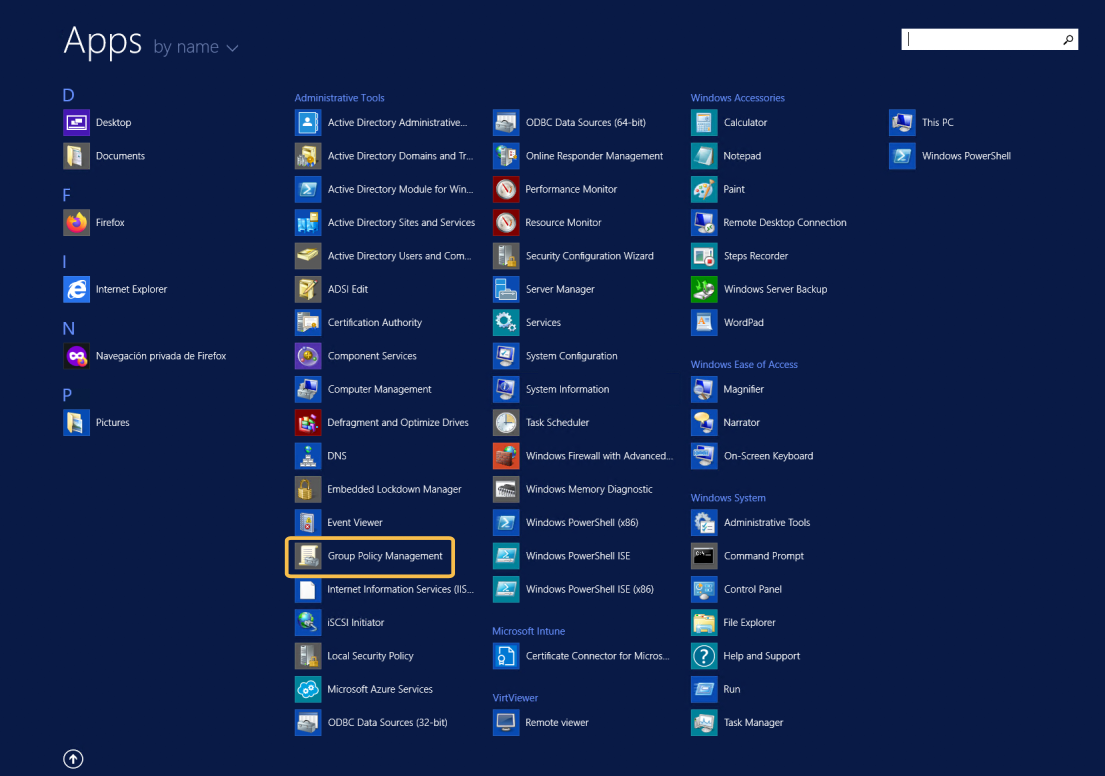
To create a new GPO, open the Group Policy Management editor window:
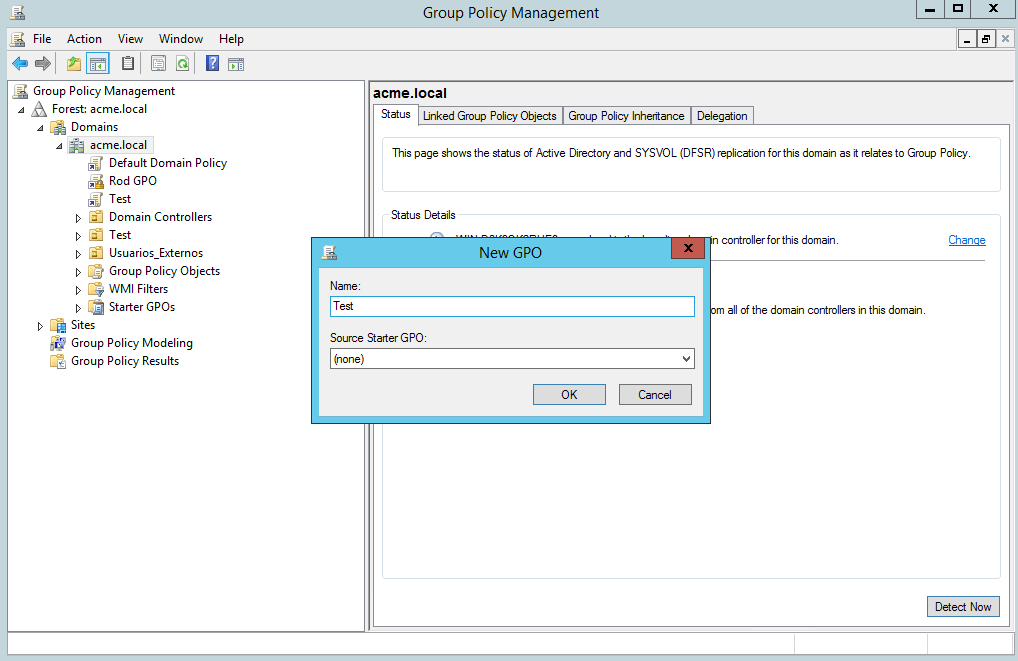
Right-click on the corresponding domain to create a new GPO:

A dialog box will appear. We will name our new GPO Test and click ok OK:
6.3.1.1.4. Adding the script to the GPO
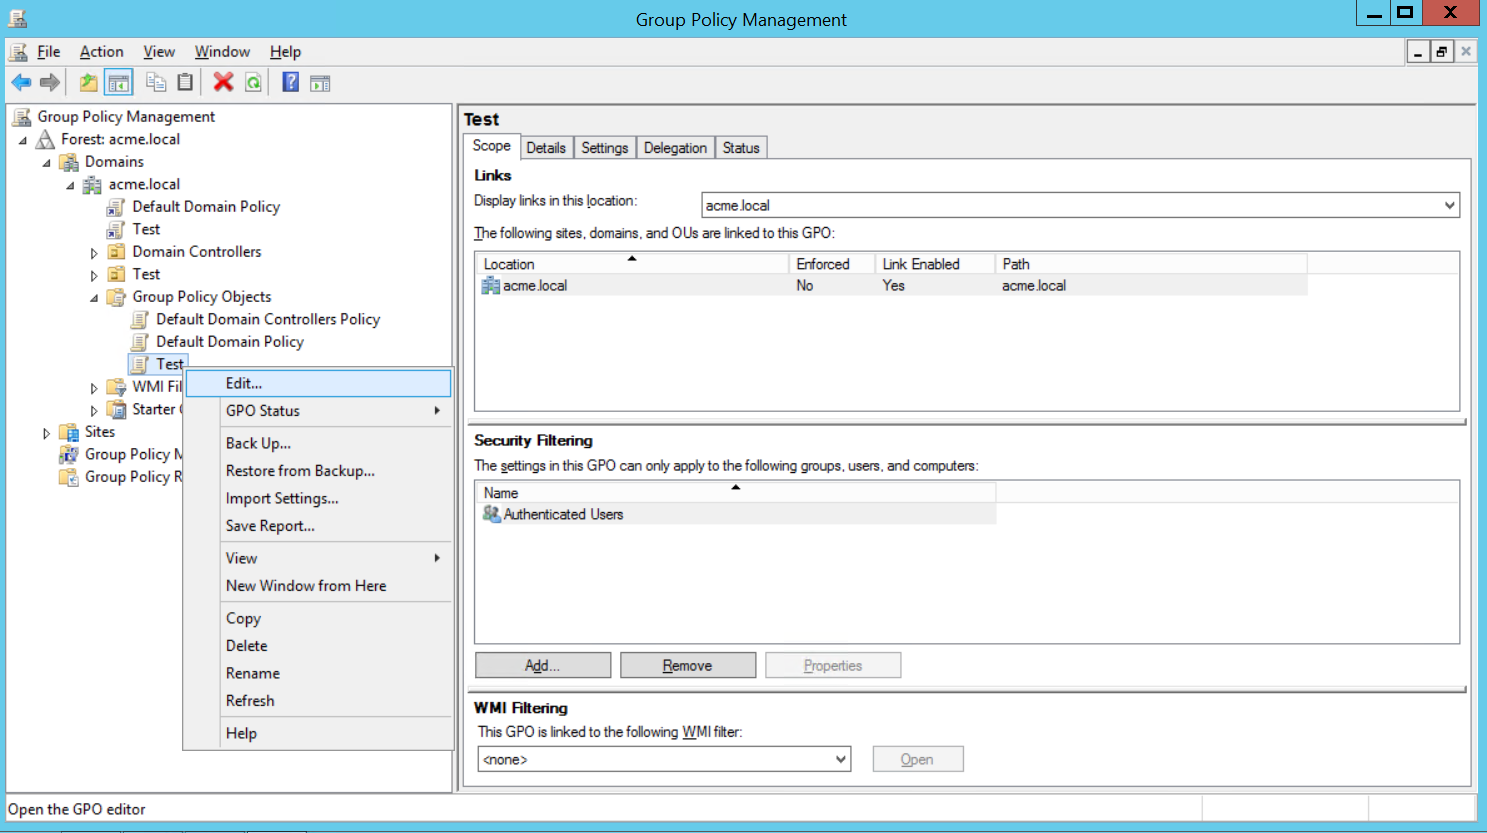
Right-click the recently created GPO and click on Edit:
In the Group Policy Management Editor, navigate to:
User Configuration > Policies > Windows Settings > Scripts (Logon/Logoff) > Logon.
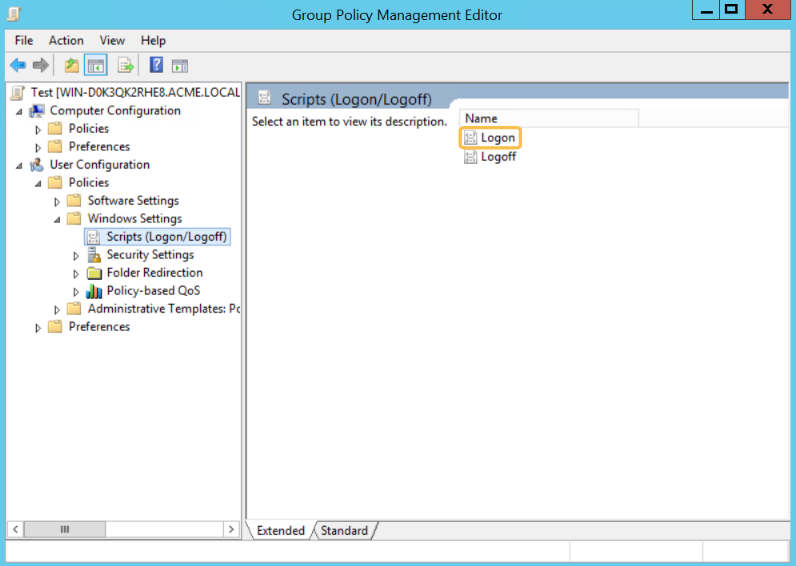
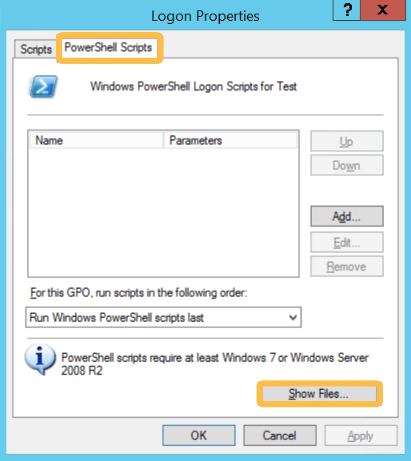
Select the PowerShell Scripts tab and click on Show Files:
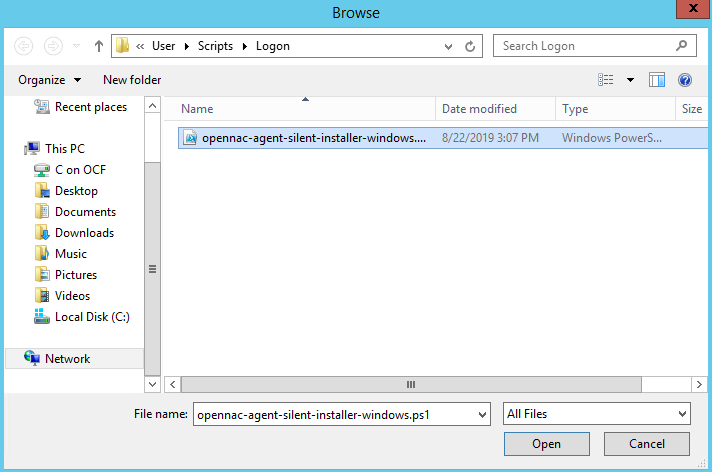
Copy the the script you have just downloaded from the Administration Portal into this folder:
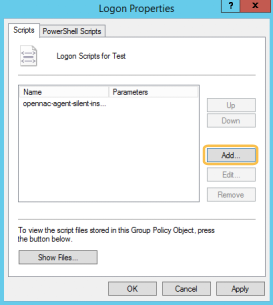
Close the folder and in the Logon Properties dialog, click on Add and select the recently copied script.
It might take a while for the GPO Policies to be applied. If you need an instant application, run the following command in Powershell:
Invoke-GPUpdate
Once this configuration is complete, the Agent will be executed when a domain user logs in and the data collected by the Agent will be displayed in the OpenNAC Administration Portal.