3.1.7.1. Captive Instances
In the ON Captive menu, click on the Captive instances section to open its tab, as shown below:

To create a new Captive instance, click on the Add new button.
The following configurations must be performed to set up a working Captive instance, which will be based on the configurations described below:
General
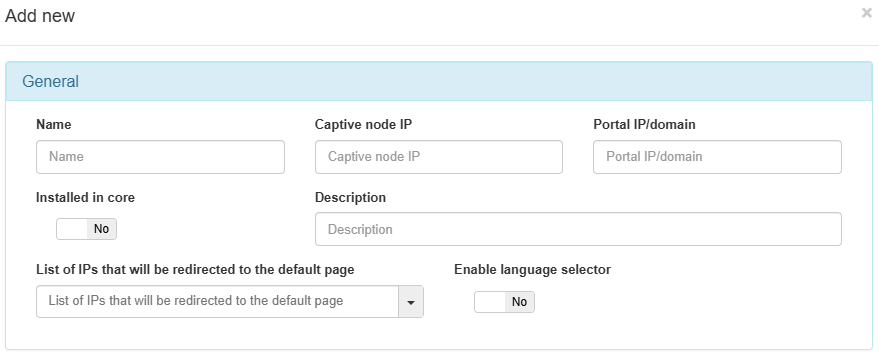
Name: The name of the new captive instance being created.
Captive node IP: The IP address for the Captive node. This field is required.
Portal IP/Domain: The IP address or FQDN of the server running the OpenNAC Enterprise Captive Portal. It can be the same IP of the ON Core server if the captive portal will be running on this server along with ON Core, or the address can be that of a standalone server dedicated to running the OpenNAC Enterprise captive portal. This field is required.
Installed in core: Set to yes if the Captive Portal is running on the ON Core. Automatically, the Captive node IP will be set to localhost.
Description: A meaningful description of this new Captive instance.
Enable language selector: Enables the language selector in the Captive portal instance. The shown languages depend on the languages configured inside ON Captive -> Captive themes in the General section, with the corresponding translations in the Translations section. If this selector is not enabled, the language will be the browser language.
List of IPs that will be redirected to the default page: The IP or IPs that will be redirected.

Workflows
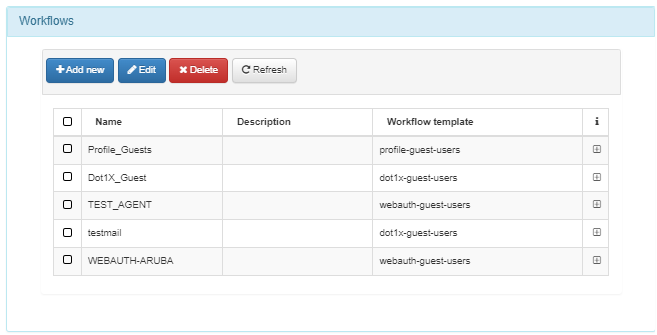
Select from the listed Workflows, or create a new one to associate with this instance.
VPN Workflows
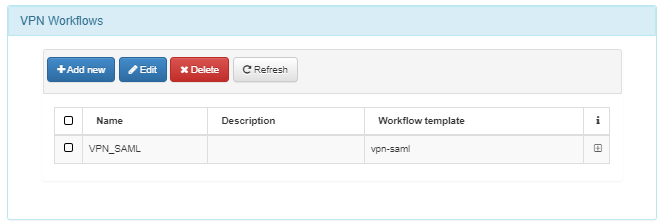
Select one of the listed VPN Workflows, or create a new one to associate with this instance.
Theme
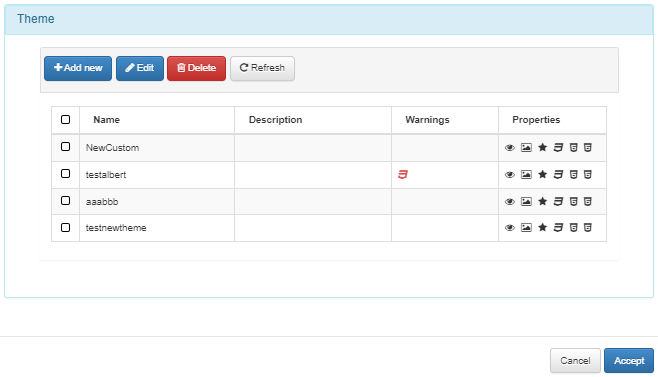
Select one of the listed Themes, or create a new one to associate with this instance.
Click on Accept to save the configurations.
3.1.7.1.1. API Key
Note
When the Captive Portal is in another server, you must generate the API key.
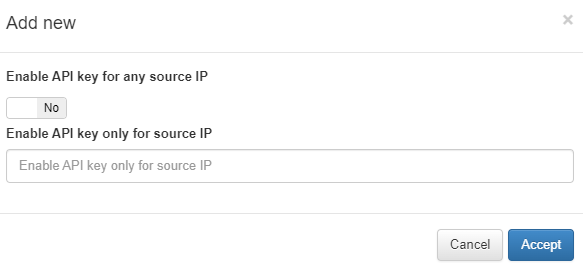
Navigate to ON CMDB > Security > API Key. If you haven’t already generated one, click Add new.
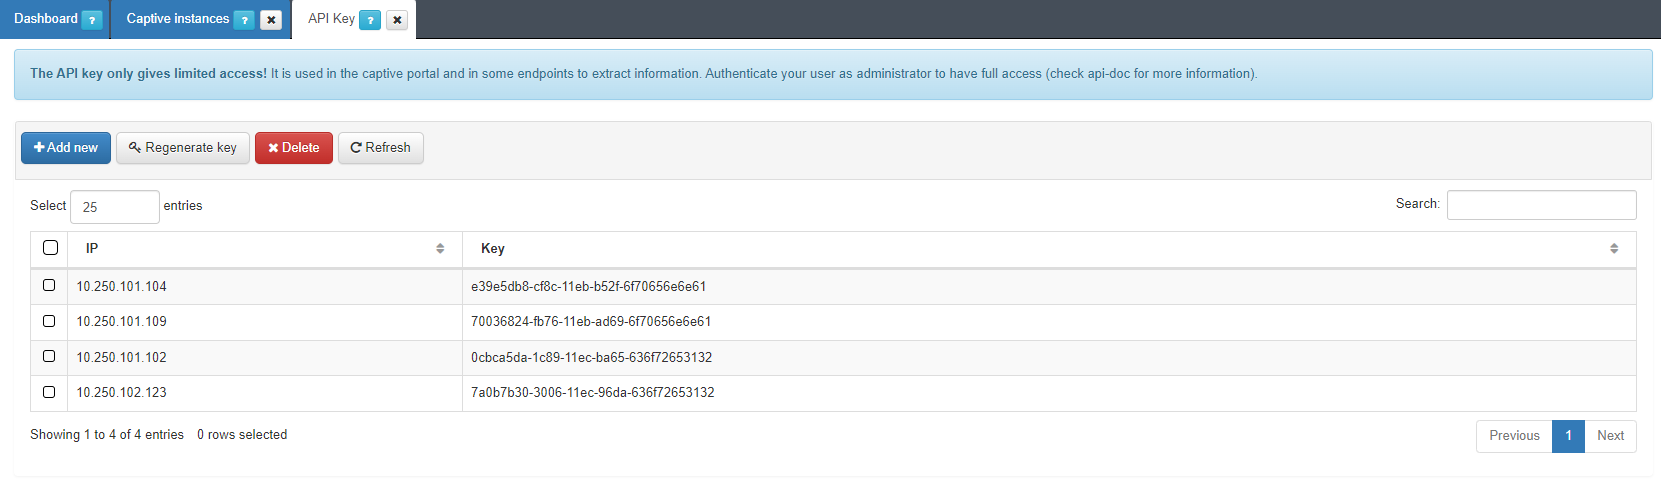
Enter the Captive Portal Server’s IP address and click Accept.
Copy the generated key.
Open the Core CLI and edit the
/usr/share/opennac/captive-portal/application/configs/globals.inifile with the Core’s IP address or hostname (using the onprincipal IP address is recommended) and the generated key.
api.url = "<core_url>"
api.apiKey = "<api_key>"

captive.path = "url_extension_captive_path"

To finish the creation of this new captive instance, click on the Accept button.