4.7.1.7. Operation
This section provides an overview of the key operational aspects related to the 2SRA use case using the Default Portal.
Note
Before proceeding with the operation section, make sure you have completed the administration configurations to prepare the system for basic operations.
4.7.1.7.1. Checking the status of VPN connections
This section shows how to use the system’s Business Profiles to view active connections, and how to get more information about a device. The Business Profiles are groups of connections based on the associated policies, they are customizable and we can create as many as we want, simply giving a name and selecting the policy or policies we want to be included. Go to the ON NAC -> Business Profiles in the Default View.
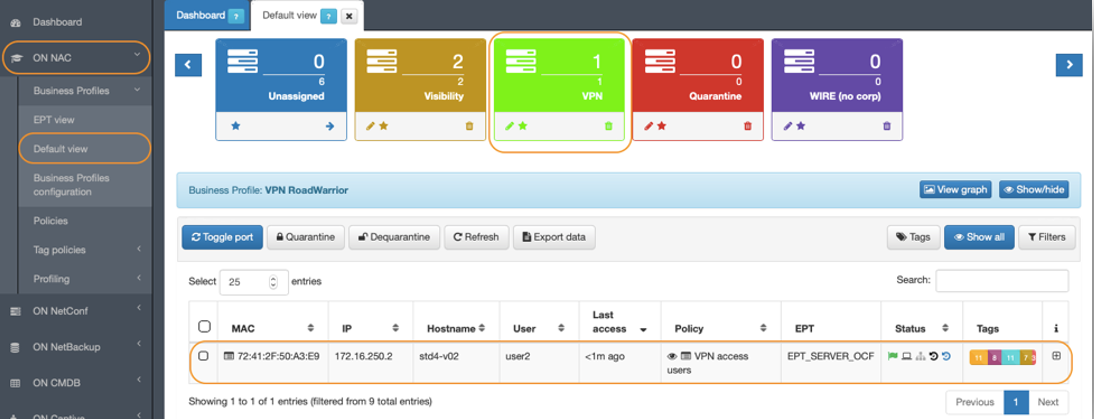
Let’s focus on the VPN Business Profile (green box) from our example. At the bottom you can see the total number of devices you have registered with the VPN TAG. At the top, we have another counter, which indicates the total number of devices that are connected. In each connection, horizontal line, if we go to the Status column we can see that there is a flag, which helps us identify the current connection status of the selected device.
Green flag indicates that the device is connected (login)
Red flag indicates a problem and that could not connect
Black flag indicates that the device is not connected (logout)
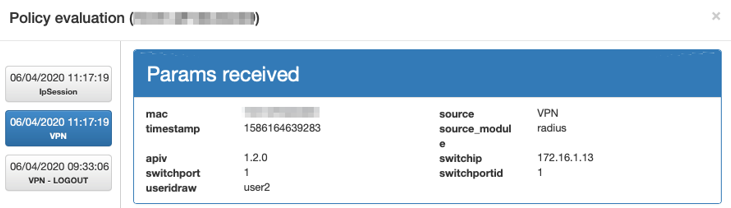
If we click on the icon that appears in the Policy column, we are able to obtain more information about the selected connection.
Another way to view more information about the connection, is to use the + icon on the right end, which will display all the information from the different sources of information related to the device.
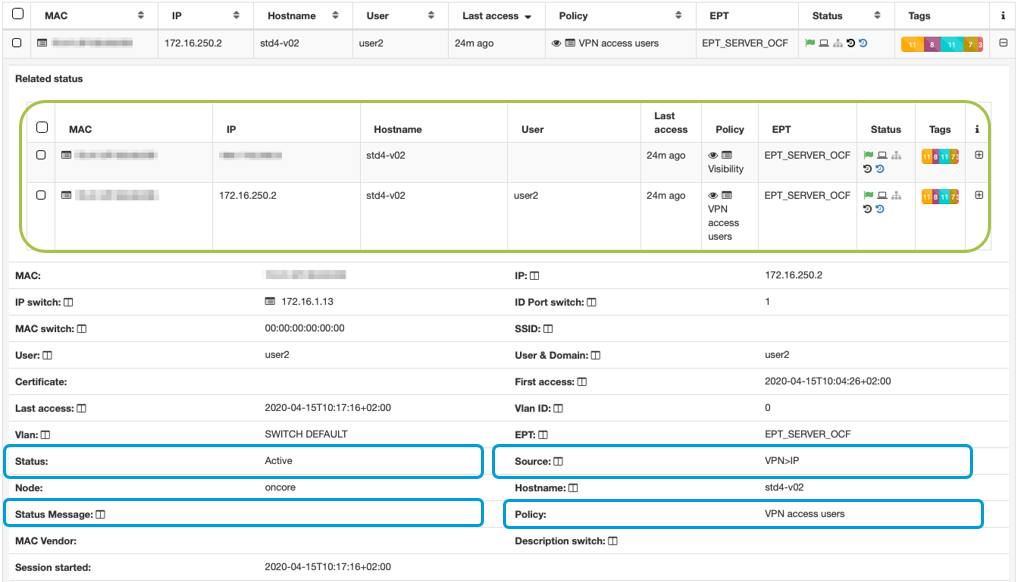
In the green box, you can see that there are two sources of information and two connections. The first refers to the data of the device through the public IP, information received through the internet and sent by the agent. The second source is from the VPN connection itself since its IP is a private address that matches the pool of IPs configured in the RoadWarrior VPN tunnel.
In this same view, we can see more information about the VPN connection. We can highlight the information inside the orange boxes, which provide useful information about the status of the connection. For example, the current status of the connection is indicated, the source from which it comes (in this case VPN and IP are assigned), the policy accessed by the device, and a message regarding the status.

The image shows a case where the connection was rejected. Its status is Reject, there is a message of the cause of the error No logon servers, the source becomes VPN and reject, and the policy is maintained.
4.7.1.7.1.1. VPN Gateway status
You can check the VPN Gateway status from the Manage VPNGW view:
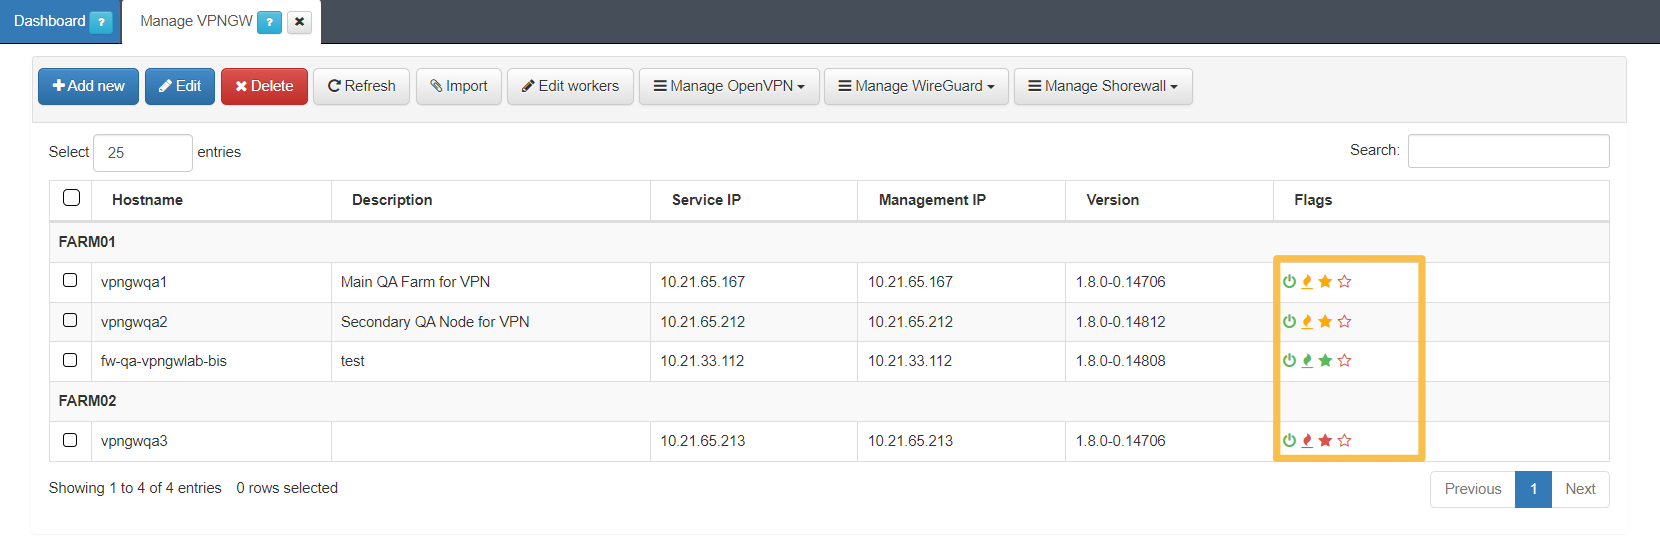
Hovering over the icons, you can read the status of the following components:
They will be displayed in red, yellow and green according to their status that can be up & running, started & updated, started but not updated, and status unknown.
4.7.1.7.2. Agent Payloads
After the Agent is installed and communicating with the OpenNAC Enterprise Core, the Agent will send messages to the ON Core. These messages are called payloads and you can see them in the Agent payload section.
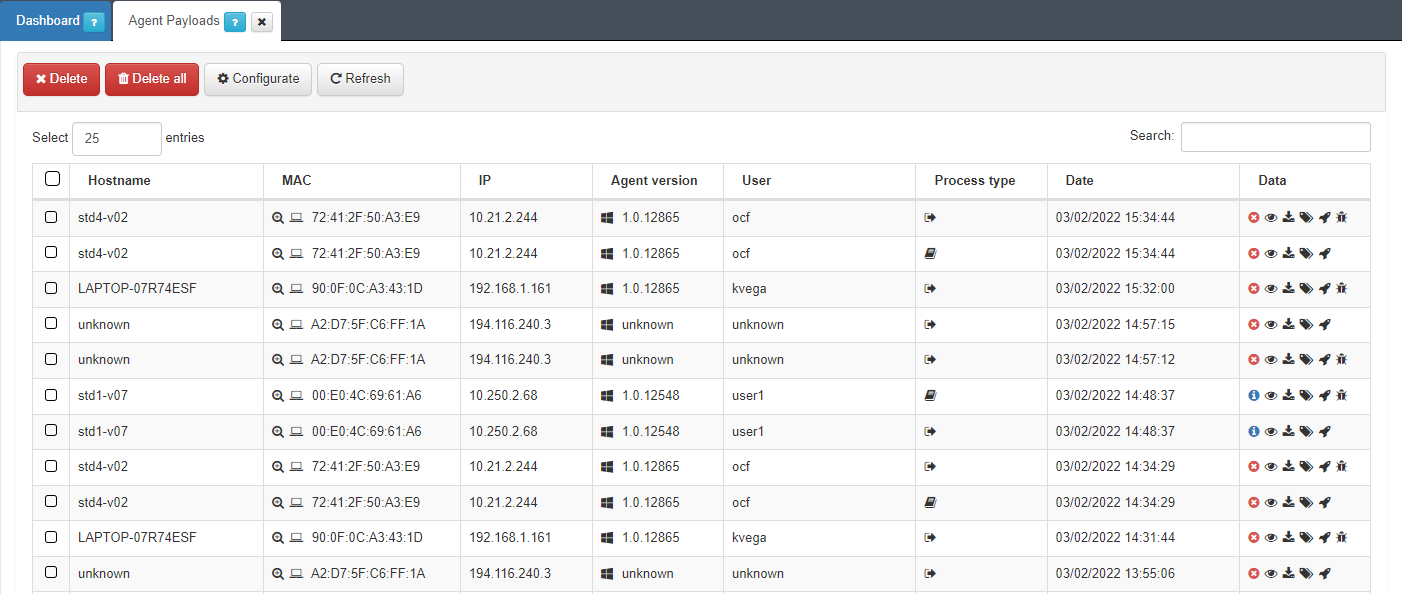
The API retrieves the last authentication status on each Agent response. It also sends, saves and displays the user ID of the person who authenticated the Agent.
The section displays the Hostname, the MAC, the IP, the User, and the Date of every corresponding payload.
Apart from that, it displays the following columns:
Agent version: The version of the agent is represented in this column as an icon of the operating system where the agent is running.
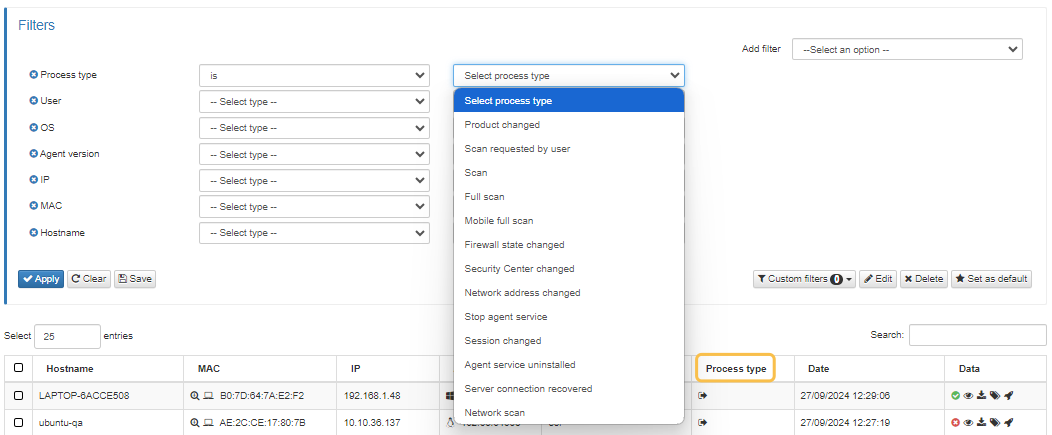
Process type:There are different Process types for agent payloads and they are represented by icons.
Data (payload types): There are different Payload types and they are also represented by icons.
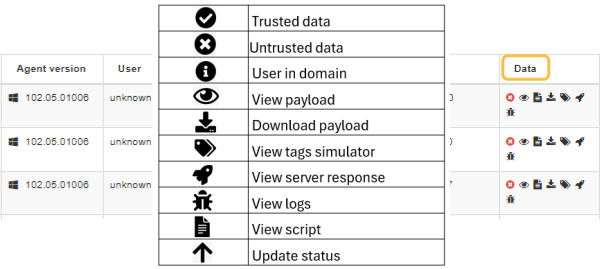
4.7.1.7.2.1. View payloads
Administrators can see the content of the payload by clicking on the eye icon.
The payloads are organized in different sections to facilitate their readability:
Account information
OpenNac Data
Payload Processing Time
Trigger type
Trigger date and time
Hardware
Certificates
Established connections
Networks
Open Ports
Security Center
User Active
Script Execution Results
Recover
System Updates
Pending System updates
See the Administration Portal > Agent payload section for detailed information about Agent Payloads.
For more details about the data exchange process, see the Agent Doc section, which showcases examples of data extracted from devices by the Agent and transmitted between OpenNAC Enterprise and the Agent.
4.7.1.7.3. Checking a connected client in the VPNGW
You can check which clients are connected to a Wireguard VPN through the Administration Portal VPNGW section or via SSH.
4.7.1.7.3.1. Administration Portal - VPNGW
In the Administration Portal main menu, click on VPNGW and click on the corresponded Farm section from where you want to consult client.
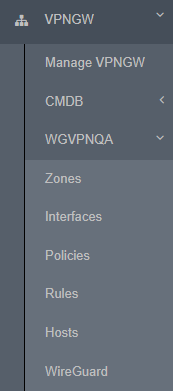
Select on the Wireguard section and once there, click on Manage users to display the following window:
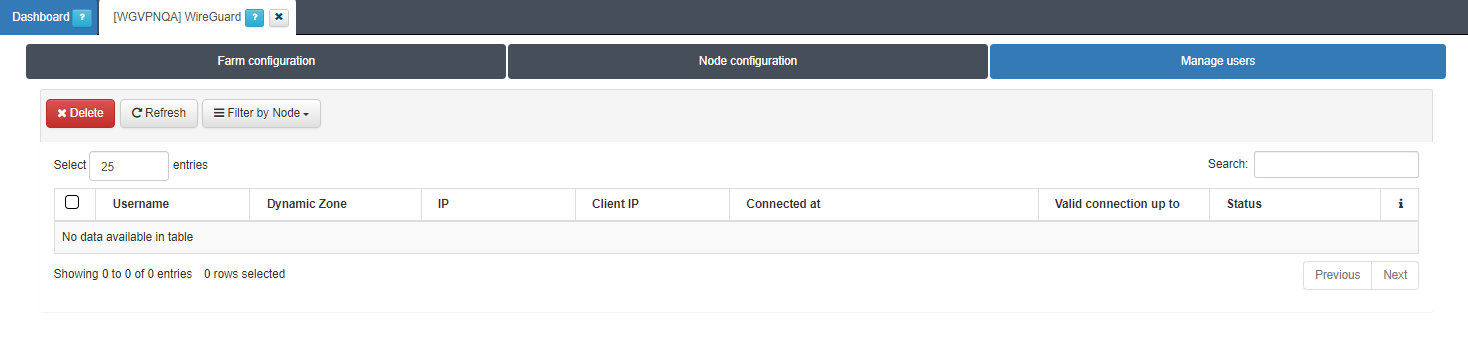
This view displays information on all connected users. This includes username, dynamic zone, IP, Valid connection up to, status icons (connected, standalone, dynamic/static), and the date the connection was established. If you click the + button, it will display detailed information abut this specific user.
The Search box allows you to search for any user data. For example, you can filter by the username user_test and as a result, a single row will appear with the user user_test.
Note
A standalone user is one that can connect from an openNAC agent or from a native WireGuard agent. A user NOT standalone can only connect from an openNAC agent.
See the VPNGW WireGuard section for more information.
4.7.1.7.3.2. Via SSH
From the command line of the VPN gateway we can also observe information about the users.
SSH into the VPNGW (Core) and run the following command:
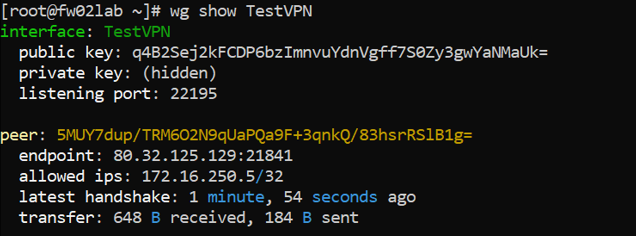
wg show <VPN_name>
This command will show us the connected users and the standalone users (whether they are connected or not).
Example of the user with IP 172.16.250.5 connected to the VPN. The information under interface pertains to the VPN configuration while the information under “peer” will give us user information:
Run the following command to see the static users and the standalone users:
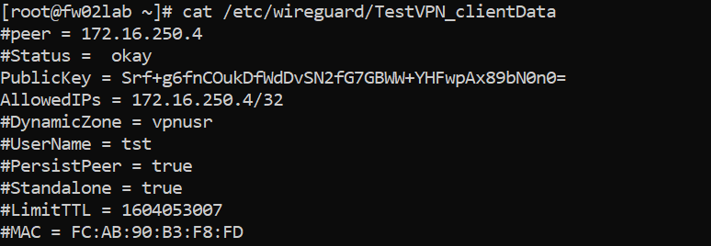
cat /etc/wireguard/<VPN_name>_clientData
Example of the static user with IP 172.16.250.4:
4.7.1.7.4. Captive VPN Workflow (Linux)
If your use case requires the use of a Captive Portal to connect users, you will have to set up a Captive workflow.
This workflow requires enabling the “Allow execution without installable agent (Linux)” flag. You can configure this setting in the ON Captive > Captive VPN Workflows by enabling the flag:

When connecting to the Wi-Fi network, the WLC should automatically redirect the user to the ON Captive Portal for session authentication.
All available workflows are displayed in the Captive home. Click the Start button of the workflow you have configured to begin this captive execution. In our example, the workflow is called “VPN SAML”:

Note
If only one workflow is available, the Captive Portal will automatically start that workflow.
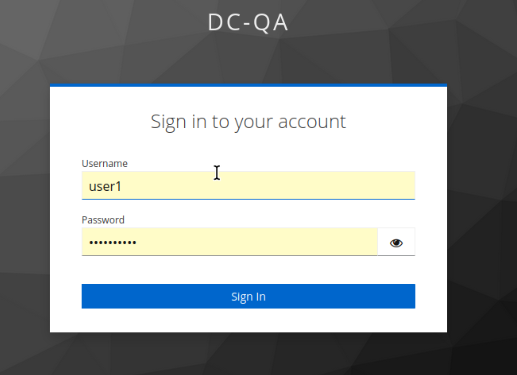
The workflow begins, displaying the steps required based on its configuration. Start by entering your username and password:
The workflow redirects to the authentication and authorization steps:
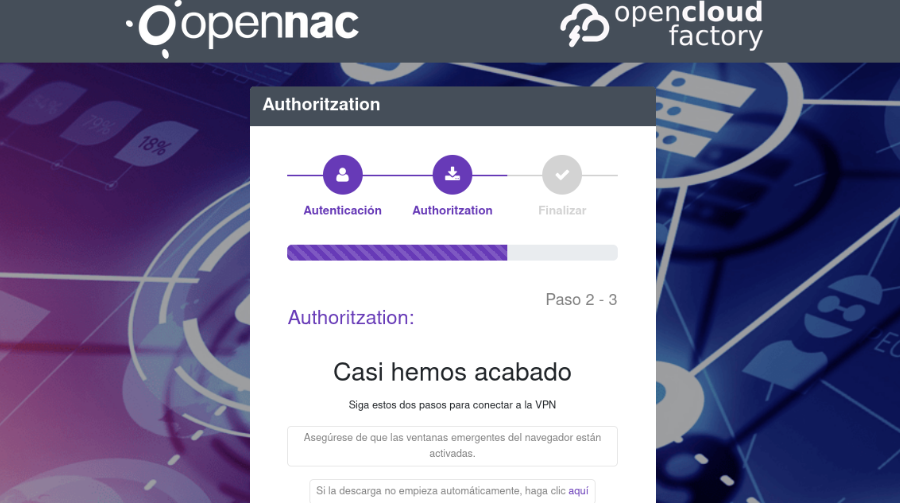
It triggers the Soluble Agent download.
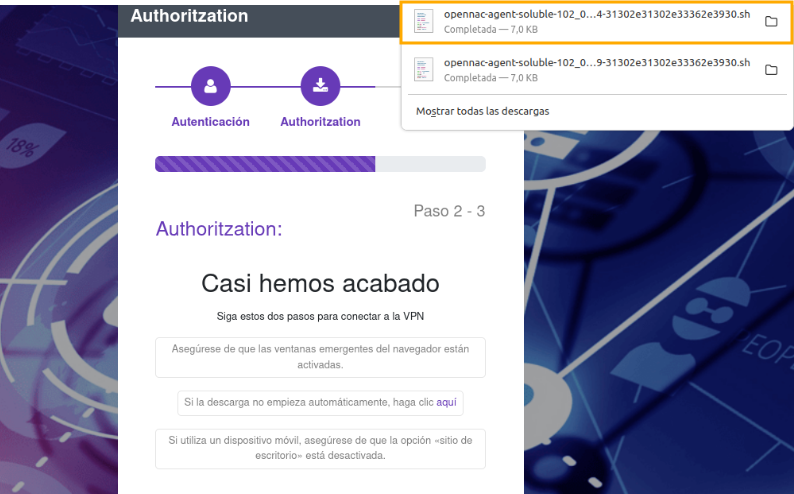
Navigate to your downloads directory to locate the downloaded file:

You will have to open a terminal to execute the file:
sh <file_name>
Accept the confidentiality, data protection, and information security form to proceed:

The Agent begins authenticating:
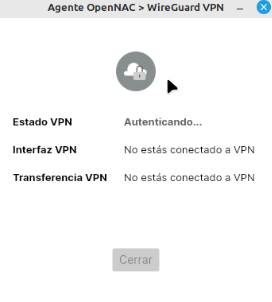
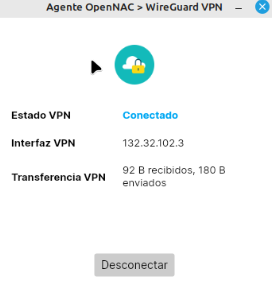
The Agent UI confirms that the user is successfully connected to the VPN: