3.1.8.4. Agent Configuration
In this section, we can configure the agent options, download it, see the required patches, and generate tags creating rules matched by an expression.

3.1.8.4.1. DOWNLOAD & PARSE
In the Download & parse tab, we will find information about the Parser options, the agent download and install options, and the different agent versions for each OS.
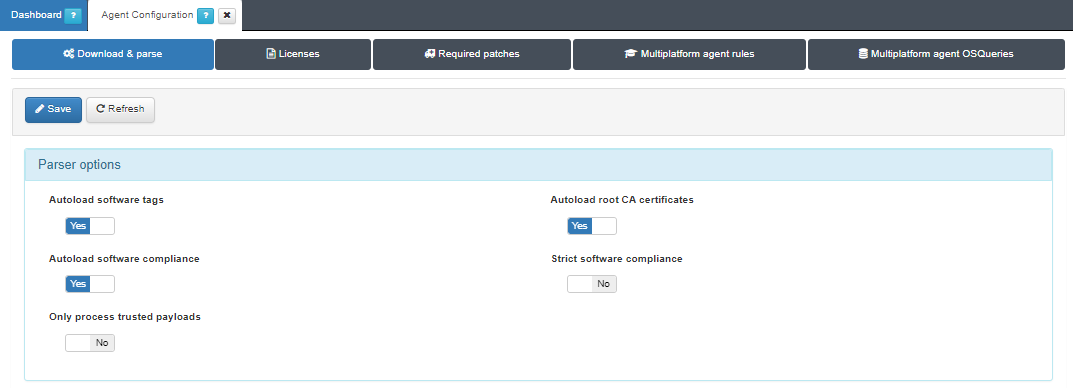
- Parser options
The computer information sent by the ON Agent is processed in the ON Core. Some information is automatically saved in the user’s device using tags. The remaining data could be manually processed using ON Agent Parsers.
Autoload software tags: Enabling it generates an IAI tag for each software found by ON Agent.
Autoload software compliance: Enabling it adds a NCA tag if a specific software does not meet the requirements of its corresponding TAR tag (Autoload software tags must be enabled to take effect).
Autoload root CA certificates: Enabling it adds CAI tags if there is some certificate in the agent response.
Strict software compliance: Enabling it adds NCA tags if there is no TAR for a specific software (Autoload software compliance must be enabled to take effect).
Only process trusted payloads: By enabling it, only authenticated agent payloads will be processed. If they are not authenticated, the payload will be received but the information collected will not be used later to add tags, run scripts, etc. It will also trigger the notification “Only authenticated agents can send data to opennac server” to users.
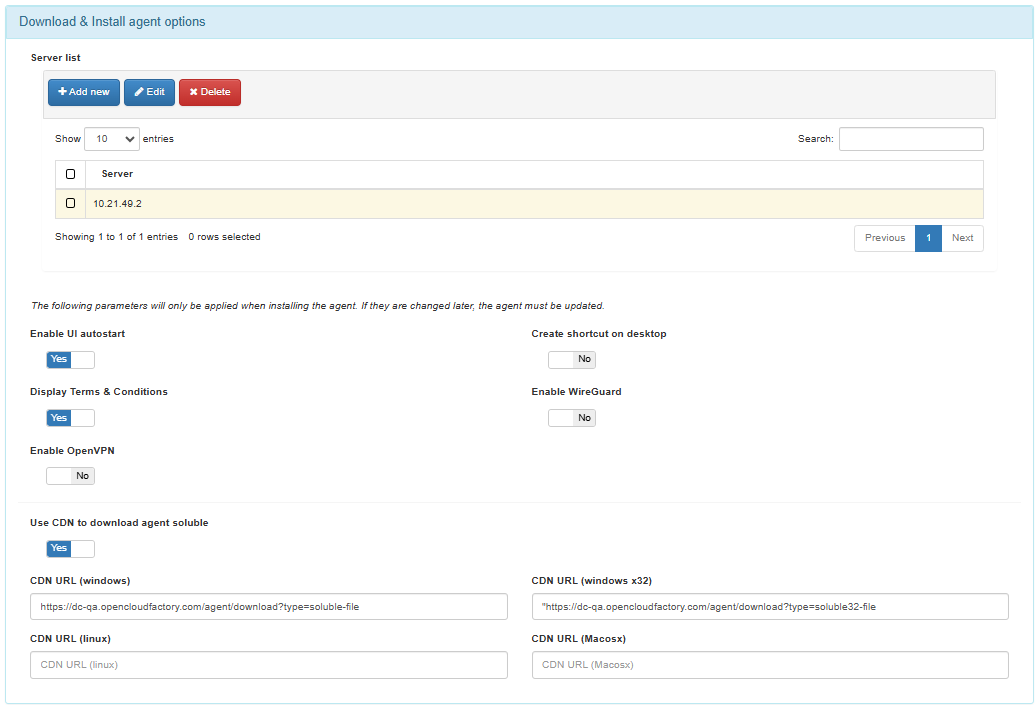
- Download & Install agent options
This section sets up the configuration the agent is installed with and from where it can be installed.
Server list: From this section, you can configure multiple agent URLs and set one as the default to indicate where the Agent can be downloaded from. IP, IP:PORT or FQDN are possible values. This is where the soluble ON Agent will send the payloads.
Enable UI autostart: Allows running the Agent’s UI when the Agent is installed.
Create shortcut on desktop: Enabling it creates an Agent shortcut in the desktop.
Display Terms & Conditions: Disable this flag if you want avoid being asked to accept the Terms & Conditions disclaimer in massive deployments.
Enable Wireguard: Inserts the Wireguard plugin in the agent configuration. The same happens with the Enable OpenVPN option, which will insert the OpenVPN plugin into the agent configuration.
Use CDN to download agent soluble: Flag to enable using Content Delivery Network (CDN) to download the soluble agent. The CDN infrastructure optimizes the download process for the soluble agent.
CDN URL (Windows): Field to insert CDN URL specific to Windows.
CDN URL (windows x32): Field to insert CDN specific to Windows x32.
CDN URL (Linux): Field to insert CDN URL specific to Linux.
CDN URL (Macosx): Field to insert CDN URL specific to Macosx.
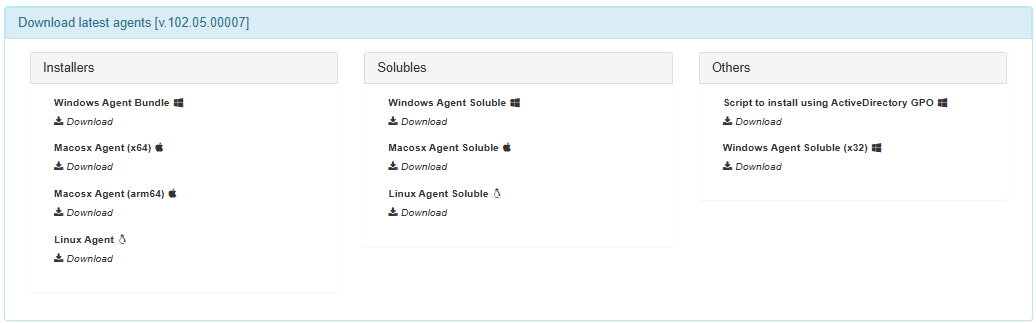
- Download agents links
This section contains the links of the different types of agents for downloading.
Installers |
Solubles |
Others |
|---|---|---|
Windows Agents Bundle |
Windows Agent Soluble |
Script to install using ActiveDirectory GPO |
Macosx Agent (x64) |
Macosx Agent Soluble |
Windows Agent Soluble (x32) |
Macosx Agent (arm64) |
Linux Agent Soluble |
|
Linux Agent |
Note that there is a 5-minute timeout for the Agent download, and the user will receive a notification if this time is exceeded: “The new agent version could not be downloaded because the maximum time limit for it has been exceeded”.
3.1.8.4.2. LICENSES
In the Licenses tab, you can create licenses for the soluble and installable versions of the Agent in multiple languages.
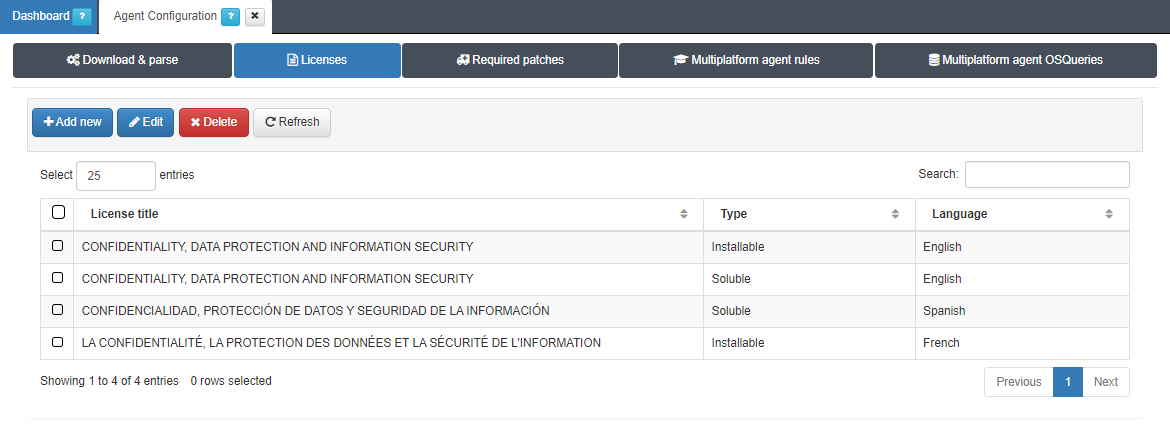
To create a new license, click on the Add new button. It will display the following configuration window:
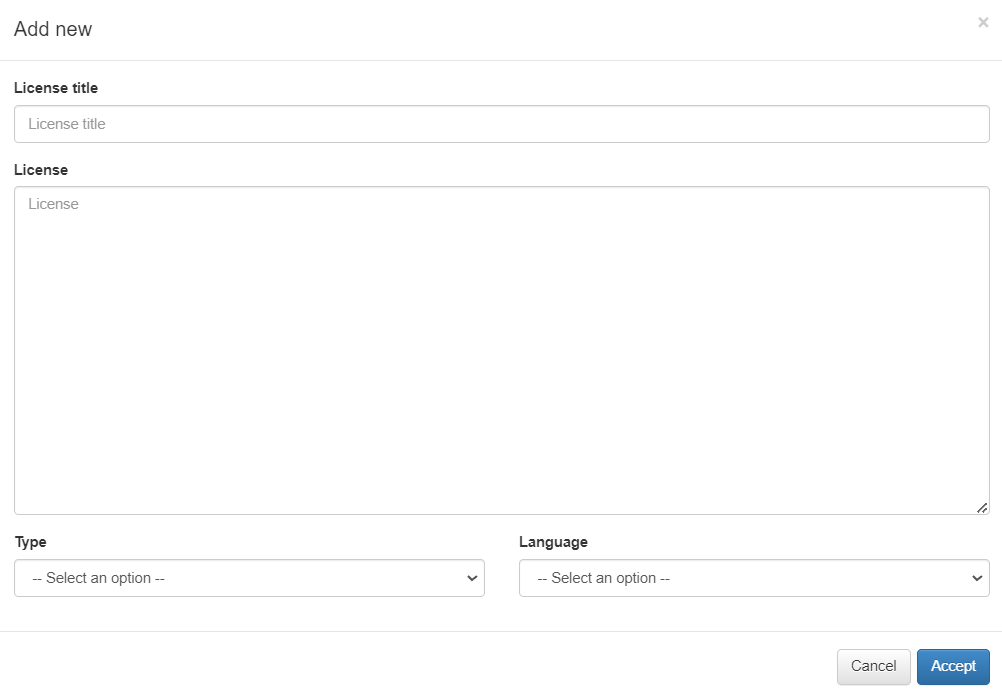
License title: Specify a title for the new license.
License: Provide the license text in this field.
Type: Select either Soluble or Installable, depending on your specific case.
Language: Choose the preferred language from the available options: Basque, Catalan, English, French, Galician, German, Italian, Spanish.
In addition to creating licenses, you can edit and delete them. The corresponding buttons for these actions are located next to the add new button. This allows you to make changes to existing licenses or remove them from the system as needed.
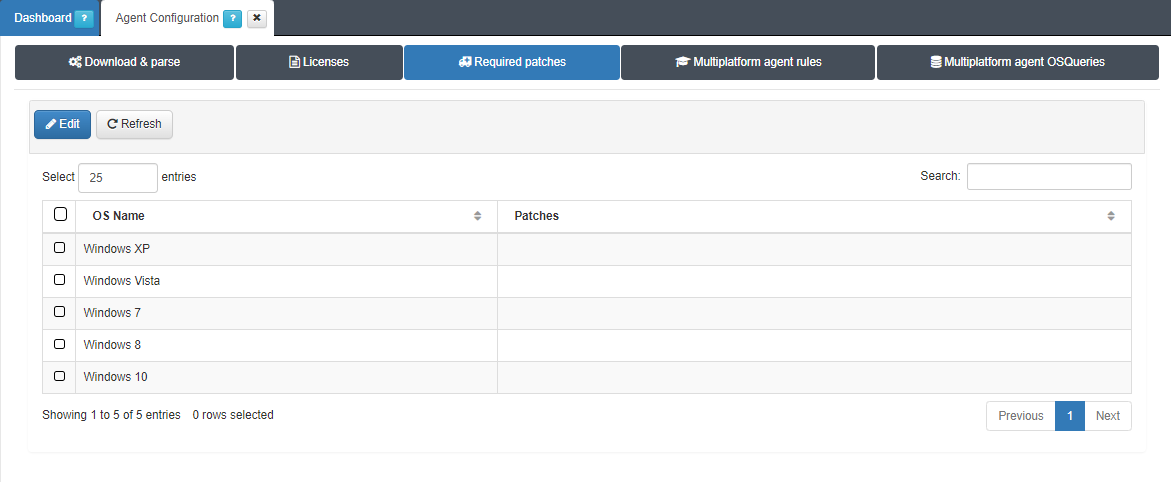
3.1.8.4.3. REQUIRED PATCHES
In the Required patches tab, you can define a required patch list. They are the minimal patches that must be installed in the user device to comply with the security policy and access to the network.
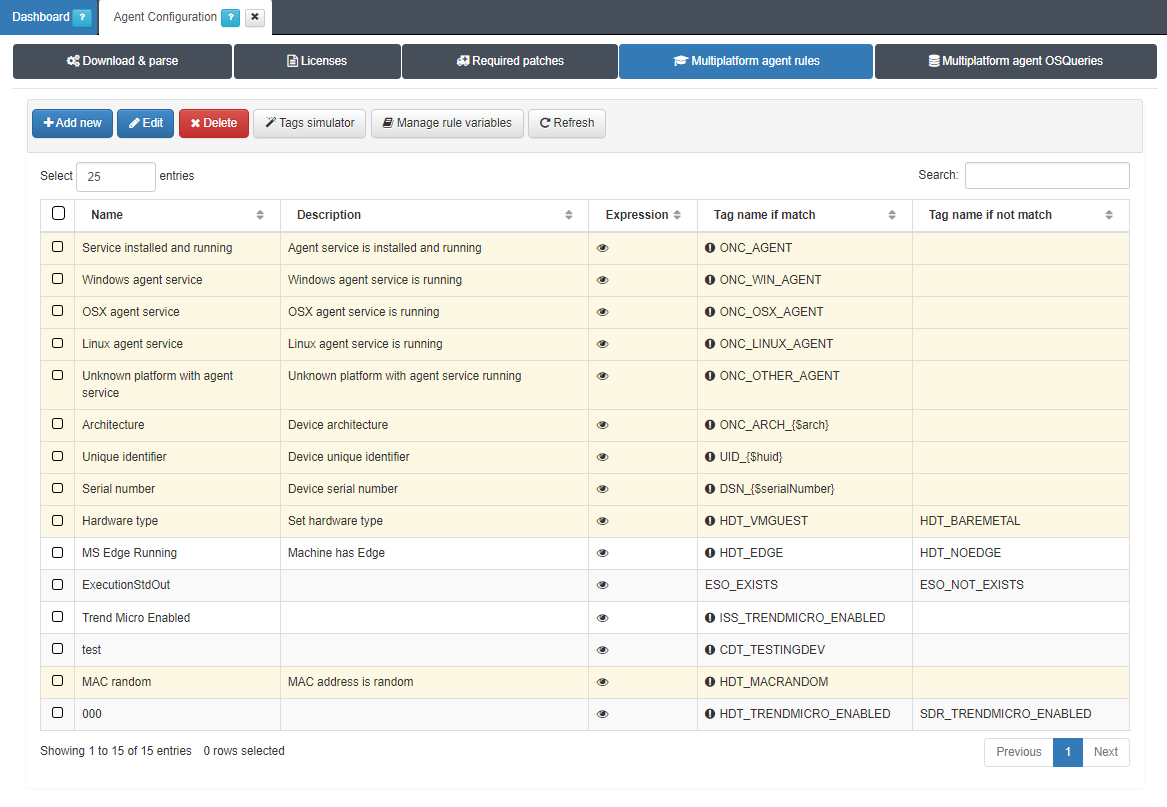
3.1.8.4.4. MULTIPLATFORM AGENT RULES
In the Multiplatform Agent rules tab, you can configure the Agent rules. These rules are used to add tags related to the information retrieved by the agent depending on data found in the user device.
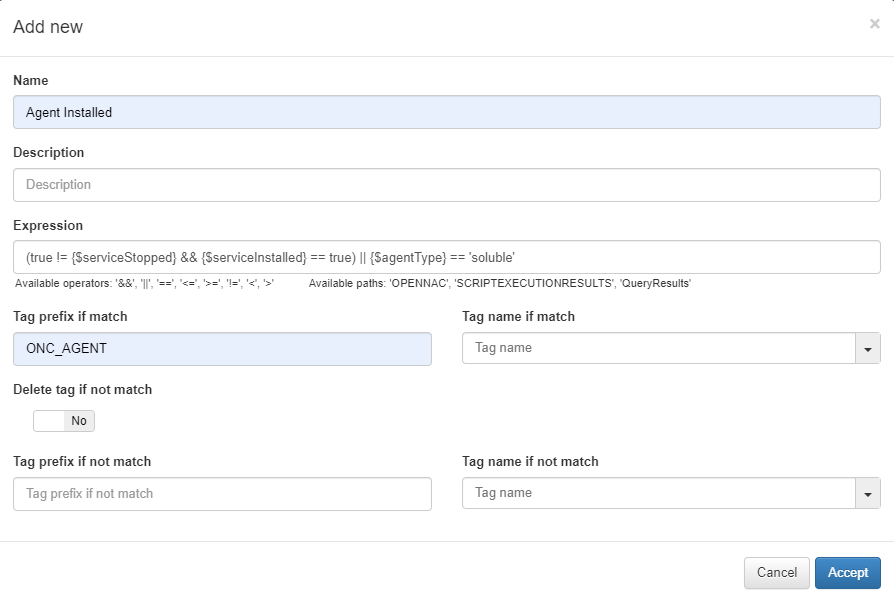
To create a new rule, click the Add new button. Add a name, an optional description, and configure the expression for the rule. After that, we will be able to choose the action that we want to be performed once the expression matches with the information retrieved from the user device, add or delete a tag or a prefix if the expression matches or not.
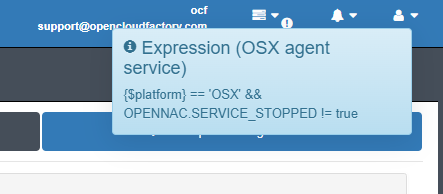
In the Expression column, we can see the configured expression that matches the configured rule. We will be able to see it by clicking the eye icon, the expression will be displayed in a toolbox at the top right of the screen.
If the expression matches, the tag that will be added is specified in the column Tag name if match. If the tag doesn’t match the tag that will be added is specified in the column Tag name if not match.
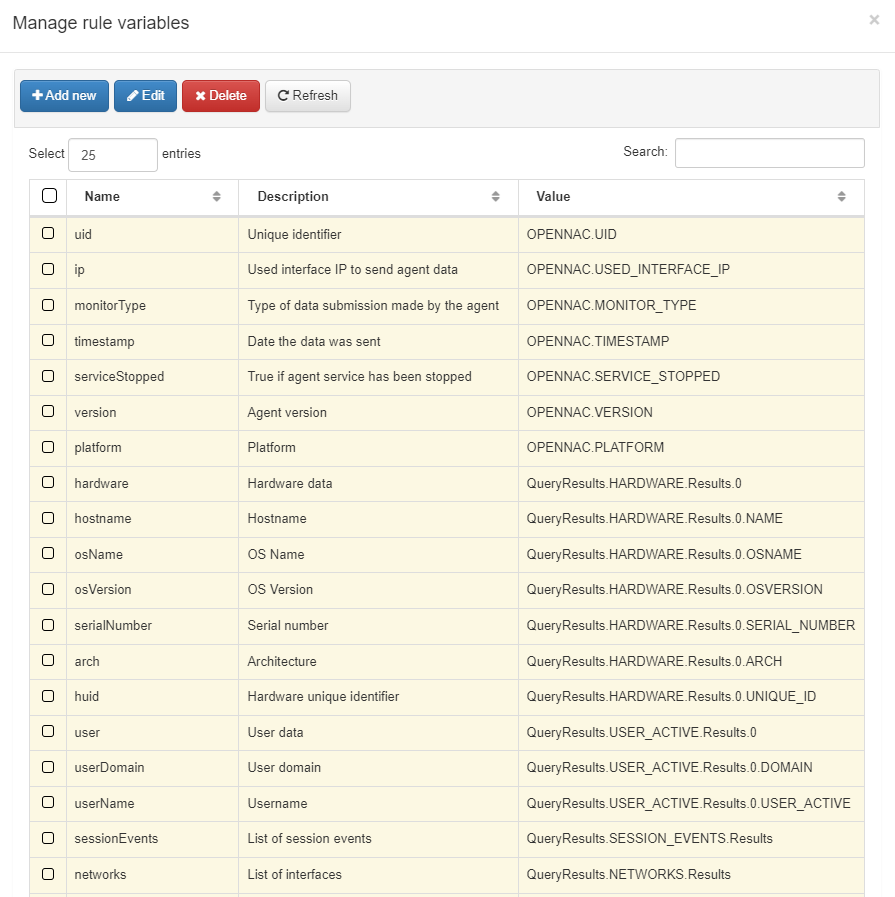
It is allowed to add new rules, edit them (not all), delete them, make a tag simulation, and Manage rule variables. On Manage rule variables there are defined variables to facilitate the creation of rule expressions.
3.1.8.4.5. MULTIPLATFORM AGENT OSQUERIES
The Multiplatform agent OSQueries tab, allows you to manage customized OSqueries from the Administration Portal. You can customize OSQueries that the Agent will send as a response from the Agent payloads and also perform OSQueries administration guided though a wizard.
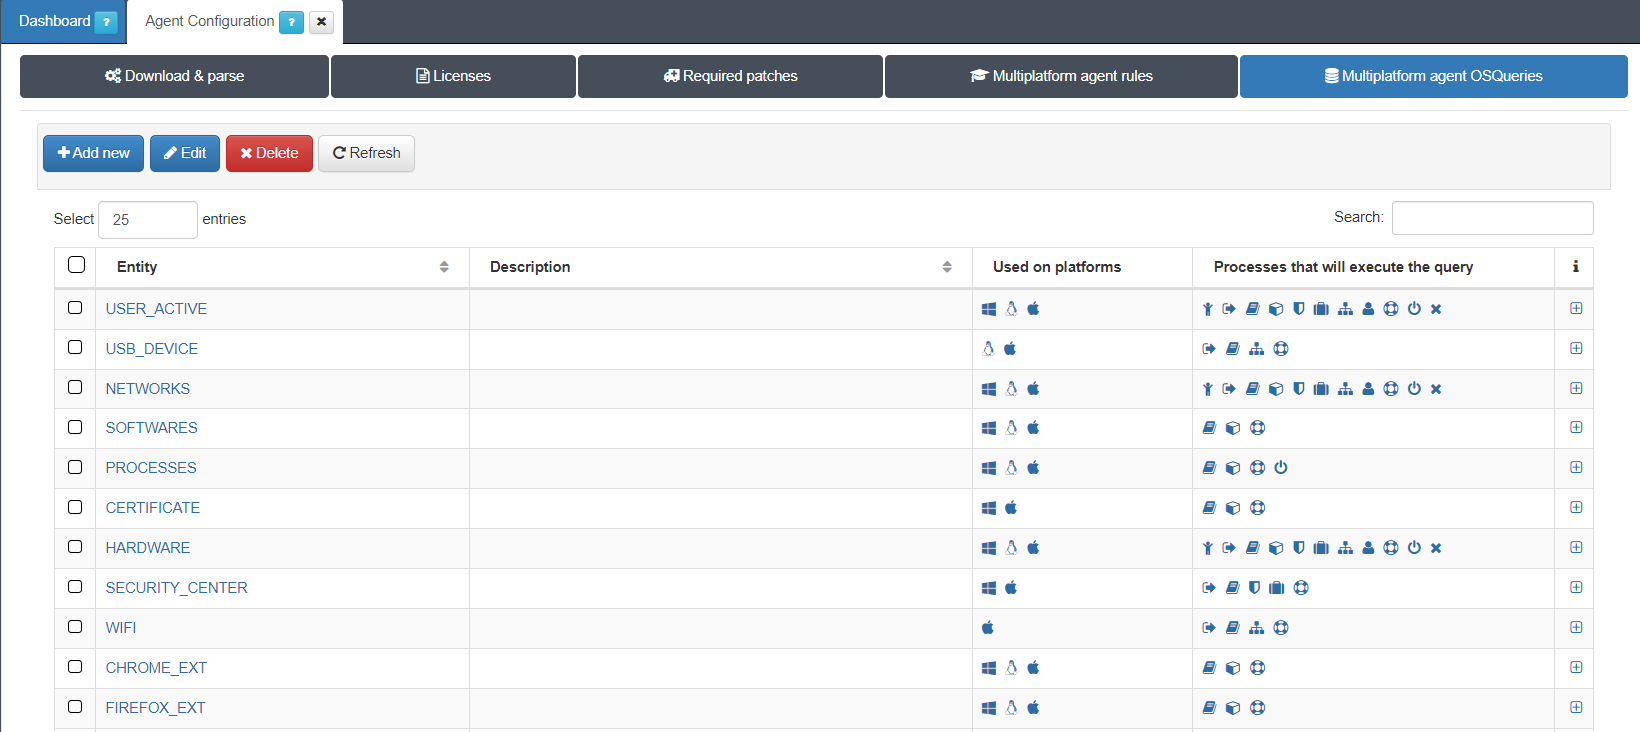
This tab displays the Entity, its Description (if there is any), Used on platforms, and the Processes that will execute the query. If you hover over the icons, you can read their meaning. You can also see the Process Types icons list in the Agent payload section.
To create a new OSQuery, click on the Add new button.
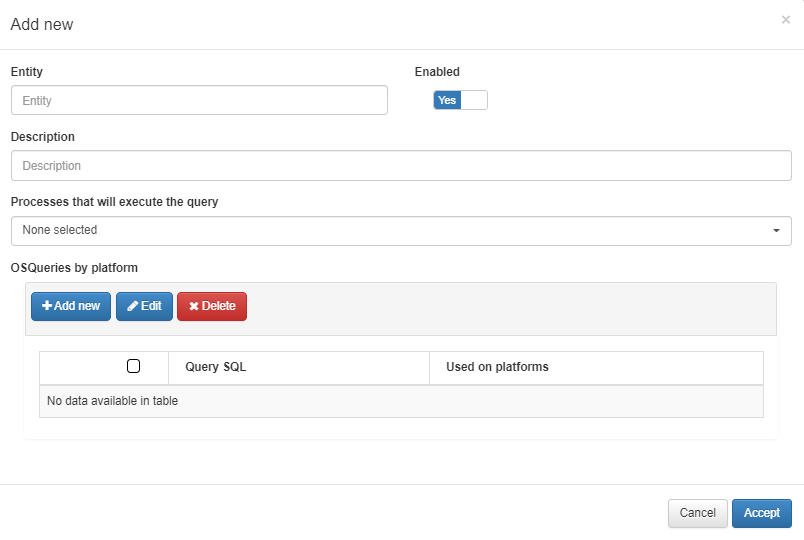
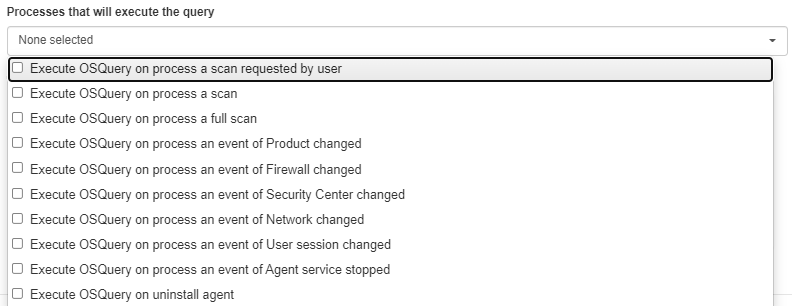
Fill in the pop-up window fields with the Entity and its Description, and select the processes that will execute the query:
Click on the OSQueries by platform field Add new button to open the following pop-up window:
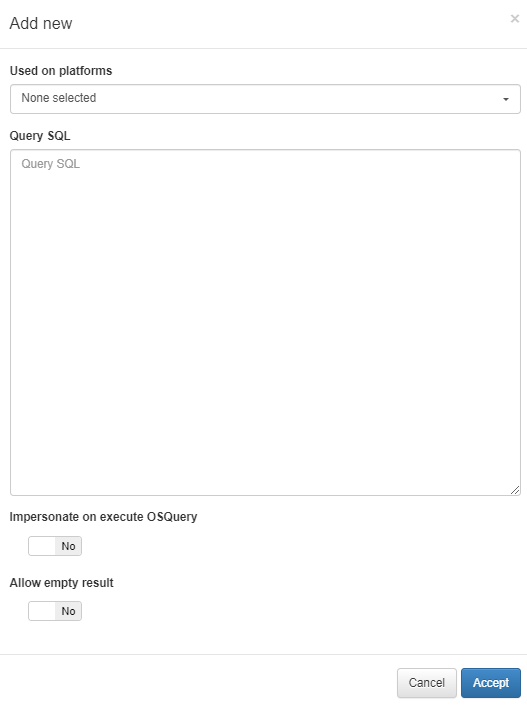
Used on platforms: You can select from Windows, Linux, or OSX.
Query SQL: Directly write the OSQuery to be executed.
Impersonate on execute OSQuery: Enable this flag to execute the query as the currently active user or disable it to execute it as the root or admin user.
Allow empty result: enable this flag if the defined OSQuery can yield empty results; if it is disabled, an error message will be displayed inside the payload entity when it returns empty data.