OpenNAC Sensor Installation
This page shows which steps are required to install openNAC Core Instance using an OVA Image.
Step 1. Download Image & Basic Console Configuration
As soon as the OVA image is downloaded, it should be imported in your Hypervisor Technology. Please, visit https://en.wikipedia.org/wiki/Open_Virtualization_Format for further information.
Note
- openNAC has chosen OVA as the main distribution way. Open Virtualization Format is an Open Standard for Packaging and distributing virtual appliances.
If you have problems trying to import OVA please review Troubleshooting OVA issue
Step 1.2. Manually configuration (Use setup wizard is recommended instead of manually configuration)
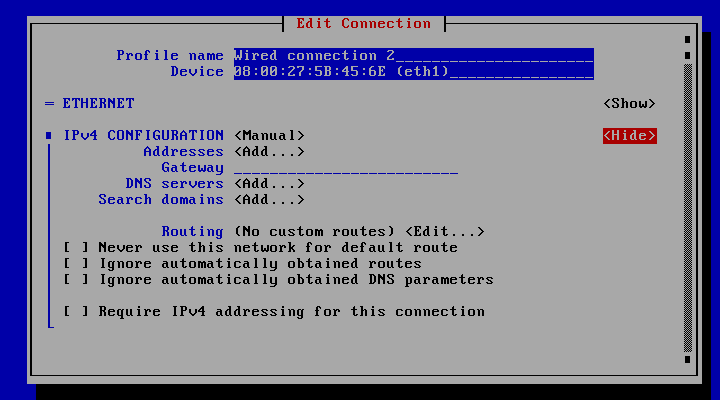
To configure openNAC interfaces you can run the openNAC network configuration utility or you can edit the network files manually.
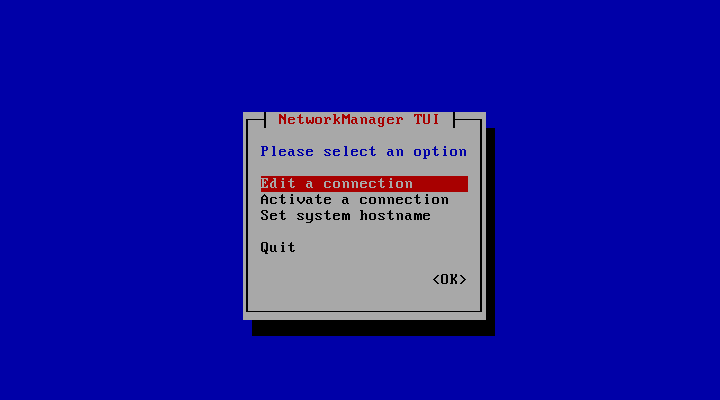
The IP configuration can be perform using this utility. configure according with the deployment used IP Address.
- Manually Network configuration
- Go to /etc/systemconfig/network-scripts/ifcfg-eth0 and configure your IP, for instance:
DEVICE=eth0
BOOTPROTO=none
ONBOOT=yes
NETWORK=10.0.1.0
NETMASK=255.255.255.0
IPADDR=10.0.1.28
USERCTL=no
To ensure that network configuration parameters are properly defined is recommended to restart network service and check IP configuration.
systemctl restart network
ifconfig -a eth0
- In case openNAC needs to run in a trunk mode needs first to define an interface like explained before and later as many VLANs as needed using subinterfaces.
To define the subinterfaces you should create new interfaces configuration files with the VLAN ID desired. For instance, to configure VLAN 192 in eth0 interface:
Create the file: /etc/sysconfig/network-scripts/ifcfg-eth0.192 and type your VLAN configuration:
DEVICE=eth0.192
BOOTPROTO=none
ONBOOT=yes
IPADDR=192.168.1.1
PREFIX=24
NETWORK=192.168.1.0
VLAN=yes
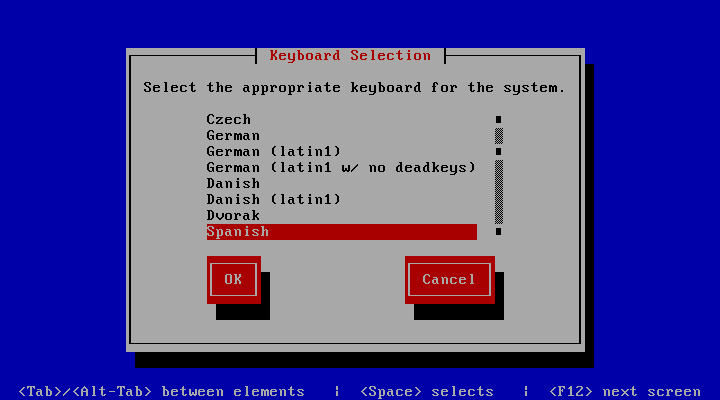
Keyboard configuration
- Keyboard configuration gui command-line:
With root account type:
system-config-keyboard
- Keyboard configuration through command-line:
With root account type:
loadkeys es
Loading /lib/kbd/keymaps/i386/qwerty/es.map.gz
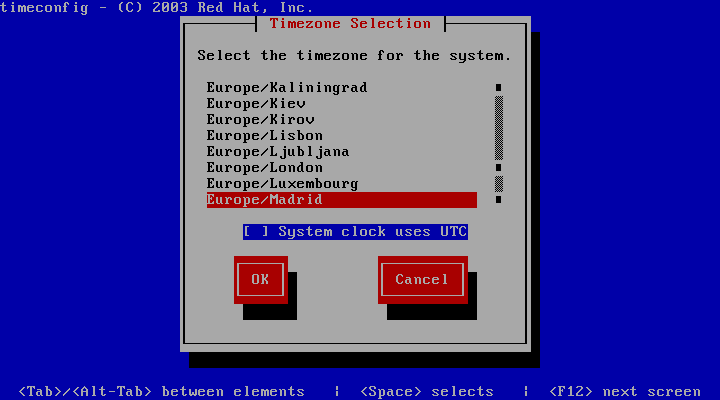
Time Zone
- To change time zone and the use of UTC with root account type.
timeconfig
Step 2. Access to SSH and basic configuration
We can access now to the openNAC Sensor Server using SSH connection using default credentials
Note
User: root
Password: opennac
Note
Remember this a default password that must be changed as soon as possible.
NTP SERVER Configuration
- NTP Server must be configured on openNAC Servers, for instance is required be synchronized because some process could fail, Active Directory joining process. Follow the next steps:
- Is required to stop NTP server before applying any NTP parameters.
systemctl stop ntpd
- Set NTP server to the openNAC Servers, (ntp servers ips are 192.168.0.1 and 192.168.0.2)
ntpdate 192.168.0.1
- Modify the file /etc/ntp.conf and include the proper servers to keep configuration.
server 192.168.0.1
server 192.168.0.2
- Start NTP Server
systemctl start ntpd
STATIC ROUTE Configuration
- For static route in the servers follows this procedure:
- Is assumed that the interface is eth0, type as root user:
Go to etc/sysconfig/network-scripts/route-eth0 and type:
default 192.168.0.1 dev eth0
10.10.10.0/24 via 192.168.0.1 dev eth0
172.16.1.0/24 via 192.168.0.1 dev eth0
- After that restart network services:
#systemctl restart network
CHANGE HOSTS file
Go to /etc/hosts file and include the proper IP for openNAC Analytics, openNAC aggregator and openNAC Core, in the example bellow the ip assigned is 192.168.56.253 and 192.168.56.251. this is required to establish communication between openNAC nodes and this should be changed because internal processes use these names.
vim /etc/hosts
The openNAC Analytics, openNAC aggregator and openNAC Core are identify as onanalytics, onaggregator and oncore
cat /etc/hosts
127.0.0.1       core.opennac.domain     core   localhost localhost.localdomain localhost4 localhost4.localdomain4 core.tpl
127.0.0.1     onmaster
192.168.56.253     onanalytics
192.168.56.253     onaggregator
192.168.56.251     oncore
Step 3: HealthCheck Configuration
Configure HealthCheck for this role, keep in mind if this is Sensor device. HealthCheck Configuration
Step 4. Update the system
One of the recommended steps that should be carried out when the system has been just deployed is to update it to the latest version available.
The system can be upgraded using two different ways, from local or remote repository:
Step 5. Configuration Changes
openNAC Sensor has the objective to decode protocols and provide advance network visibility, this information and events are sent to the openNAC Analytics or openNAC Aggregator depending of the architecture.
These events are sent to the destination port TCP 5000, the main process that openNAC rely on are bro and filebeat.
There are two capture methods:
- Using a port SPAN where a physical interface is used by openNAC sensor to capture information.
- Using a SSH connection to any Layer 3 devices that contains a tcpdump installed.
In both cases the openNAC sensor decode the protocols, parse the information, normalize it and forward it as required.
SPAN MODE DEPLOYMENT
This mode is automatically configured, eth0 is for management proposes and eth1 for data capturing or sniffing proposes. Is possible that openNAC administrators need to change the SPAN interface, to do this change go to /etc/pf_ring/ modify the file interfaces.conf according with interfaces configuration. CAPTURE_INTERFACES value will be the selected interface for SPAN port.
#MANAGEMENT_INTERFACES="eth0"
CAPTURE_INTERFACES="eth1"
Note
Is important to know that by default the service service dhcp-helper-reader runs on interface eth1 so if you modify the span interface, the file dhcp-helper-reader on path /etc/sysconfig/ should be also modify.
# If running on a sensor, configure as below:
#OPTIONS="-r <interface> -s onmaster -q <core_pool_ip>”
- The complementary configuration should be performed over the network device:
For example to configure the port SPAN on Cisco Switch. Please review the following link to check the basic configuration needed for port SPAN.
SSH MODE DEPLOYMENT
Go to the sensor configuration file path.
cd /usr/share/opennac/sensor/
Inside of the file sniffer.sh you can configure this method, HOST= is the remote IP of the device that needs to be captured, and the INTERFACE variable define the remote interface where the information is going to be collected, LOCAL_IP is the ip of the interface that is being used to filter out these events, with this filter is avoided to send and decode information for the openNAC sensor itself.
sniffer.sh example
#!/bin/bash
OUTPUT=/usr/share/opennac/sensor/sensor.pipe
HOST=root@10.10.36.1
INTERFACE=em1
LOCAL_IP=10.10.36.146
ssh ${HOST} "sudo tcpdump -i ${INTERFACE} -n -s0 -w - not host ${LOCAL_IP}" > ${OUTPUT}
In order to avoid identification and authentication process we use RSA keys, we will type the command
ssh-keygen -t rsa
in the sensor to create a RSA Key pair (for instance is called id_rsa.pub), as soon as the keys are ready we can launch the command
ssh-copy-id -i .ssh/id_rsa.pub root@192.168.1.1
The IP 192.168.1.1 is the IP of the remote host.
If you go to /opt/bro/logs/current/ directory you will see all the information that is being decode by the sensor and writed in files, for instance dpg.log is the network traffic that can not be decode.
In order to restart openNAC Sensor services please use the following commands. Basically in opennNAC sensor there are two main services, the actions available are:
- stop that allows to stop the processes.
- start that allows to start the processes.
- restart that allows to restart the processes.
- status that allows to know status
systemctl <action> bro
systemctl <action> filebeat
Step 6. Unnecessary Services (Optional)
This step is optional for improve server performance
Disable services:
systemctl stop kibana
systemctl stop logstash
systemctl stop elasticsearch
systemctl disable kibana
systemctl disable logstash
systemctl disable elasticsearch
Remove services:
yum remove opennac-analytics elasticsearch logstash kibana
Step 7. Service Management
Basically in opennNAC sensor there are two main services, the actions available are:
- stop that allows to stop the processes.
- start that allows to start the processes.
- restart that allows to restart the processes.
- status that allows to know status
systemctl <action> bro
systemctl <action> filebeat
Step 8. Configuring use case
As soon as you have the environment and initial configuration in place is required to Understand Use Cases Benefits.
As soon as detected and identify the proper use case this should be configured on openNAC servers.
Check the following section to choose the target use case. Use Cases Implementation
Step 9. Troubleshooting
You can verify the main services running for ON Sensor device and its basic troubleshooting Sensor Troubleshooting