Captive Workflows
In this section, we will define the workflow(s) of your captive portal. You can define and deploy several different workflows depending of customer needs.
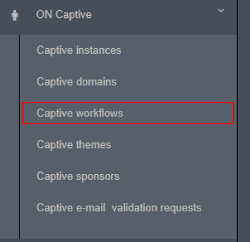
Expand the captive configuration options configuration by clicking on the ON Captive menu.
-Select Captive workflows option.
-In order to create the new Captive workflow, click on the button Add new to open the corresponding dialogue.

By default the dialog display the configurations related to the tab General:
- Name: Enter with the name of this Captive workflow
- Description: Type a meaningful description for this workflow
- Workflow template: Select one of the available templates. In this example webauth-guest-users was selected. There’re another workflows templates Captive Workflows Templates

In Options tab, show the options inherited from this template. These options will control the behavior of the workflow and some of them must to be adjusted according the requisites of the customer’s environment where the Opennac ON Captive is being deployed and here they can be modified.
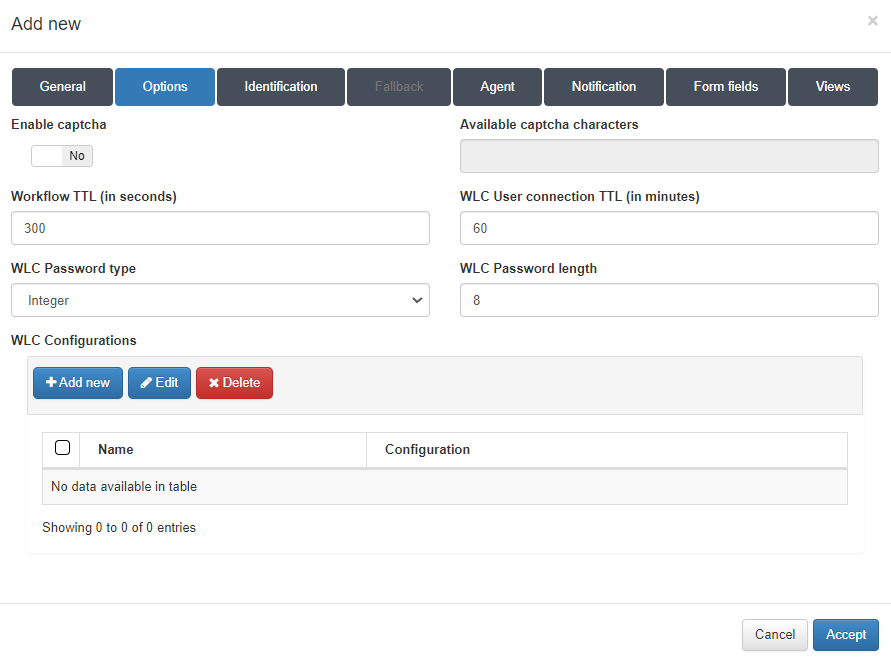
- Enable captcha - To increase security, you can enable a captcha validation and define Available captcha characters.
- Workflow TTL (in seconds) - Maximum time to complete the flow.
- WLC User connection TTL (in minutes) - Maximum time a user will remain connected. Once the time is up, users have to re-authenticate through the captive portal. Depending on the WLC manufacturer, we recommend that you configure this TTL equal to the Wireless Lan Controller SSID configuration.
- WLC Password type and WLC Password length - You can modify security password configuration for user authentication.
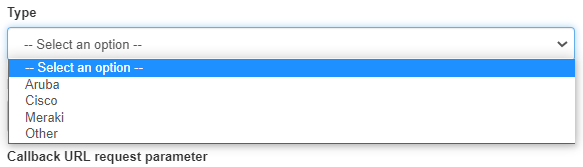
- WLC Configurations - Add your WLC by clicking the Add New button and select the appropriate WLC by selecting it in the Type field. The manufacturer’s settings will be filled in automatically.
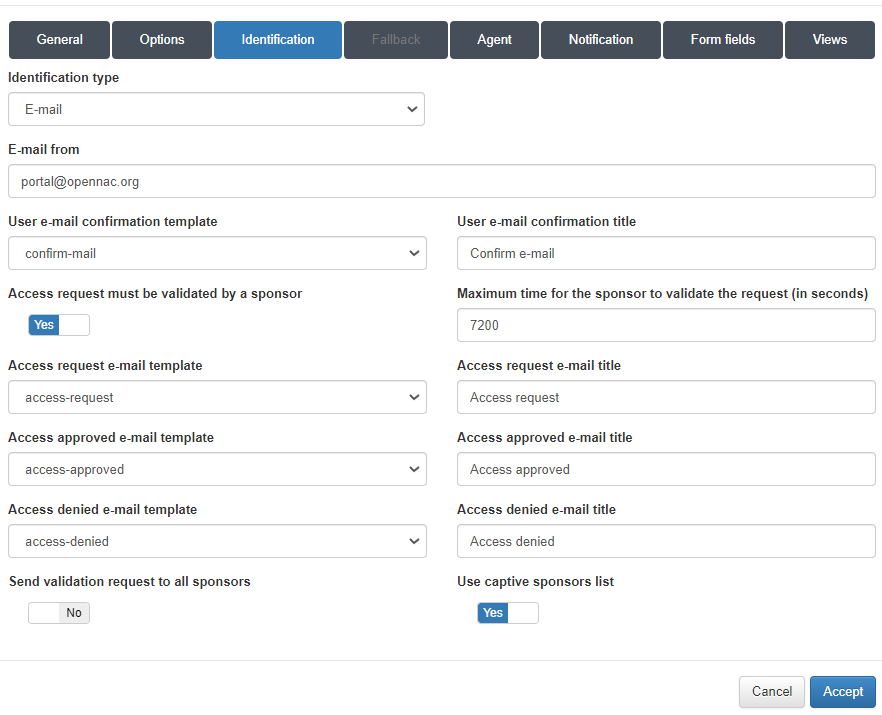
In the Identification tab, you can validate the user authentication request by a sponsor. An e-mail with the authentication request will be sent to the sponsor and the sponsor can authorize or deny access. The sponsor(s) can be found in the local openNAC BBDD or in your identity server. Several options are available depending on the customer’s needs.
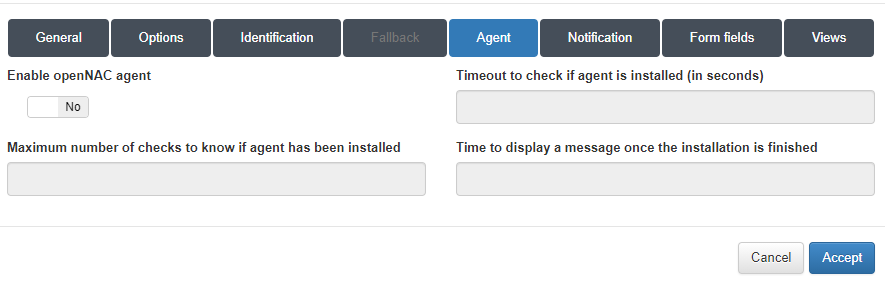
In Agent tab, you can check if user have openNAC Agent installed. This is useful to enable compliance in the workflow.
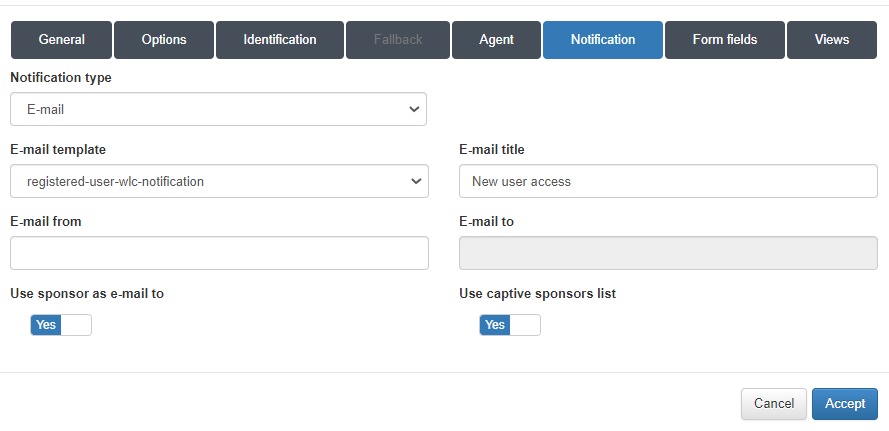
In Notification tab, you can configure the sending of a notification e-mail to user and also to the sponsor when the workflow is completed successfully.
To complete the workflow setup, in the Form Fields tab, you can see the available fields depending on the workflow type. It is also possible to add additional fields as mandatory or optional.
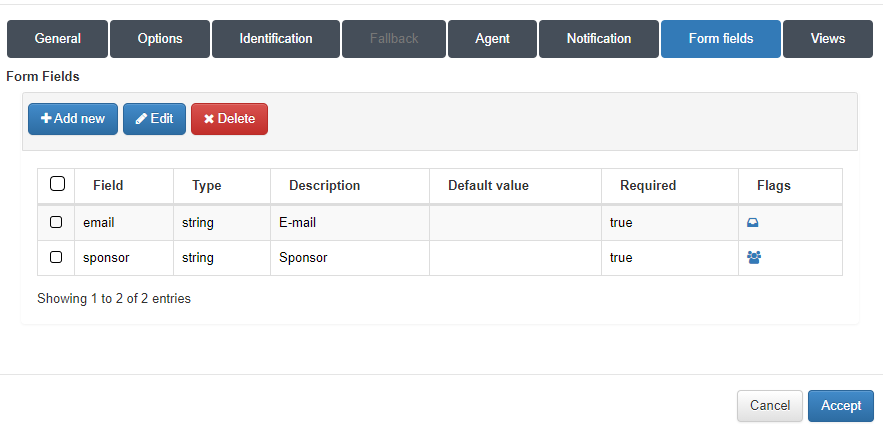
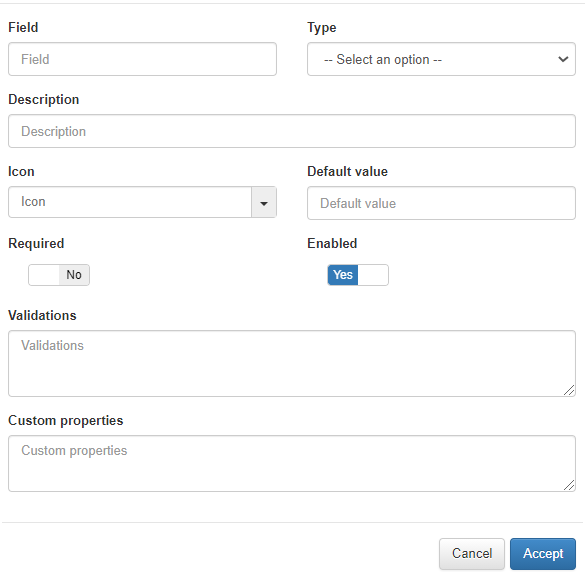
The process of creation of the form fields required for the workflow is very straight. Click on the buttom Add new to open the creation dialogue:
- Field: The name of the field.
- Type: This pop up menu have the set of data types corresponding to the form filed being created. The type selected must match with the type of information filled by the user. For example, if the information is an username, the type must be String, if the information is a password, then the type must be password, and so on.
- Description: A meaningful description about the purpose of the form field.
- Icon: The icon image that will be displayed on the column Flags of the form field. It helps to visually quickly guess what is the corresponding type of information.
- Default value: (for what information?).
- Required: Define if this form field must necessarily be filled by the user.
- Enabled: Define if the form filed is enabled and will be displayed on the authentication screen along with other fields.
- Validadtions: The type of validation to be performed by the ON Captive module during the authentication process to ensure if the information is really what is being expected on this particular form field.
- Custom properties: Specific additional properties which can be necessary for validation of certain types of submitted data and/or to be further verified.
In Views tab, you can Allow the insertion of custom code which will change the presentation layer behavior of the captive portal Web elements, according the specifics needs of the customer. In order to allow the insertion of code for each view, click on the toggle switch button which by default is on the position “Use Default”. It will change to “Set Custom”, thus allowing you to insert the custom view code.
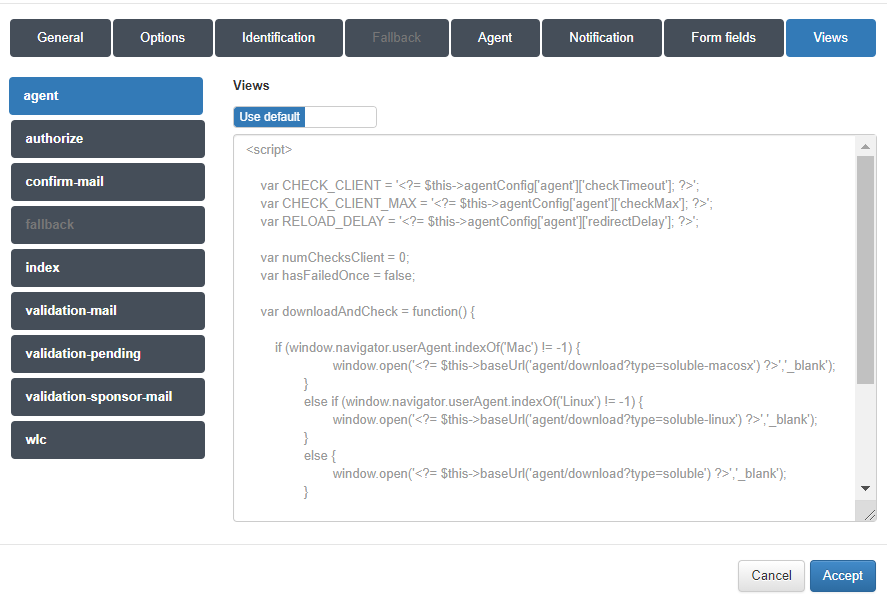
Note
Each Captive workflow template have its own set of views and must be treated accordingly.
After perform all the configuration required for this new captive workflow, click on accept to create it. Now, the new added workflow will be displayed on the grid. The details of each Captive workflow can be viewed easily clicking on the plus icon of the column “i”.
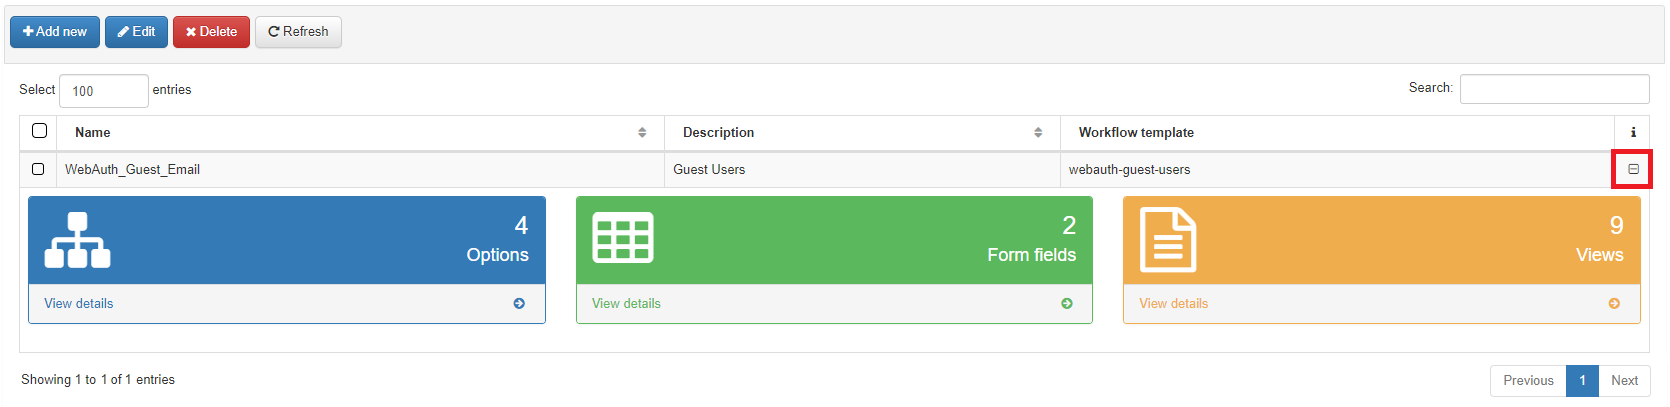
The details offer a fast way to know what is the current configuration, but do not permit changes. In order to change the configurations of a workflow, it is needed to select it and click on the button Edit.