Captive Themes
– In the ON Captive menu, Open the Captive themes tab by clicking on the option Captive themes.

To create a new Captive theme, click on the button Add new to open the corresponding theme creation dialogue.
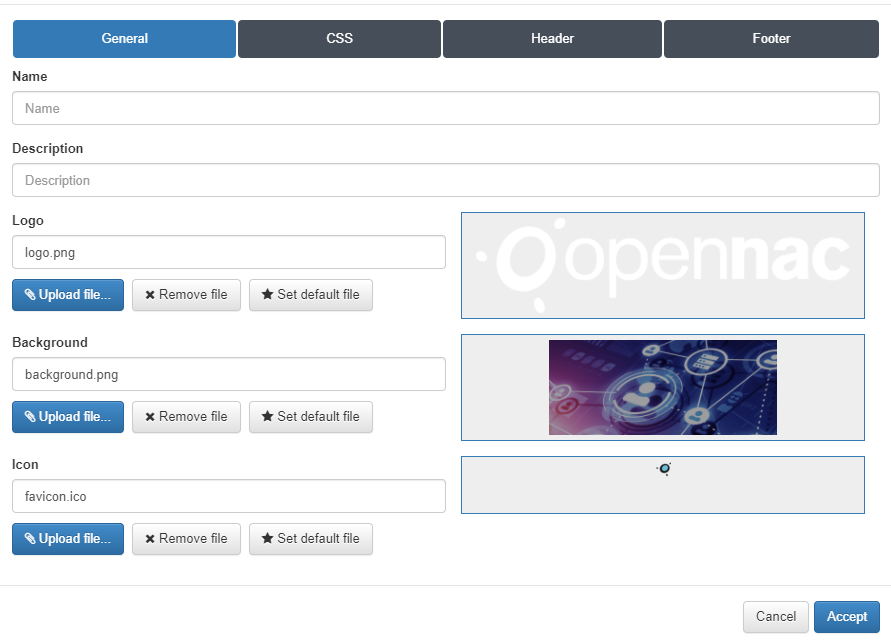
By default the dialog display the configurations related to the General tab:
- Name: Enter with the name of this Captive theme;
- Description: Type a meaningful description for this theme;
- Logo: This field defines what .png image will be used as the logo for this new captive theme. By default, the logo.png file is already configured and it corresponds to the default Opennac logo.
- Background: This field defines what .png image will be used as the background for this new captive theme. By default, the background.png file is already configured and it corresponds to the default Opennac background.
- Icon: This field defines what .ico image will be used as the favicon for this new captive theme. By default, the favicon.ico file is already configured and it corresponds to the default Opennac favicon. The favicon is displayed on the user’s browser address bar, just before the URL.
In the case of the customer wants to use its own logo, which meets the visual identity of the organization, there are three buttons for each field that allow change the images:
- Upload file: Permit pick the desired logo image and upload it this Captive logo. The preview of the image will be displayed within the square of the right side of the field.
- Remove file: Useful if you want to remove this element.
- Set default file: Defines the chosen file as default for the creation of new themes.
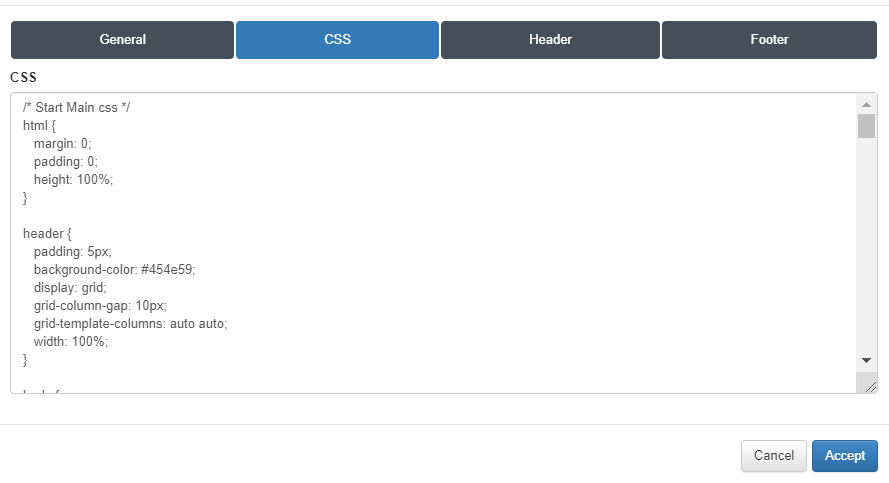
The tab Options makes available the form where you can insert your own CSS code for this captive theme:
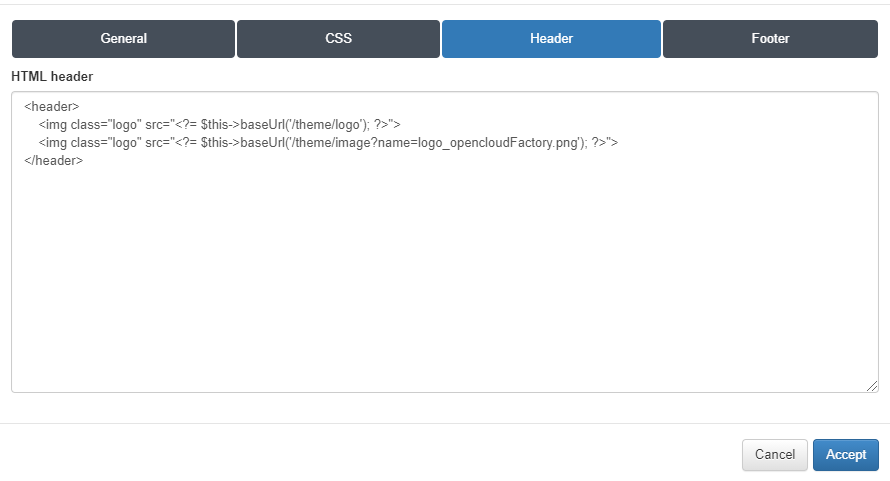
The tab header allows you to insert your own custom HTML code for the header of this Captive theme.
The tab footer allows you to insert your own custom HTML code for the footer of this Captive theme.
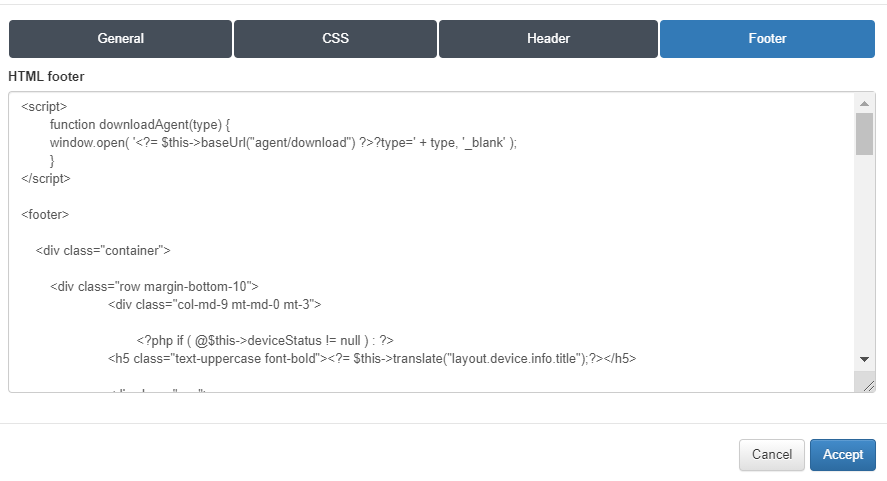
To finish the creation of the new Captive domain, which will be used on the next steps, click on the button Accept.
