Example ON Captive
1. Step by step configuration
The topic will describe a step by step configuration of a Captive portal, taking into account the concepts previously explored. In order to do this, it is necessary to be logged on the Opennac administrative Web interface using as admin or as an user with the proper rights.
- The first step is to create a captive workflow Captive Workflows
- The second step is to create a captive domain Captive Domains
- The third is to create a captive theme (optional) Captive Themes
- The last step is to create a captive instance Captive Instances
2. Simple working test
After perform all configurations, it is time to verify if the captive portal is working. To do so, it is enough access the web root of the captive portal, for example, if the IP address is 192.168.56.253, enter with the URL http://192.168.56.253/ in the address bar of the browser. The form fields should be displayed like the image below, according the fields created in the captive workflow
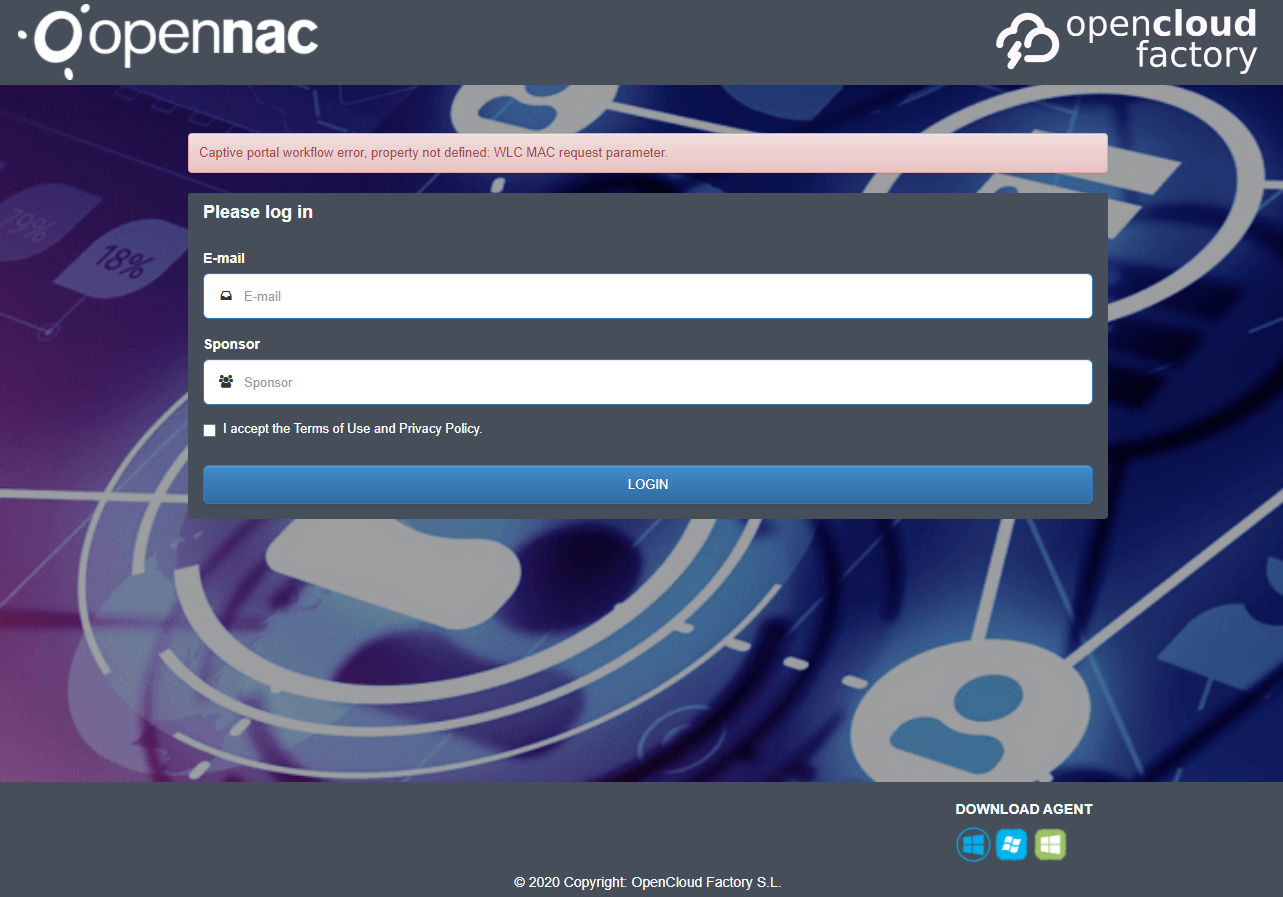
Note
For web authentication through a WLC, it is important to understand that the flow is handled by the wireless LAN controller. The reason is that WLC will transmit the data of the user device to the captive portal. Without these data, an error will appear as we can see in the image: Captive portal workflow error, property not defined: WLC MAC request parameter.