Auto-Learning Policy
This step is needed so, all of the client computers will be learned by Opennac, and saved in its local CMDB database. Later on, those clients will be able to be related to TAGs, that are used inside policies.
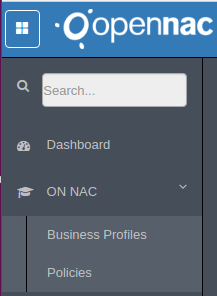
Click on the side menu “ON NAC” and click on the item “Policies”
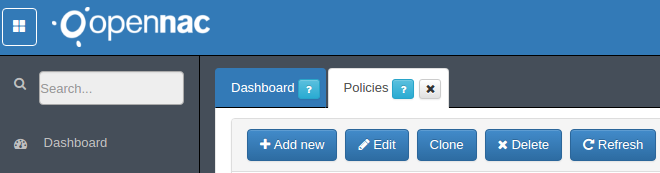
When the Policies tab opens, click on the “+Add new” button.
With the “Add New” window opened, we need to fill in the General and the Other sections, with the following information:
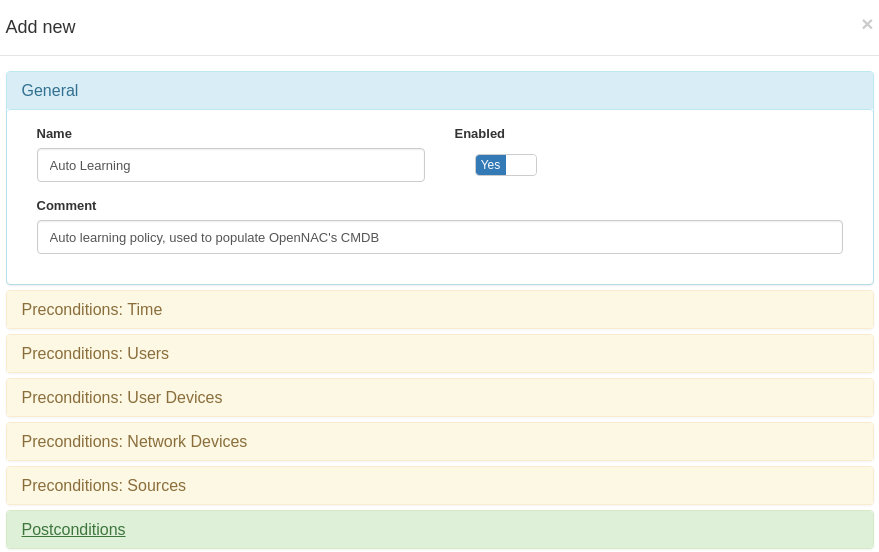
-> General Name: The name for the auto learning policy; Enabled: Either the policy is enabled or not; Comment: Any comments, used for detailing the purpose of the new policy;
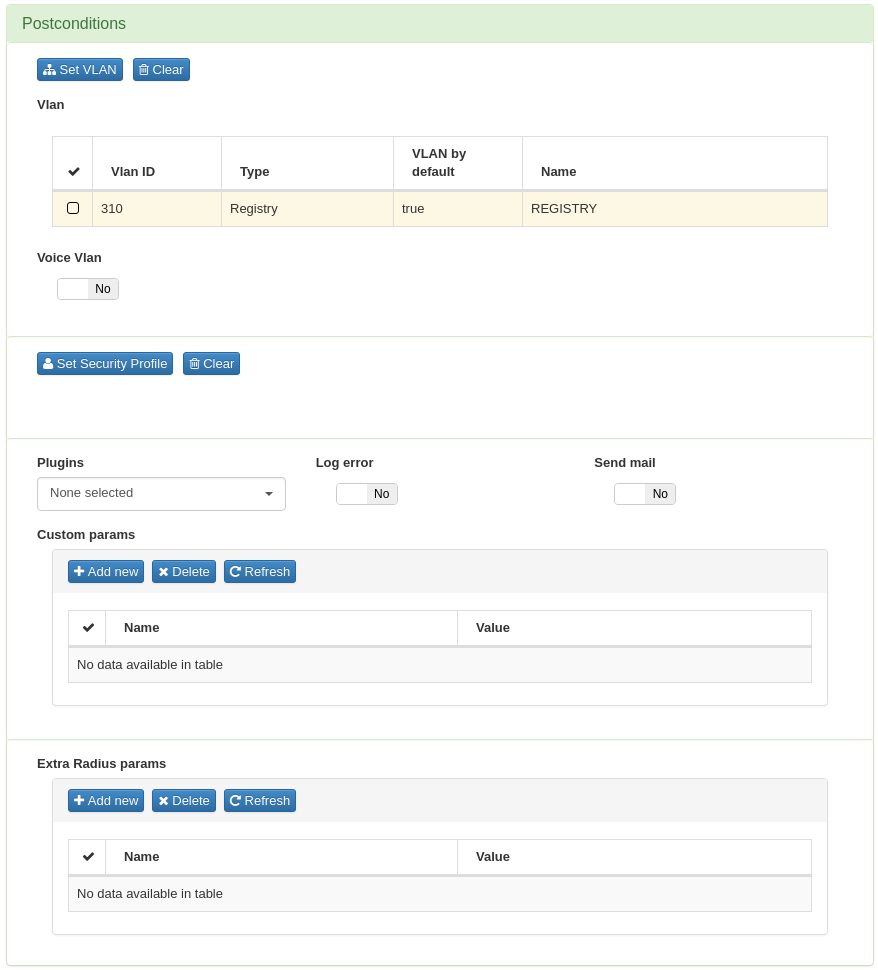
-> Postconditions VLAN: A valid VLAN should be added. This is the VLAN that will be asigned to the User Device, after being autolearned. The most usual VLAN to be used here is the Registry, since after learning the device initial information, it should pass through the registration process.
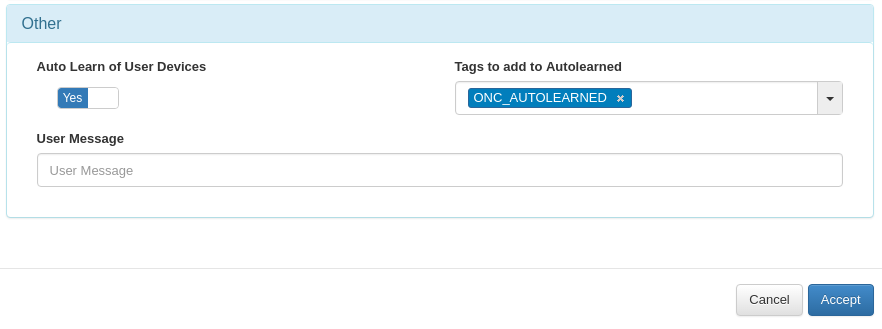
-> Other Auto Learn of User Devices: This option will add the User Device information to openNAC’s CMDB. Should be set to “Yes”; Tags to add to Autolearned: The TAG that should be added to autolearned User Devices, as a matter of convention, we always put the ONC_AUTOLEARNED. Additional TAGs can be added for organization purposes, for example: CDT_CORP1, CDT_CORP2, CDT_HEADQUARTERS, etc.
An autolearned User Device will appear like this in the User Devices tab (ON CMDB > User Devices):
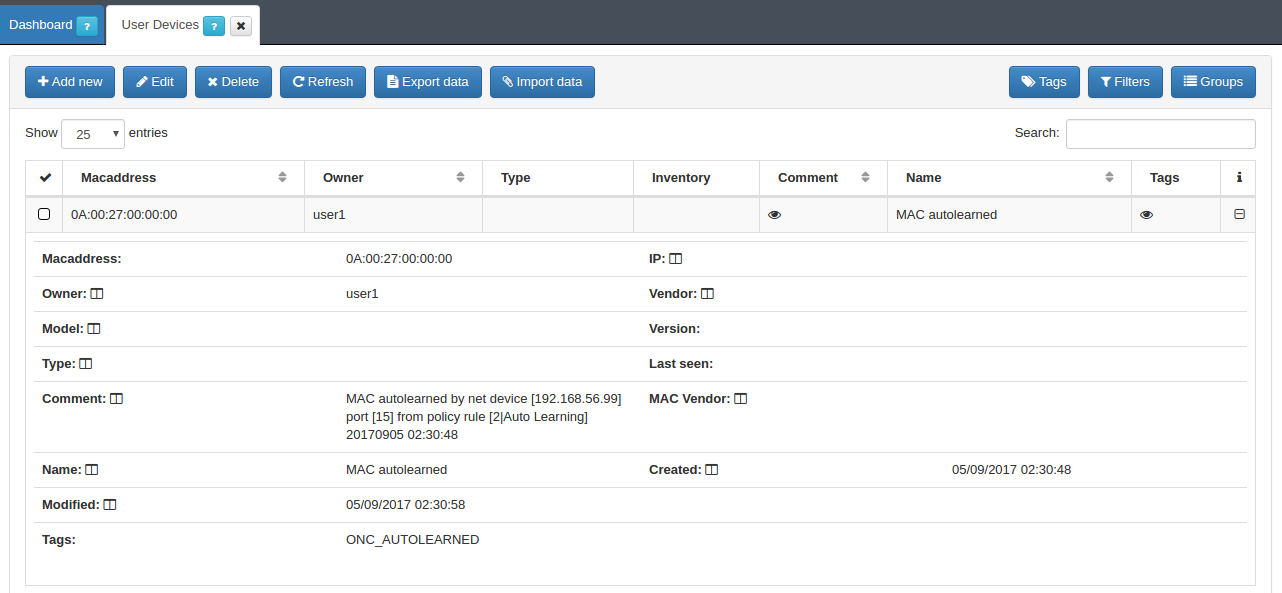
After creating the Auto Learning policy, the next equipments to send authentication requests to Opennac will be inserted into the CMDB automatically.
Now, it’s time for data parsing examples, but for general information about parsing information