3.2.2.7.3.4. Rules
Rules can be generated to allow or deny traffic based on various criteria such as source and destination zones, interfaces, protocols, and ports. While you can create rules simultaneously when creating a zone, this view allows you to create and manage all your rules in one place.
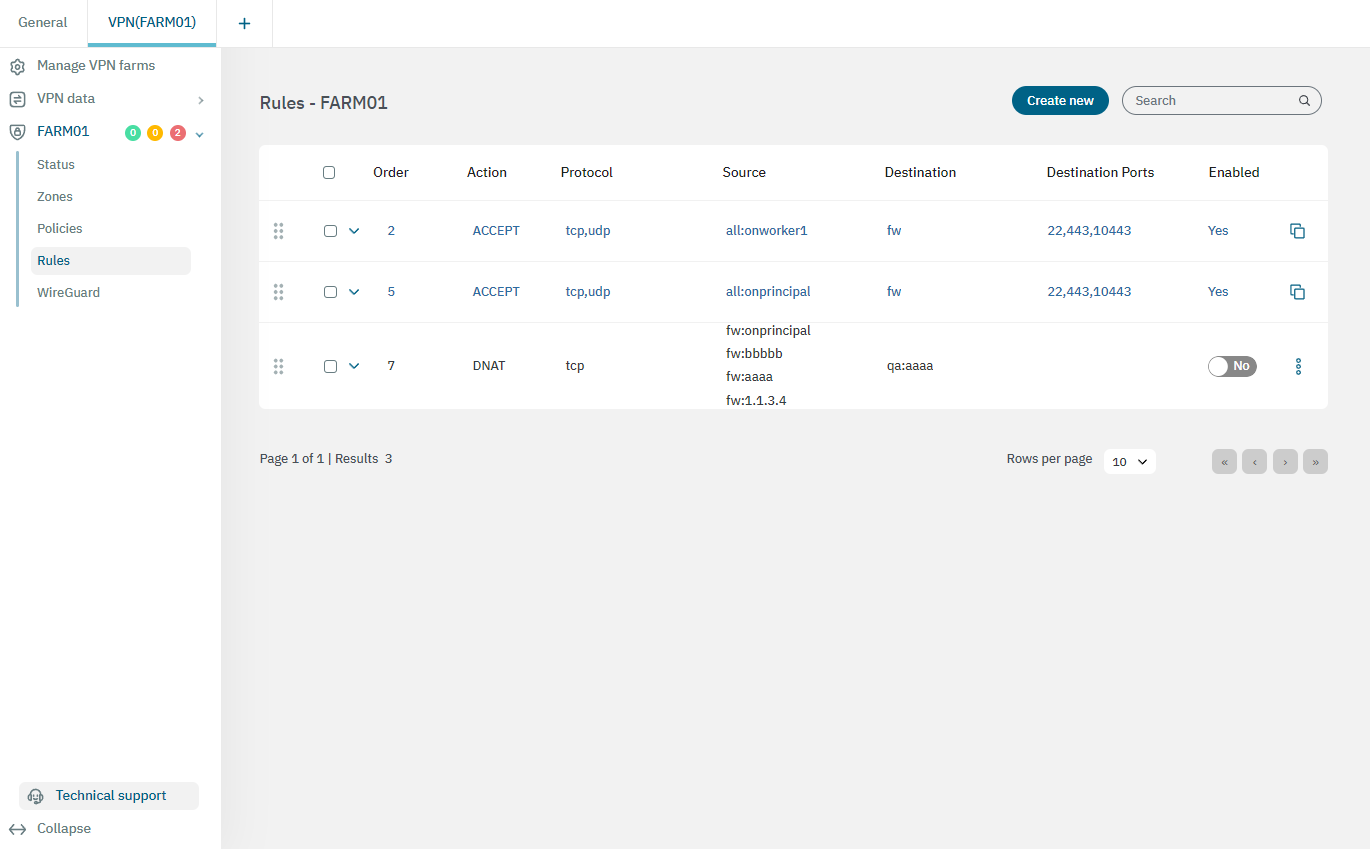
This view displays the Action, Source, protocol, Destination, destination ports, Source ports, Original destination, and description parameters.
Included as part of the OpenNAC Core, there is a default rule pre-configured in the VPN that requires no additional setup. This default rule allows all source zones to access all destination zones.
3.2.2.7.3.4.1. Creating a new rule
To create a new rule, click on the Create new button. It will display the following window:
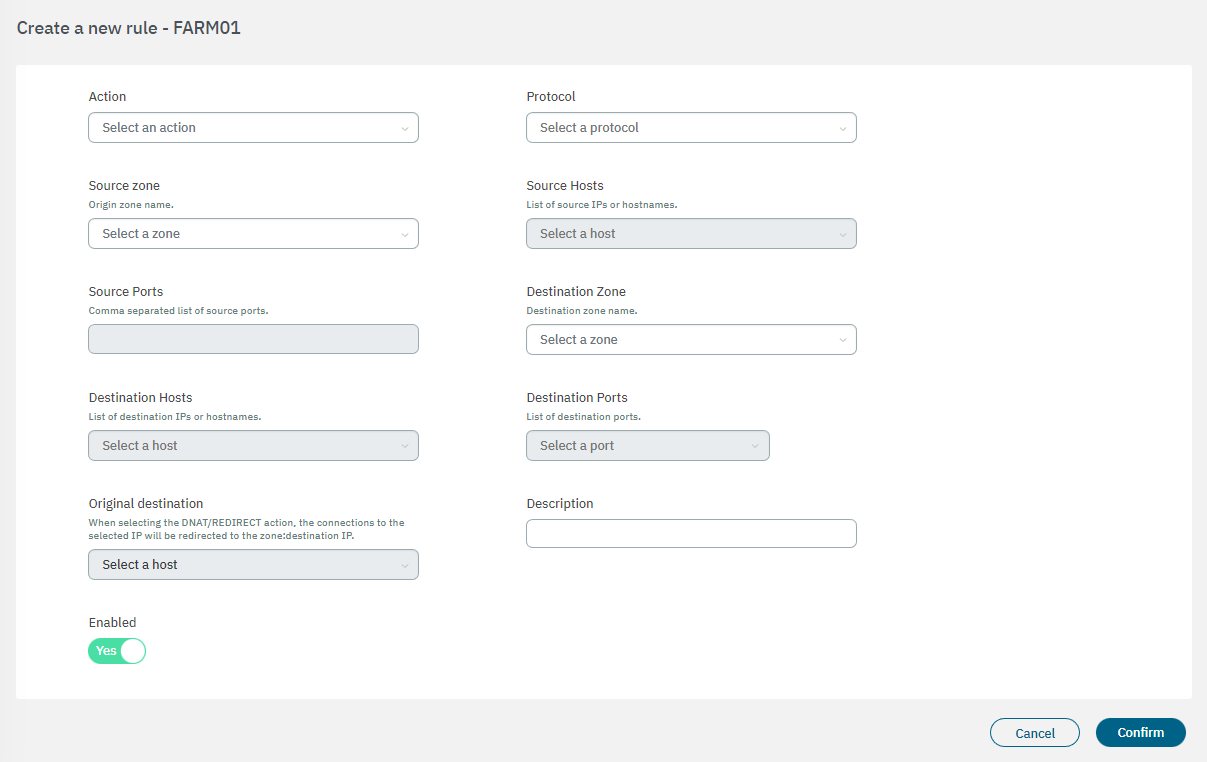
Action: Select the instruction of the rule (ACCEPT, DNAT, DROP, LOG & ACCEPT, LOG & REJECT, REDIRECT, REJECT).
Protocol: Select the rule protocol (All, TCP, UDP, ICMP, ESP)
Source zone: Origin zone name.
Source hosts: Select it from a list of source IPs or hostnames.
Source ports: Comma-separated list of source ports.
Destination zone: Destination zone name.
Destination hosts: Select a destination host to the rule.
Destination ports: Select a destination port to the rule.
Original destination: When selecting the DNAT/REDIRECT action, the connections to the selected IP will be redirected to the zone:destination IP.
Description: Add a description to the rule.
Enabled: Flag to enable or disable the rule.
Once you have finished, click on Confirm to save your configurations. Your new rule will be displayed in the main view.

By clicking on the Clone icon highlighted in two locations of the previous image, it will clone the selected rule and open a configuration window with its parameters. This way you can edit it and crete a new rule based on the cloned one.