2.4.2. Allin1 - Deployment base OS
2.4.2.1. Reference hardware
1xIntel NUC NUC8i7BEH Intel Core i7-8559U
2xCrucial SO-DIMM DDR4 2400 PC4-19200 16GB CL17
1xWestern Digital WDS100T2B0B WD Blue 1TB 3D NAND Internal SSD M.2
1xUSB 3.0 a Gigabit Ethernet, UGREEN USB 3.0 a RJ45 Ethernet Giga Adaptor
2.4.2.2. Roky Linux Installation steps
The Rocky Linux 8 we need is the minimal content, that could be installed with an ISO from the following link: https://download.rockylinux.org/pub/rocky/8/isos/x86_64/Rocky-8.6-x86_64-minimal.iso
Boot the machine with the Rocky Linux installation USB/CD/DVD
If you need to give VNC access to the installation process, follow these steps (if not, skip to the next step):
1.1. Select the “Install Rocky Linux” line and press TAB:
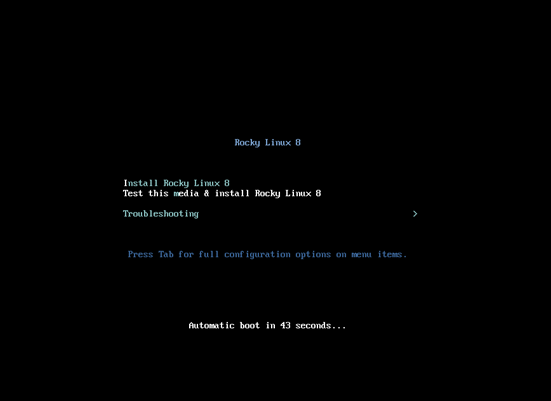
1.2. You will be presented with an line to be edited
1.3. Now add the following (instead of “VNCPASSWORD”, you can chose the password that will better fit your needs)
inst.vnc inst.vncpassword=VNCPASSWORD resolution=1024x768
1.4. After this, press “enter”.
1.5. After loading, CentOS will show the following line:
Please manually connect your vnc client to <IP_ADDRESS>:<PORT> to begin the install.
Note
TAKE INTO ACCOUNT, the port number is 5900 + the number in <PORT>, thus if PORT=1 the port number will be 5901.
1.6. Pass the IP and port to the person who will execute the installation. (If you have a MAC, you will have a vcn client already installed. From the finder, use cmd+k and then type vcn://<ip>:<port>)
As soon as you get the initial menu, select the “Install Rocky Linux 8” option and press enter.
On the first screen select the English > English (United States) and click on “Continue” button.

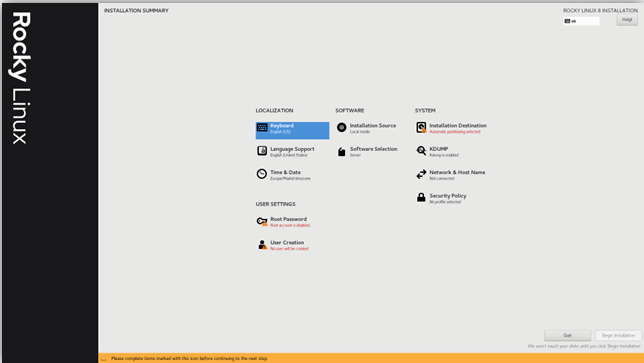
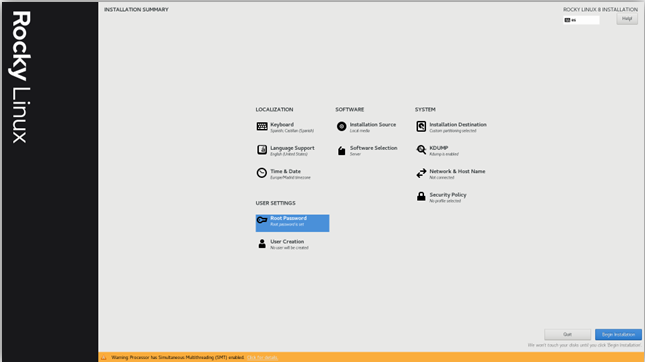
When you see the screen below, click on Time & Date:
Configure your TimeZone, based on your location. Don’t forget to let the “Network Time” ON.
5.1. Select the “Region”
5.2. Select the “City”
5.3. Enable “Network Time” if available, otherwise, let it on “OFF” mode.
5.4. Click on “Done”

Now, click on “Keyboard”
6.1. Select the “English (US) and click on the “-” symbol.
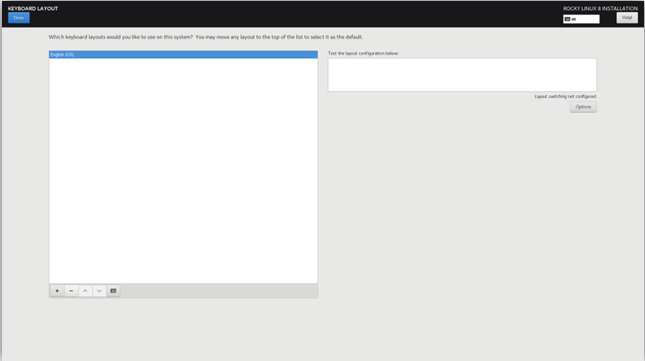
6.2. On the next screen, write Spanish, select the “Spanish; Castilian (Spanish)” and click on “Add”.
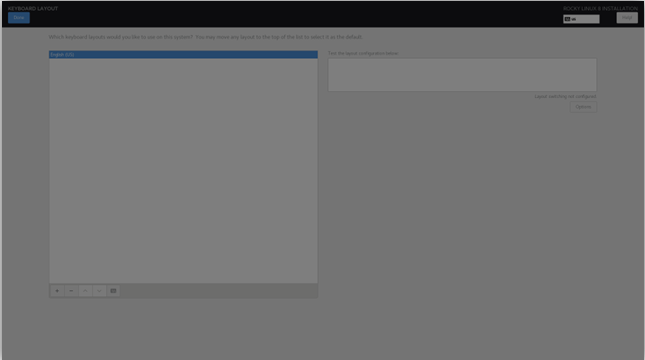
6.3. Click on “Done”.
Don’t change anything on “Language Support”, “Installation Source”, nor “Software Selection”.
Now, let’s partition our disc. Click on “Installation Destination”.
8.1. Select the option “Custom” and click on “Done”.
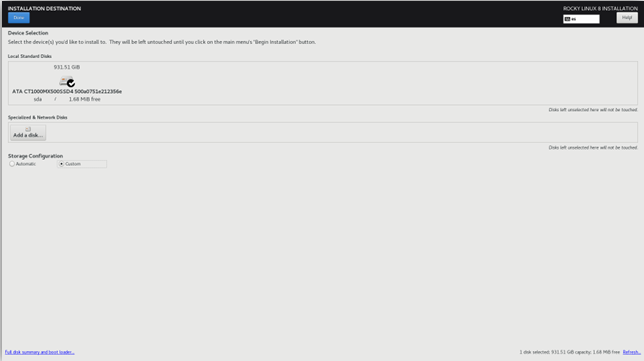
8.2. Now, on the following screen, we are going to configure our partitioning.
8.3. To make things faster, you can click on the “Click here to create them automatically” link.
If your machine has a previous configuration, you will need to delete the partition. For example, in this case the machine contains a CentOS configuration. Select it and remove everything using the “-” symbol. If the option of delete everything is given, click delete everything.
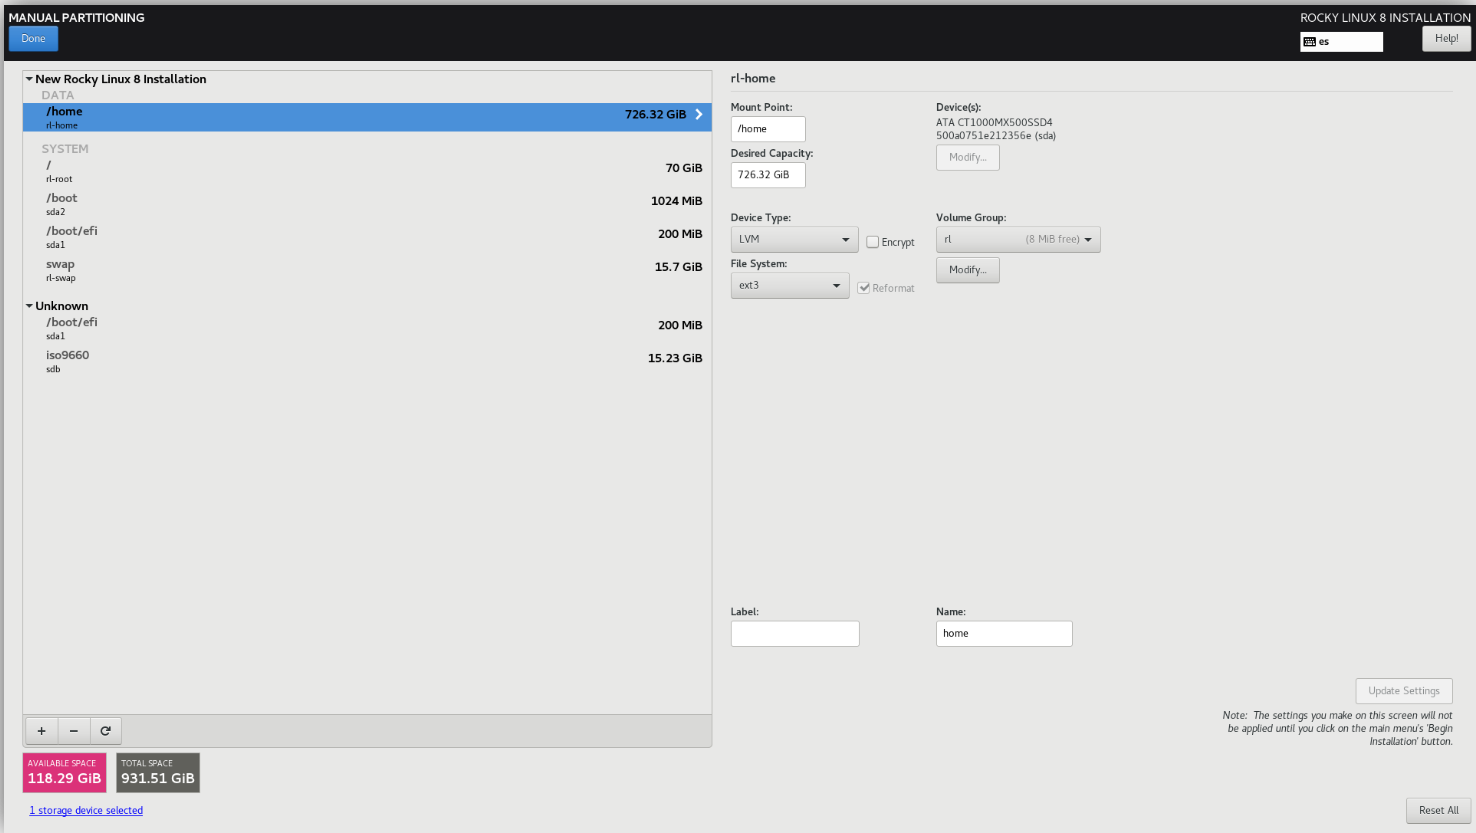
8.4. Now that we have a couple partitions, we are going to change their default configuration a little bit.
8.5. Click on /home and change the Desired Capacity to 726.32 GiB, the file system to ext4 and click on Update Settings.
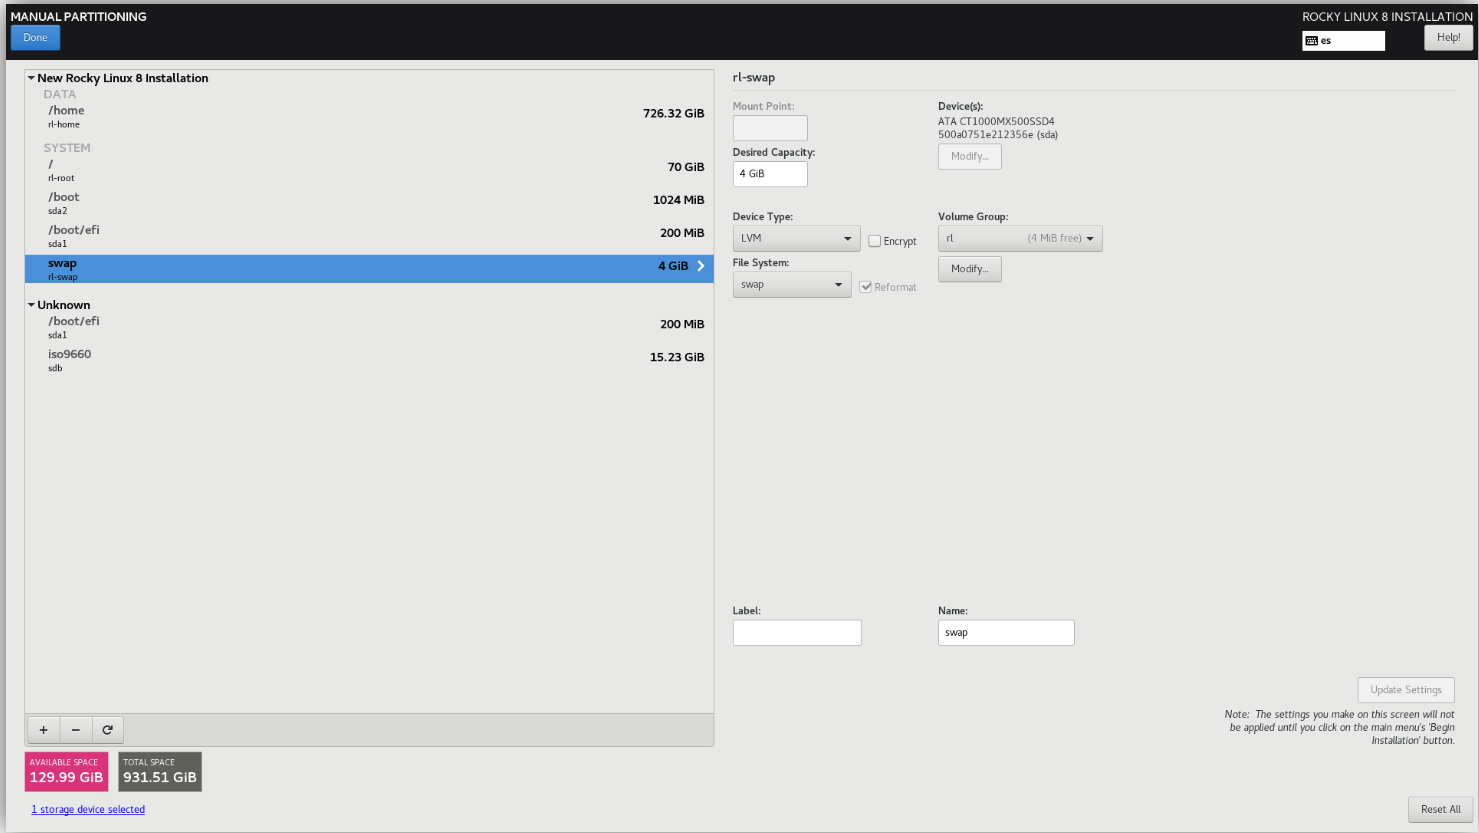
8.6. Click on swap and change the Desired Capacity to 4 GiB (or 4092 MiB) and click on Update Settings
8.7. Click on / and change the capacity to 200 GiB and the file system to ext4 and click on Update Settings.

8.8. Click on /boot section and make sure that the memory is 1024 MiB and the file system is xfs.
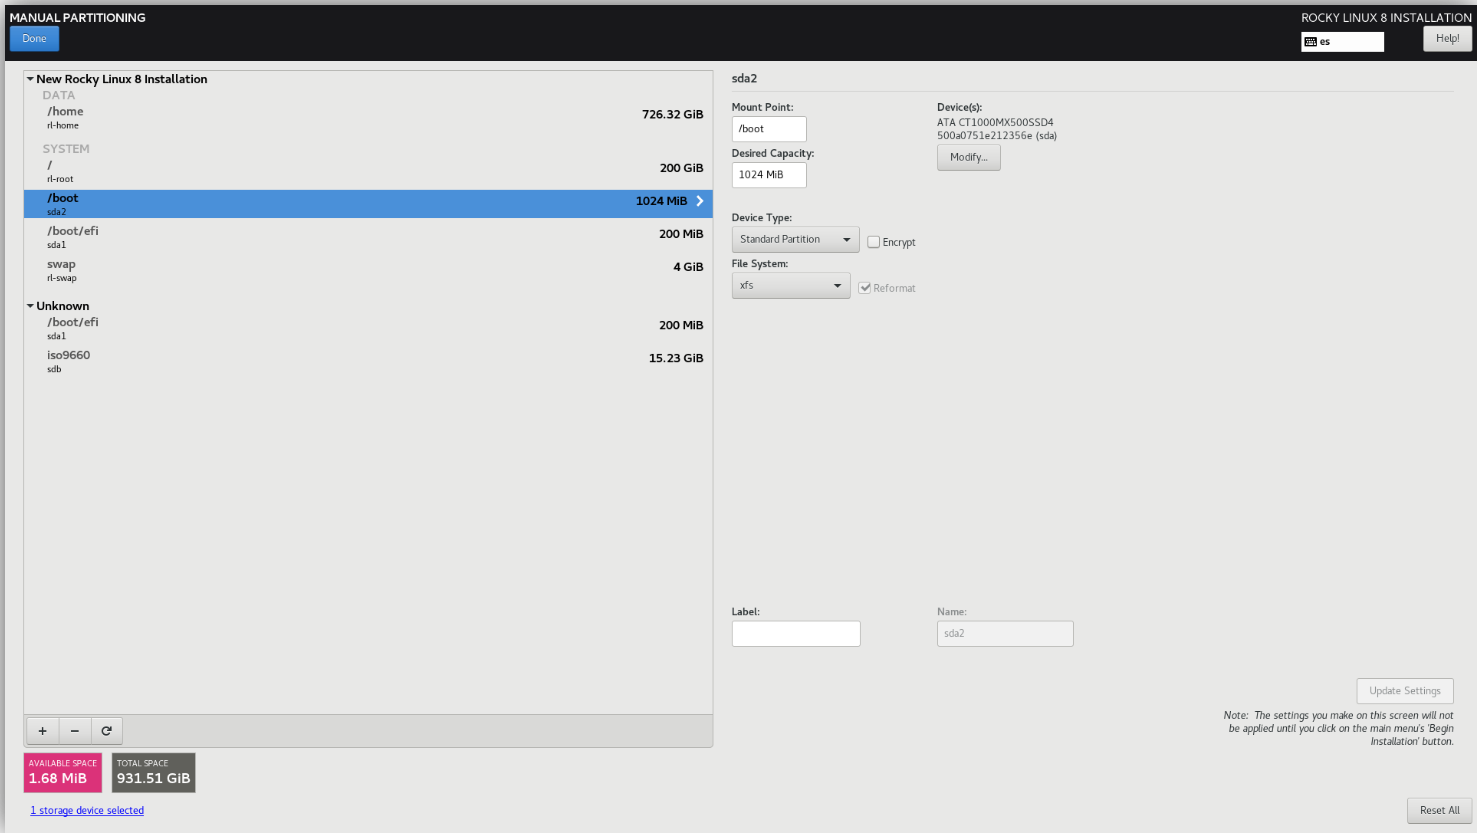
8.9. Click on Done.
Note
For optimal behavior add a /var partition with a capacity of 100GB and filesystem ext4.
8.10. You will be presented with the “Summary of Changes” screen. Review it, if you need to go back, you can click on “Cancel & Return to Custom Partitioning” or, if everything seems fine, click on “Accept Changes”.
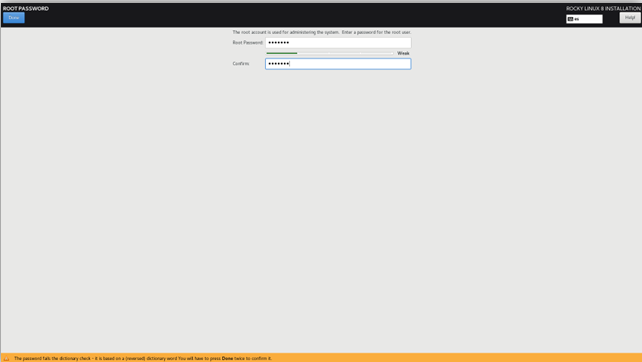
Define you root password, by clicking on “Root Password”:
9.1. Here, you just need to type the same password twice.
9.2. Click on Done (twice if the password is weak)
You can configure your network on the “Network & Host Name” or you can configure it later as explained in Allin1 OpenNAC Deployment on the host configurations.
Nothing else to be changed, click on “Begin Installation”
When the installation is finished in just a couple minutes, the wizard will prompt you for Reboot:

Go ahead and click on Reboot.
After the machine starts with its own operational system, you can ssh it and start the all-in-1 installation process.