3.2.2.2.1. Policies
In the Configure Policies section, you can create, remove, modify, or apply Network Access Control Policies. From this section, it is possible to manage NAC Policies and their objects.
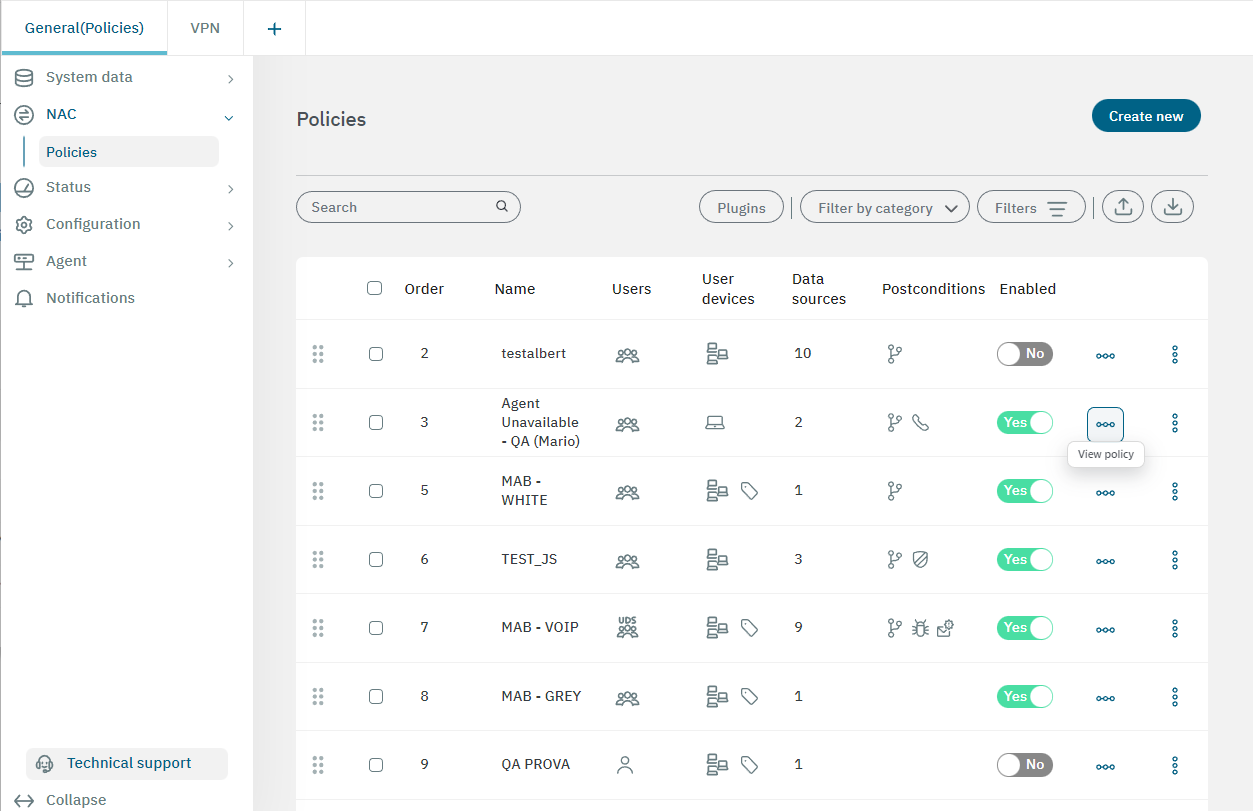
At the end of each row, there is horizontal a three-dot icon called view policy. By clicking on it, it will display Preconditions and Postconditions details of that specific policy.
The second vertical three-dot icon gives you the following configuration options:
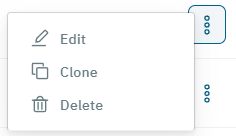
Edit: Edit a policy.
Clone: Clone a policy to create a new one based on it.
Delete: Delete a policy.
3.2.2.2.1.1. Toolbar
Before creating a new a policy, this topic will explain the remaining features of the NAC > Policies view. The toolbar helps you navigate, apply filters to visualize, and edit your policies in a very intuitive way. Let’s explore it from left to right ->.

Search: This field allows you to search policies.
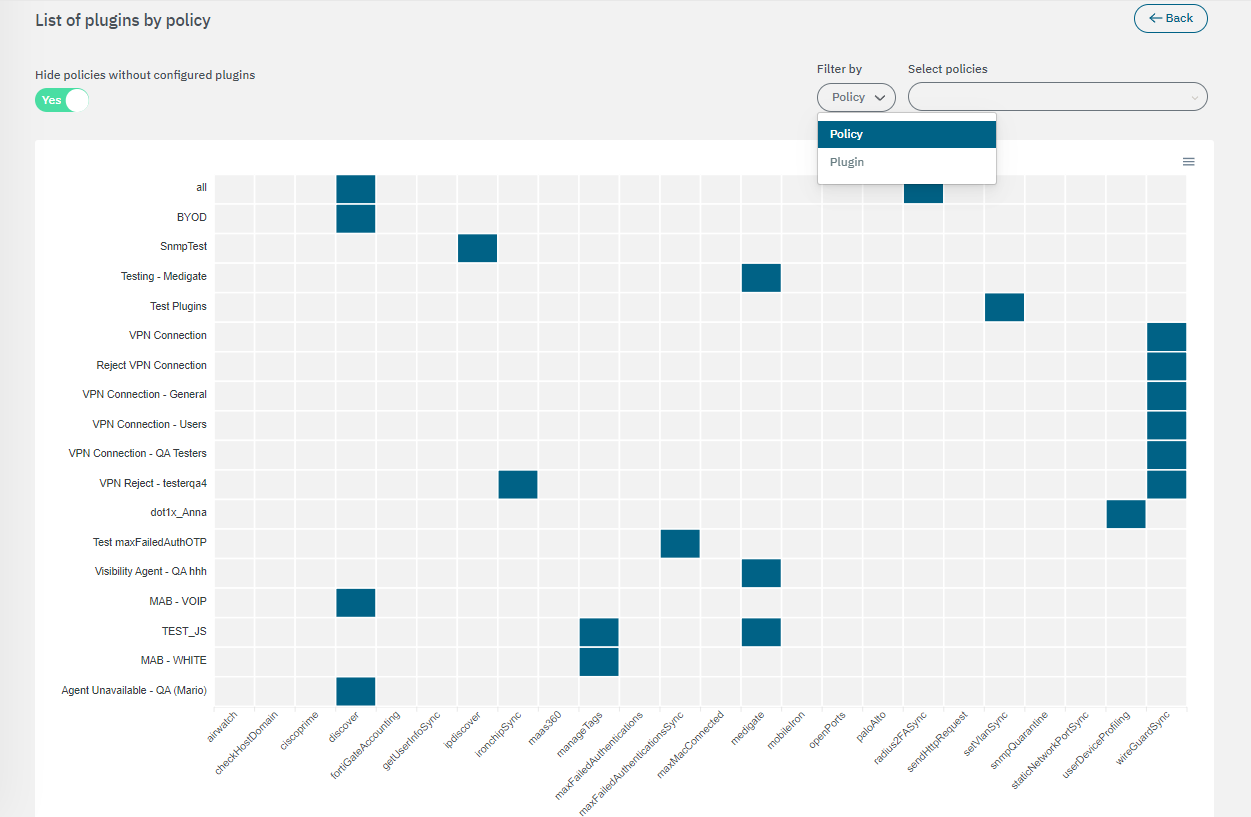
Plugins: Click on this button to display a list of plugins by policy like in the image below. The toolbar helps you hide policies without configured plugins, filter by policy or by plugin, and select specific policies to visualize in the list.
Filter by category: You can filter by category or choose to view all policies.
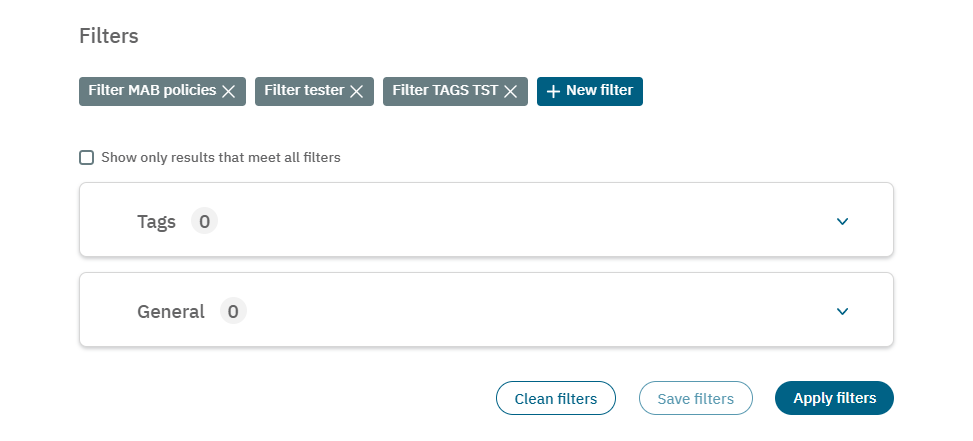
Filters: It opens the following configuration window. By clicking on the arrow, you can expand a filter to apply advanced configurations.
Export: You can export the entire database or a subset by filtering the table by the desired value.
Import: Import data from a JSON or XML file.
3.2.2.2.1.2. Creating a new policy
Note
Before creating any policy, note that there are two implicit policies in the policy engine. These policies will match if no policy has ever matched:
The first one, defines sending all the traffic to register VLAN by default.
The second one is an implicit rule that is created when the user device is sent to quarantine manually (quarantine VLAN must be defined on the infrastructure).
Security Behavior:
Any network access request will be processed by the security policy from top to bottom. As soon as a policy is matched the access is granted or denied. At that moment other rules processes will be stopped. If no policy is matched, it will enter the Default policy.
Note
We strongly recommend creating a final policy to match all events that did not match any of the previous policies. This way, you can know which events are out of your policy scope.
To create a new policy, click on the Create new button located at the upper right corner of the main view. It will display the following options:
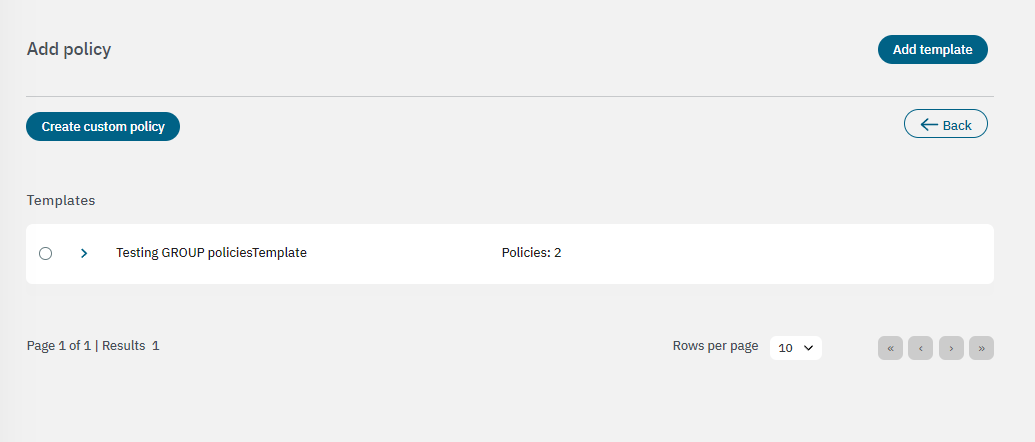
This view also displays an “Add template” button. Refer to the next section to learn about Policy templates.
By clicking on Create custom policy, it will display the following configuration window.
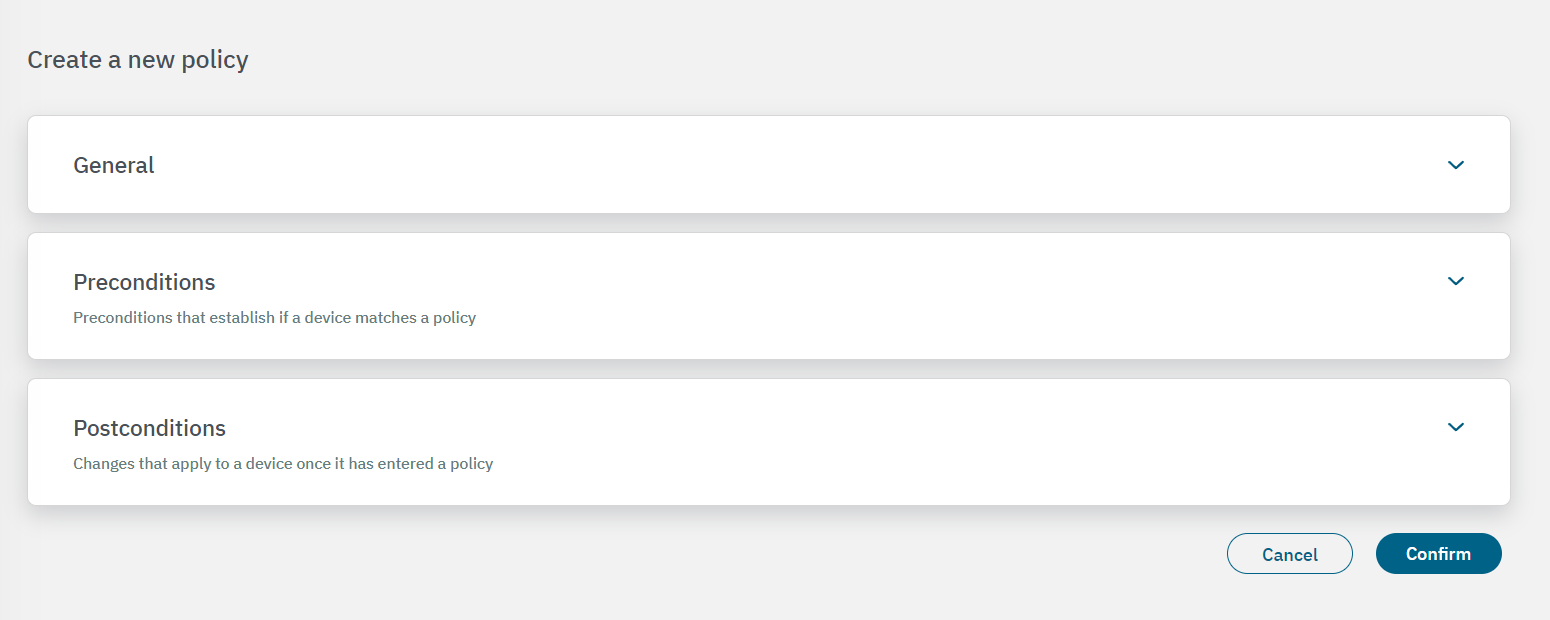
The Postconditions section allows to add conditions after that authentication happens, Vlan assignment, Security Profiles or ACLS at ingress port, plugins and its parameters, notifications, etc.
The Other sectionAllow activate device autolearning (User devices that match with this policy will be automatically added to ON CMDB). If autolearning is activated you can set a tag that will be inserted to the user device. In this section a customized message can be defined to be used in openNAC Agent and in the different captive portal workflows.
The policy engine has two main principles to consider to avoid mistakes and unexpected behavior:

Let’s explore all sections that are included in a policy evaluation process.
3.2.2.2.1.2.1. General

In the first section named General, you can add a policy name and a policy comment. There you can also enable or disable the policy or select the predefined category.
3.2.2.2.1.2.2. Preconditions
The second section named Preconditions allows you to add conditions before the authentication happens.
See all precondition types detailed below:
Filter by schedule: It allows selecting at what hours the policy is enabled and at what hours users can have network access. You can select time ranges.

Filter by session: It allows introducing a data expression to filter data.
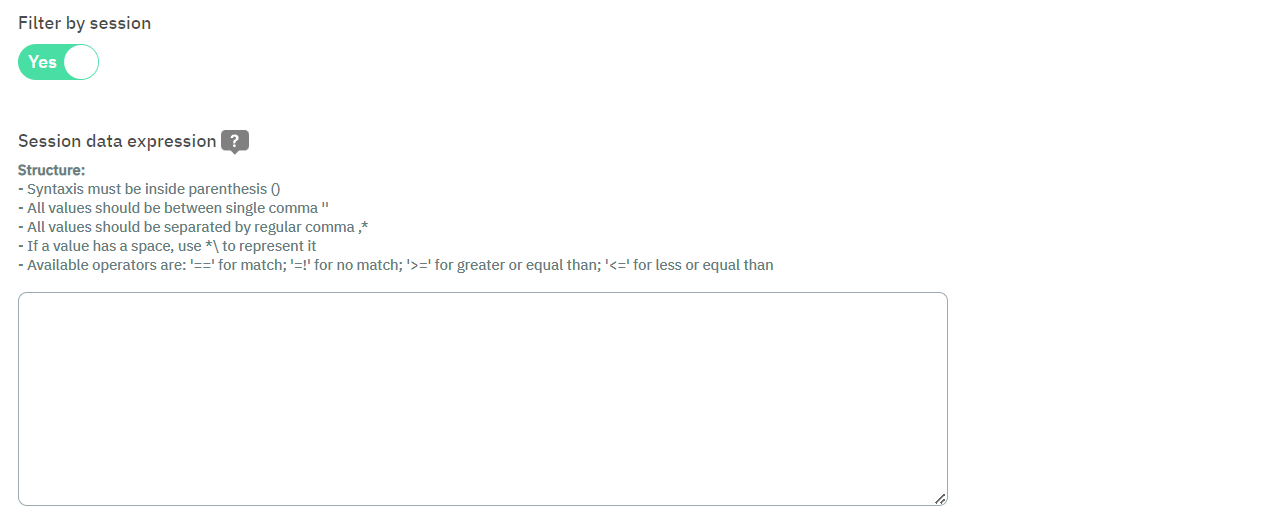
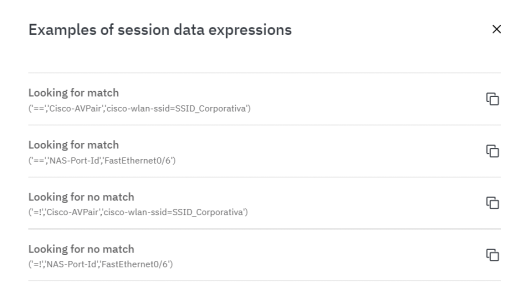
By clicking on the “?” sign, you can see examples of session data expressions that you can copy and paste to the expression field:
Filter by user OR Filter by user data: Enable filtering by user and specify a user data source, or enable filtering by user data source and specify its user data source filter. You cannot enable both filters.

Filter by certificate: Enable filtering by certificate and specify the TLS certificate details.

Filter by user devices: Filter by user device using its MAC address or owner.

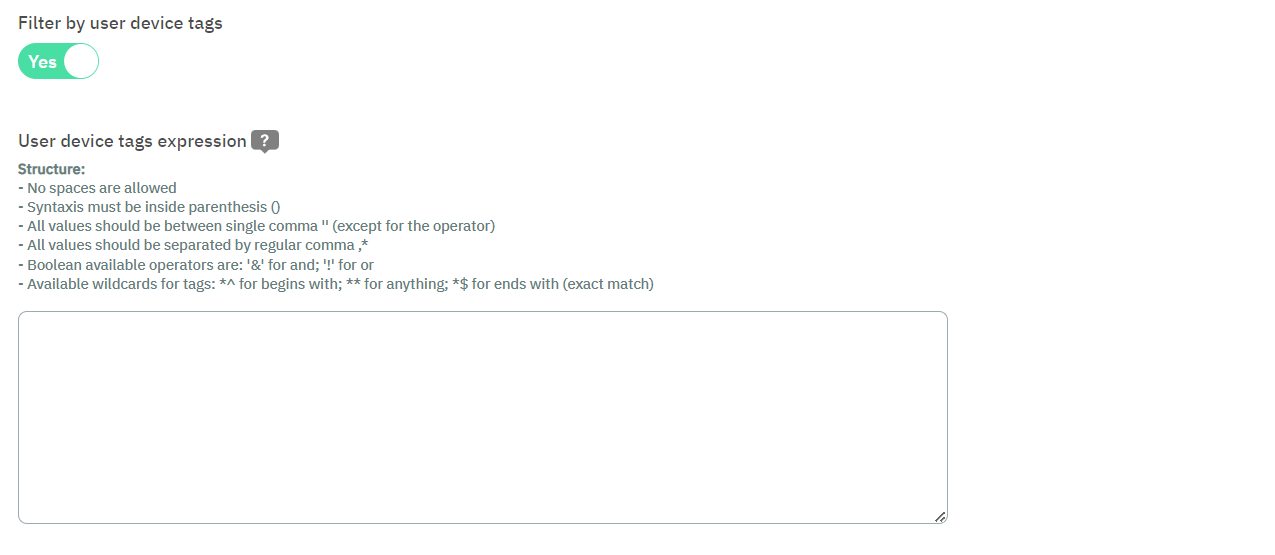
Filter by user device tags: It allows introducing an tag expression to filter data.
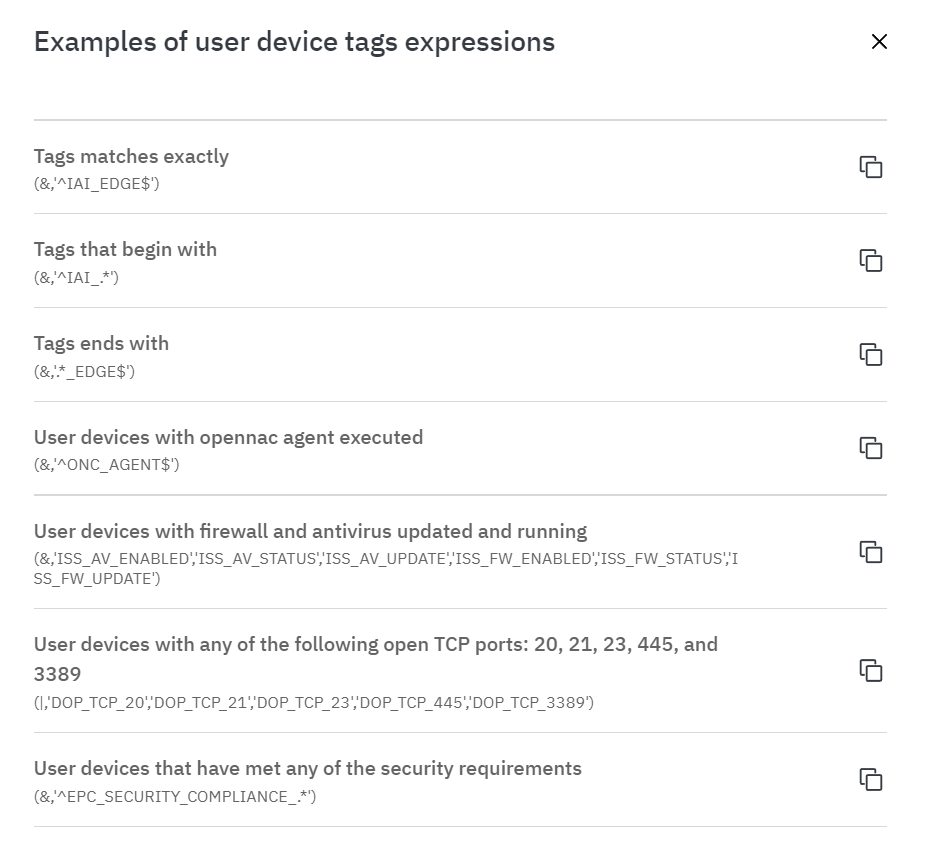
By clicking on the “?” sign, you can see examples of user device tags expressions that you can copy and paste to the expression field:
Filter by network device: Select a network device and indicate its SSID.

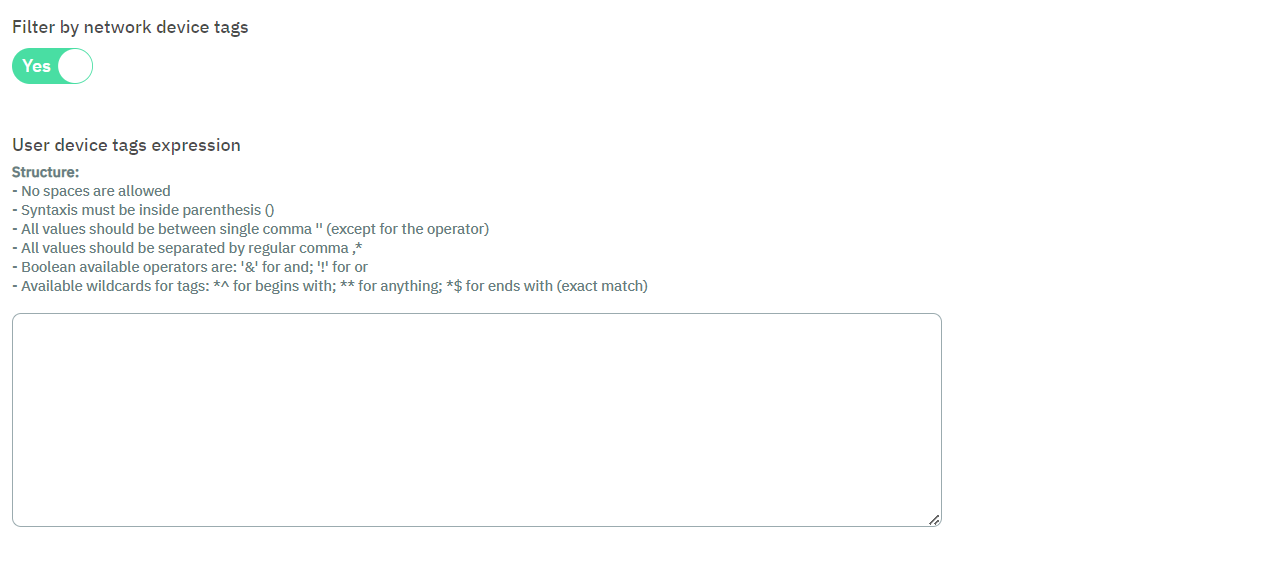
Filter by network device tags: It allows introducing an expression to filter data.
Filter by source: Allows you to define the authentication method to be used during network access requests. It is not recommended to use all at the same time, but you should enable at least one source. With the tuned policy we can ensure better policy results and avoid mistakes.

MAB: Mac Address Bypass method is an emulation of 802.1x. In the case there is no 802.1x supplicant listened by the switch port, the switch sends the MAC as the authentication method. It depends on the switch order authentication configuration that is assigned to the port. PRINTER, PHONES, and OTHER DEVICES that don’t have a supplicant 802.1x commonly use this authentication method.
Supplicant User: Enabling it, allows authenticated 802.1x supplicants, a common scenario may be a supplicant configured with EAP-MSchapv2. It is common to use a username and password credentials. This type of authentication could use a server certificate and be issued by a supplicant user trusted by a Certification Authority (recommended).
Supplicant Host: When enabling this type of authentication method, we allow the authentication of the workstations using the computer account. If this account is an Active Directory, the workstation account must be registered in the Active Directory domain to be used. A common scenario could be a support team that needs corporate devices to gain access to the network to provide a remote connection with user logon.
In case you don’t have a Supplicant Host configured you will not get network access until the user and password are introduced. Only users with cached credentials can access the network.
A common practice is to create a TAG when the authentication comes from a Supplicant host. We tag all the authentication attempts that come from this type of authentication to identify which workstation is part of the Active Directory domain and which part comes from a Corporate account. With that tag, we can reevaluate our policy actions.
VPN: Enabling this authentication method, we allow commercial VPN servers to be authenticated. Remember that OpenNAC Enterprise technologies allow using 2FA. We can use OTP using Google Authenticator OTP + Password. We have to define the IPS of the VPNS Gateway at the RADIUS level. Juniper, Cisco, Fortigate, Viapps, Checkpoint, or other commonly used VPN Gateway are easy to be integrated. The communication protocol between OpenNAC Enterprise technologies and VPNs is RADIUS protocol.
Visibility: Enabling the visibility source we allow the ON Core to process events that come from ON Sensor. OpenNAC Enterprise technologies include ON Core, Analytics, and Sensor components. For instance and as a use case, devices learned by ON Sensor are sent to ON Core adding a TAG such us SRC Sensor.
MAC discover: By enabling the MAC discover source, we allow the match of devices with known MAC addresses
Supplicant User Certificate: By enabling this type of authentication method, we allow the use of a user digital certificate, EAP-TLS adapts to this authentication method.
Supplicant Host Certificate: By enabling this type of authentication method, we allow the use of a host digital certificate, EAP-TLS adapts to this authentication method.
User: By enabling it, user connection and then authentication attempts through applications are allowed. Administrators of Network devices such as Switches, routers, and VPNs could be a common example. This means that we can use OpenNAC Enterprise to authenticate access to network devices. We can also create authorizations. For instance, in a common authorization scheme, Cisco Switches include different authorization profiles (Privileges Levels) which allow defining a command available for every privilege level. It is also possible to map privileges with Active Directory Groups, for that implementation we use RADIUS attributes.
SNMP Trap: Enabling the SNMP TRAP source allows the ON Core to process events that come from SNMP TRAP sent by a network device. This trap must be in version 1 or 2 and include the MAC address of the end point device.
3.2.2.2.1.2.3. Postconditions
The third section named Postconditions allows you to add conditions after the authentication happened: VLAN assignment, Security Profiles or ACLS at an ingress port, and plugins and their parameters or notifications.
See all postcondition types detailed below:
Apply VLAN: Allows you to assign VLANs dynamically (Logical segmentation) and configure compatibility with the Voice VLANs.

For example:
VLAN XXX: VLAN 533 (Provide VLAN). This is an example to define a service VLAN -any VLAN ID can be used. VLAN 0 (Provide switch default VLAN): This is the value that needs to be used to use Switch Default VLANs. This means that the switch will assign the default VLAN configured on the switch port. VLAN 4095 (Wrong VLAN): This is the value that needs to be sent to deny the Network access attempts. 4095 is out of valid VLAN scopes, and for that matter, by sending this value the network device will deny access.
Warning
Using a reject VLAN, like VLAN 4095, will not execute the plugins selected.
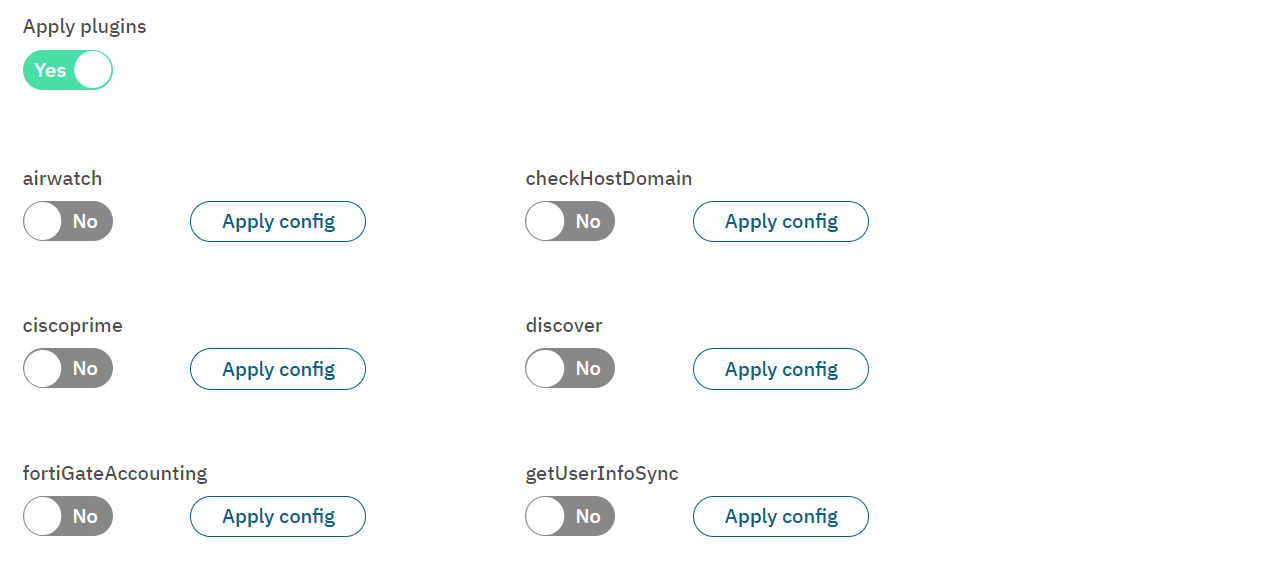
Apply plugins: Allows you to activate plugins and its parameters.
Apply security profile: Allows you to apply a security profile.

Apply agent profile: Allows you to apply an agent profile. If no option is selected, a default agent profiled will be used. See Configure > Agent > Profiles for information on how to configure them.

Apply custom params: Custom params allows changing plugin parameters and returning extra information to the polevals.

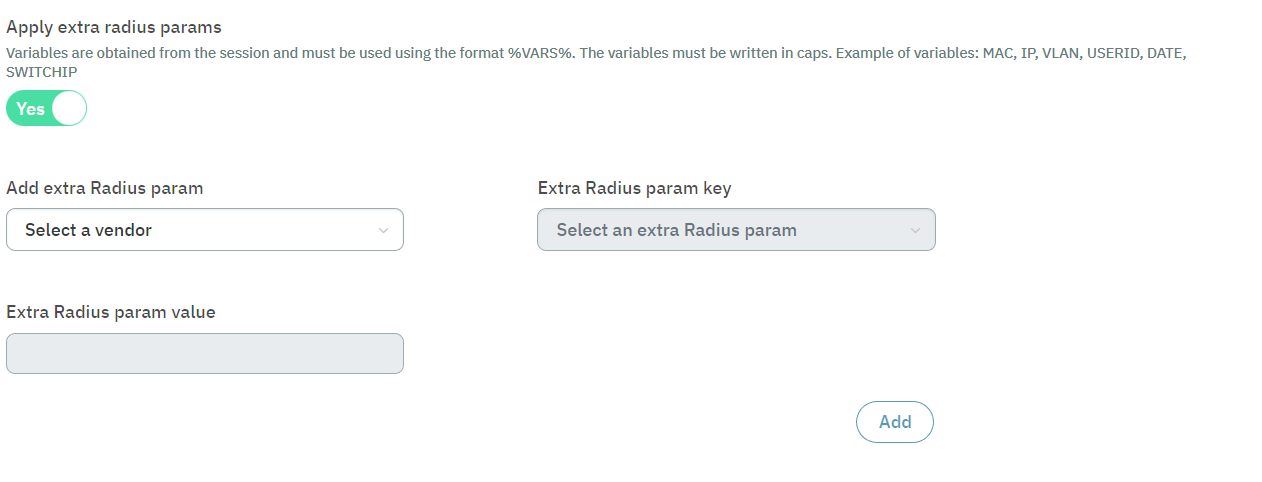
Apply extra radius param: Variables are obtained from the session and must be used using the format %VARS%. The variables must be written in caps. Example of variables: MAC, IP, VLAN, USERID, DATE, SWITCHIP.
Add tags to user device: Add tags to user device.

Apply other configuration: This flag allows you to enable logging of errors and sending email notifications when a matching policy is found.

3.2.2.2.1.3. Policy templates
As mentioned above, upon clicking on the Create new button of the main window, it will display a view with two options: “Create custom policy” and “Add template”.
Note
The policy template groups available in this view have been previously created by OpenNAC Enterprise and will vary depending on the client’s use case. Not all clients will have the same set of policies.
To create a policy from the templates, select the template group and click on Add template.

When selecting a single group of templates or multiple groups, you will be redirected to an intermediate screen. On this screen, you will have the option to edit the policies or skip them if they are already configured.

Once you finish customizing the templates, click on Confirm to save the changes.
