2.6.9. Security
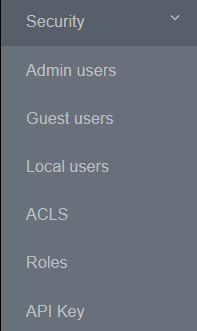
The Security section is located in ON CMDB -> Security -> Admin Users. In this section we can create administrator users, that is to say, we will manage those users who will have access to the OpenNAC Enterprise administration web portal. We can create different users and configure parameters such as email, role, phone, etc.
2.6.9.1. Admin Users
In the Admin Users section ON CMDB -> Security -> Admin Users, we can create administrator users, that is to say, we will manage those users who will have access to the OpenNAC Enterprise administration web portal. We can create different users and configure parameters such as email, role, phone, etc.
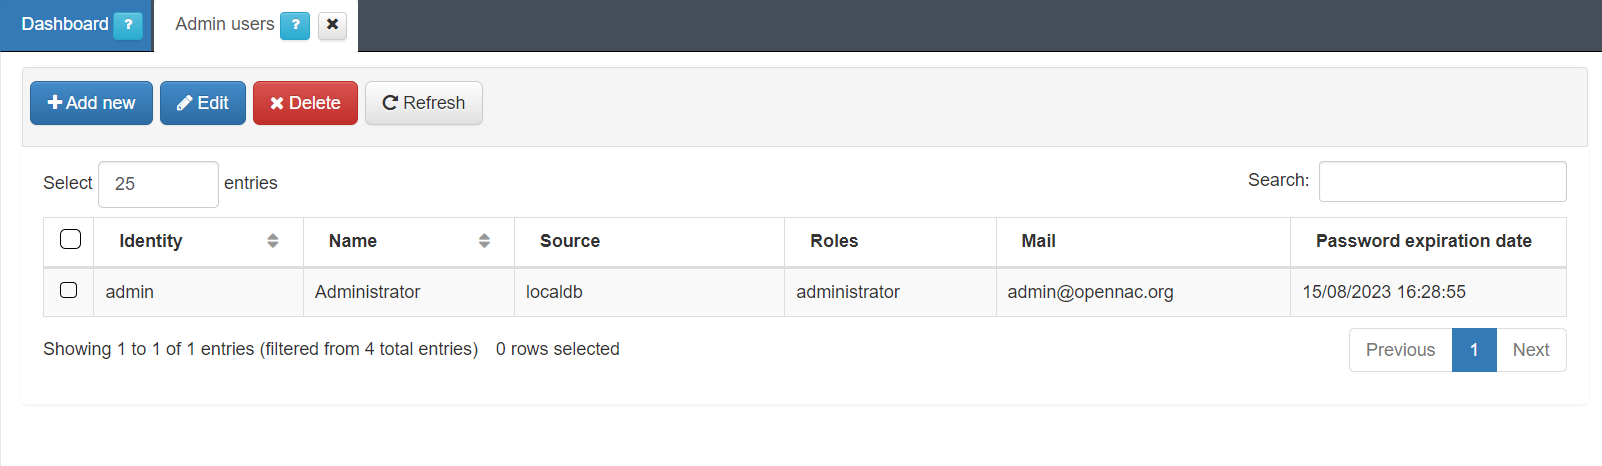
These users can be created on different user data sources and we can assign them different roles. These roles are used to manage access to the OpenNAC Enterprise web administration portal so that each user can have different permissions when navigating through the different sections of the administration portal (these roles must be previously created).
Note
If a user with a specific role switches to another role, they will automatically be logged out to renew their permissions. The next time the user logs in, the new permission for the assigned role will apply.
Warning
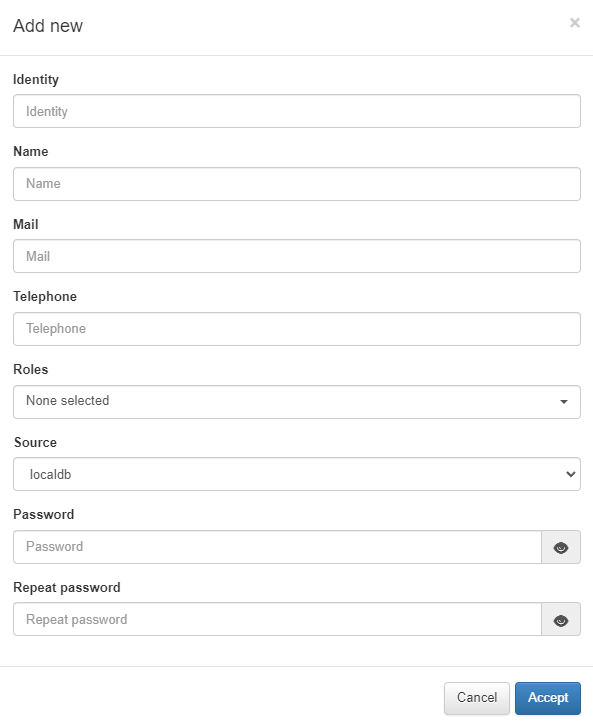
Remember! All passwords that are defined must comply with the following password policy:
Password length: minimum 8 characters.
One or more lowercase characters.
One or more uppercase characters.
One or more numbers.
One or more special characters.
2.6.9.2. Guest Users
In the Guest Users section ON CMDB -> Security -> Guest Users, you can see the guest users that have registered in OpenNAC Enterprise with information like name, email, MAC address, etc.

2.6.9.3. Local Users
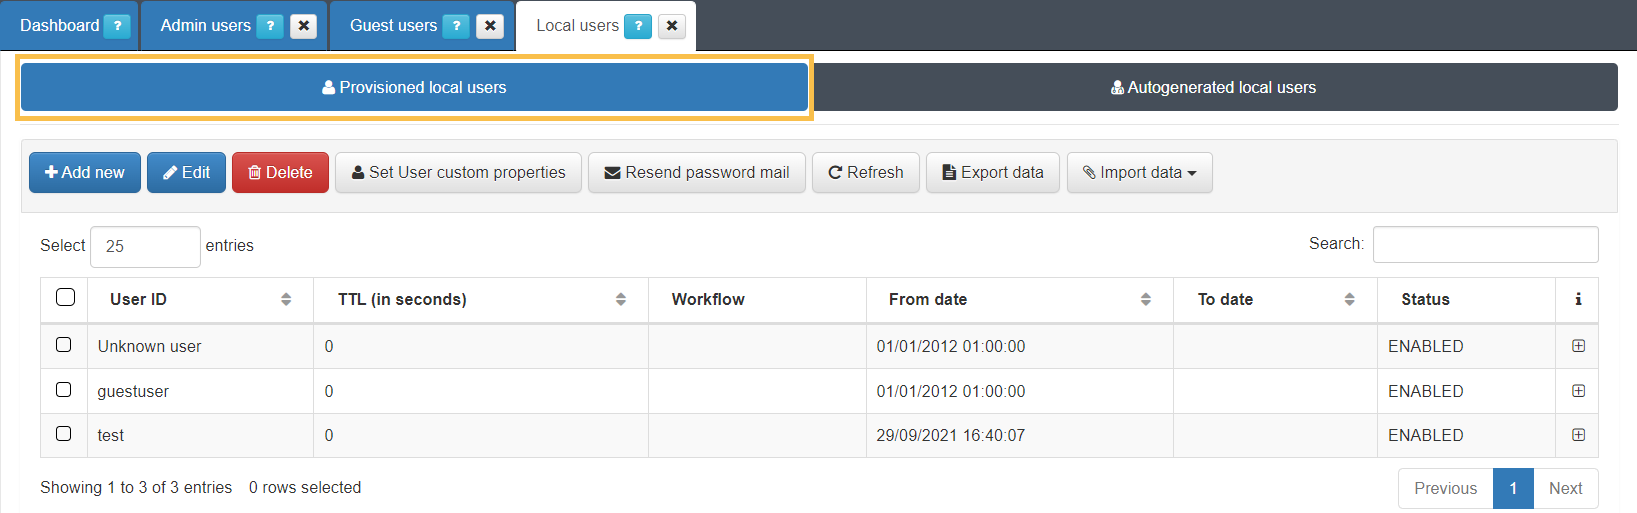
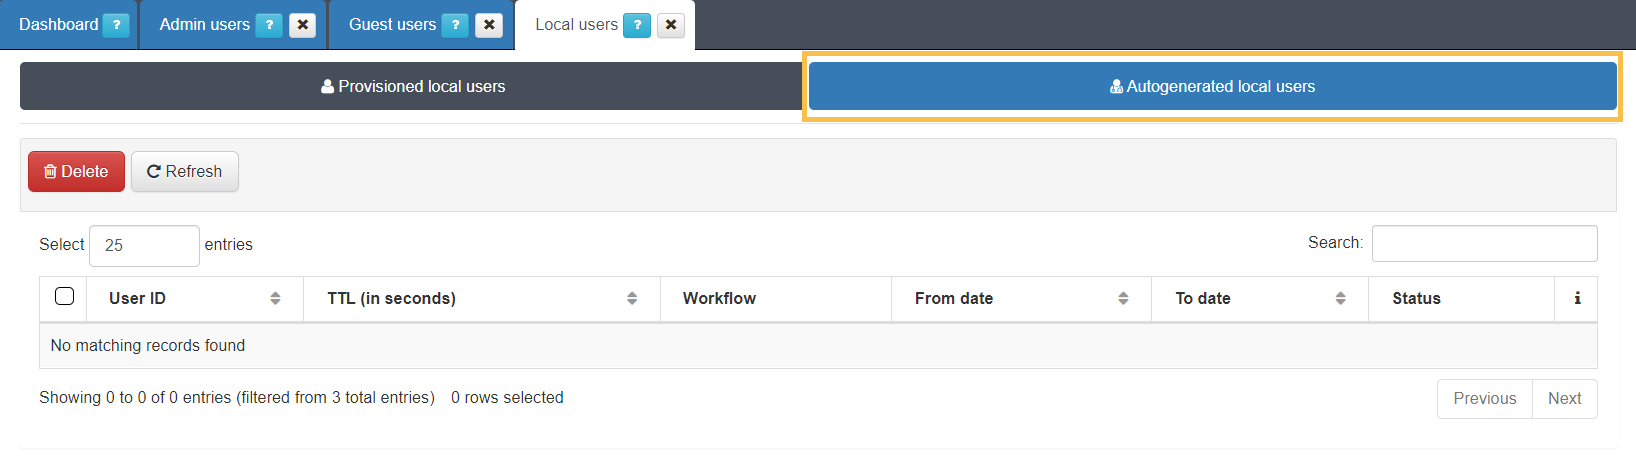
In the Local User section ON CMDB -> Security -> Local Users, we will find two subsections: Provisional local users and Autogenerated local users.
In the Provisioned local users section you can register local users and its information will be stored in the OpenNAC Enterprise database.
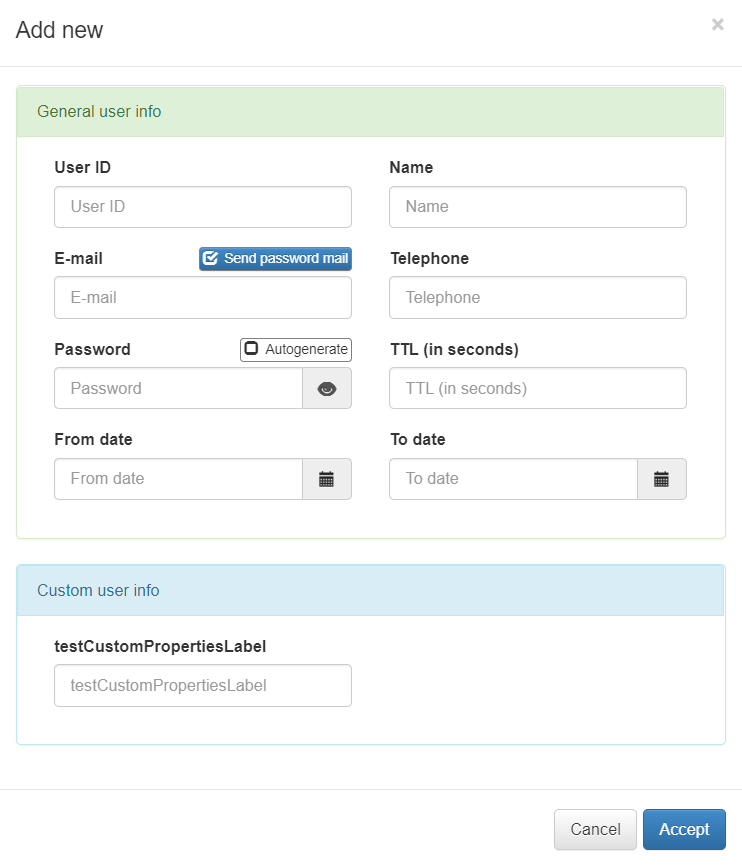
To add a new user, click the Add new button, and a pop up window where we can register the following information will appear:
Warning
Remember! All passwords that are defined must comply with the following password policy:
Password length: minimum 8 characters.
One or more lowercase characters.
One or more uppercase characters.
One or more numbers.
One or more special characters.
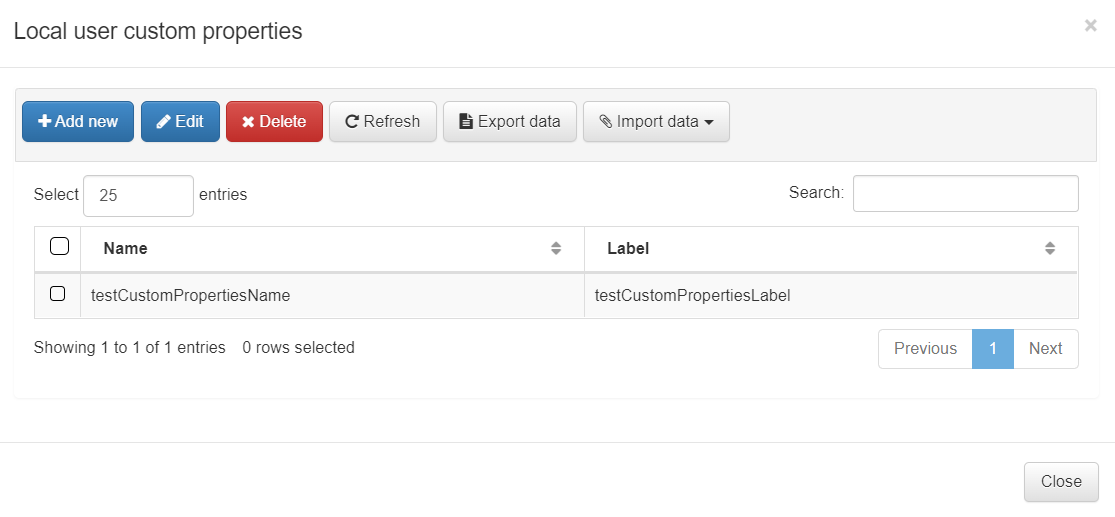
If we want to add more properties to the user, we can create custom properties by clicking on the Set User custom properties button. There, we can define the name of the property (it will be the variable name that will be stored on the database) and the label that we will associate with the new property.
Once we have defined those custom properties, if we add a new user or edit an existing one, a new field with the specified label will appear on the pop-up window.
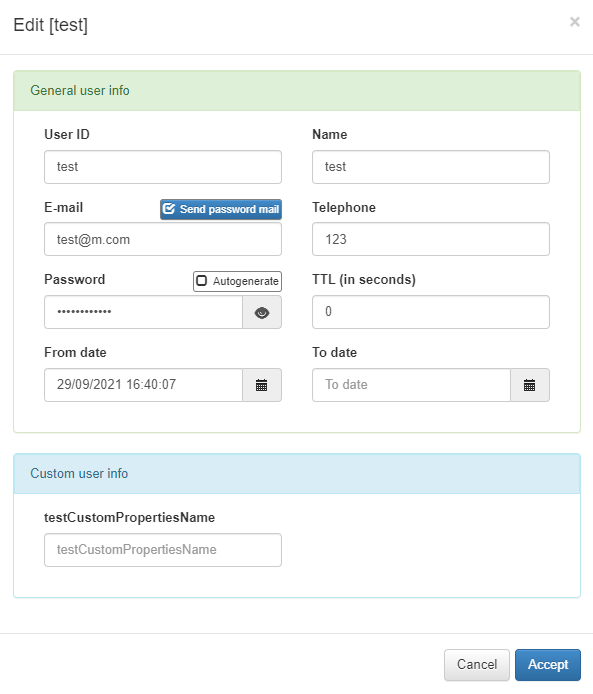
If we forget the password, we can select the desired user and click the Send password email, and a new password will be sent to the configured mail.
In the Autogenerated local users section, we will find the users that had been registered through the different workflows from the Captive Portal.
2.6.9.4. ACLs
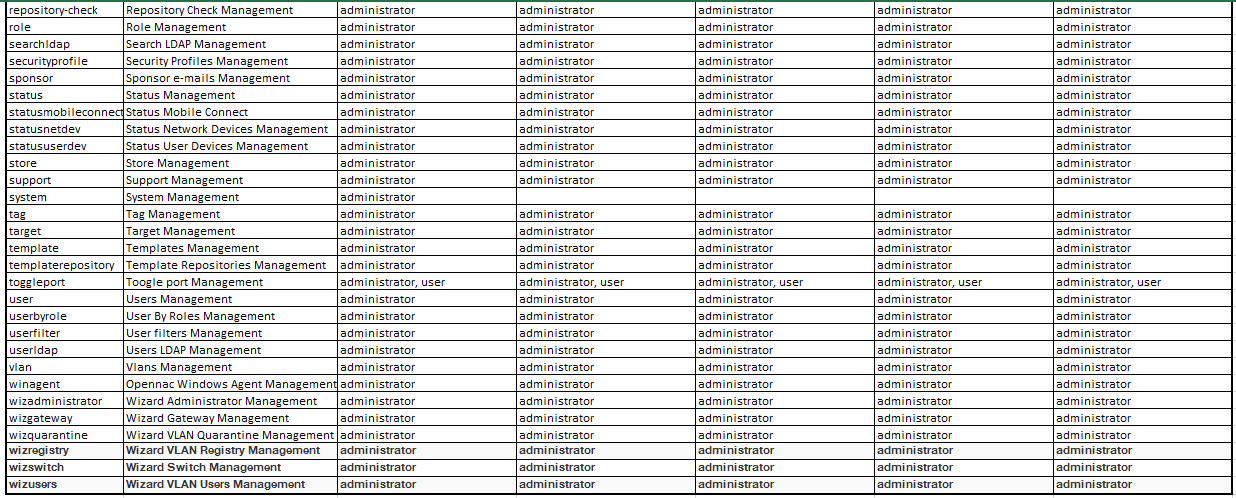
On ACLS ON CMDB -> Security -> ACLs is possible to define the capabilities used by the roles (formally named ACLs). This security method allows us to control which actions can be carried out by the user. These ACLs are also valid and used to provide security to the API as well. This ACL defines which methods are available to be used through HTTP connection and its classes and description.
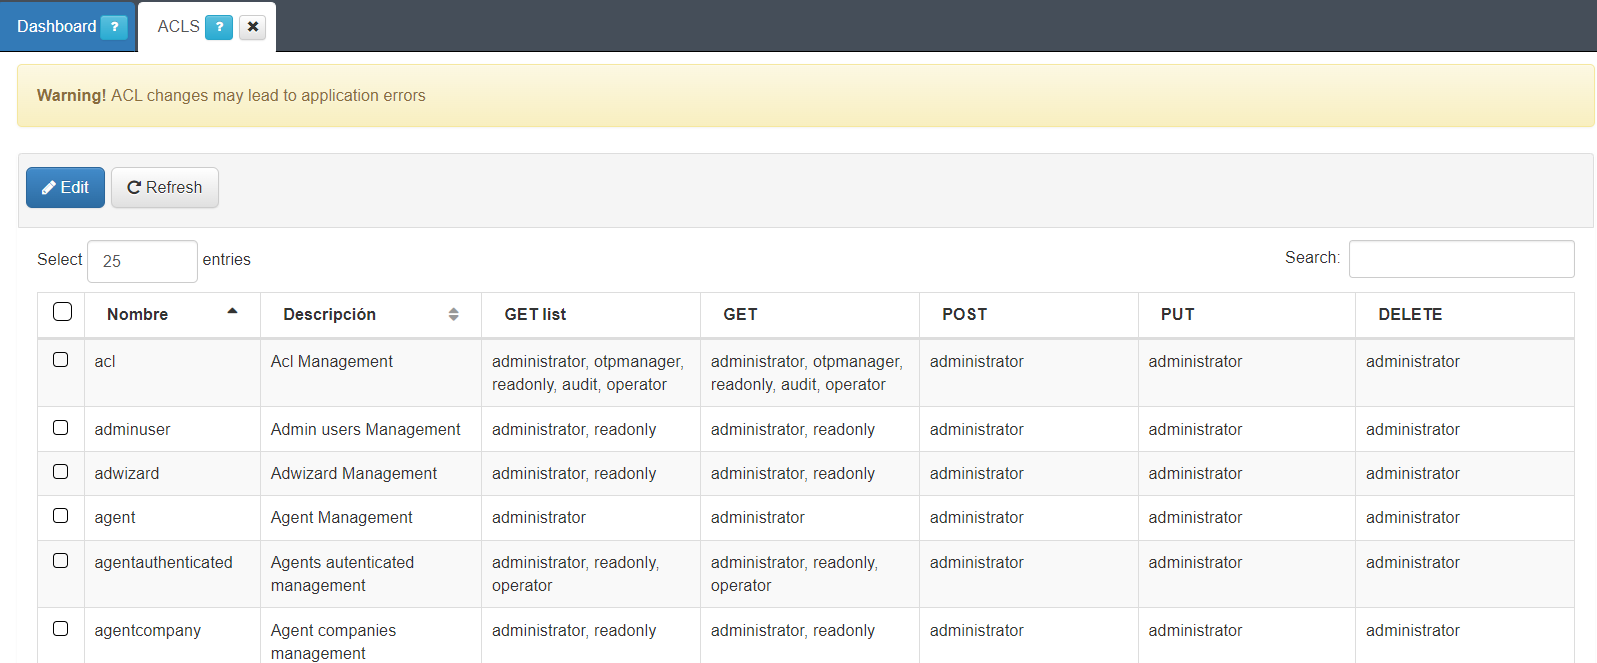
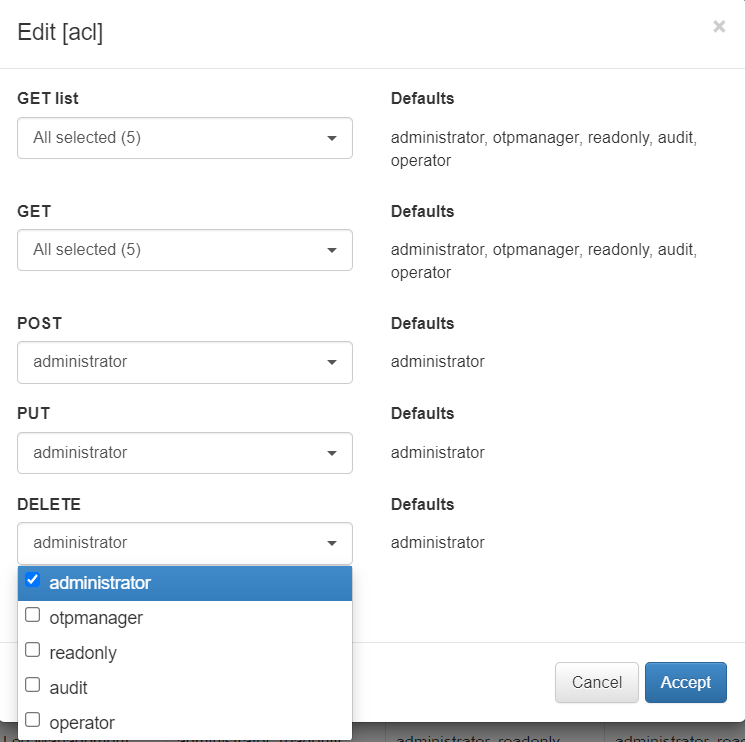
We can also edit the existing ACLs by selecting the desired ACL and clicking the Edit button. A pop-up window will appear so that we can select the different roles to which we want to give access to the different actions.
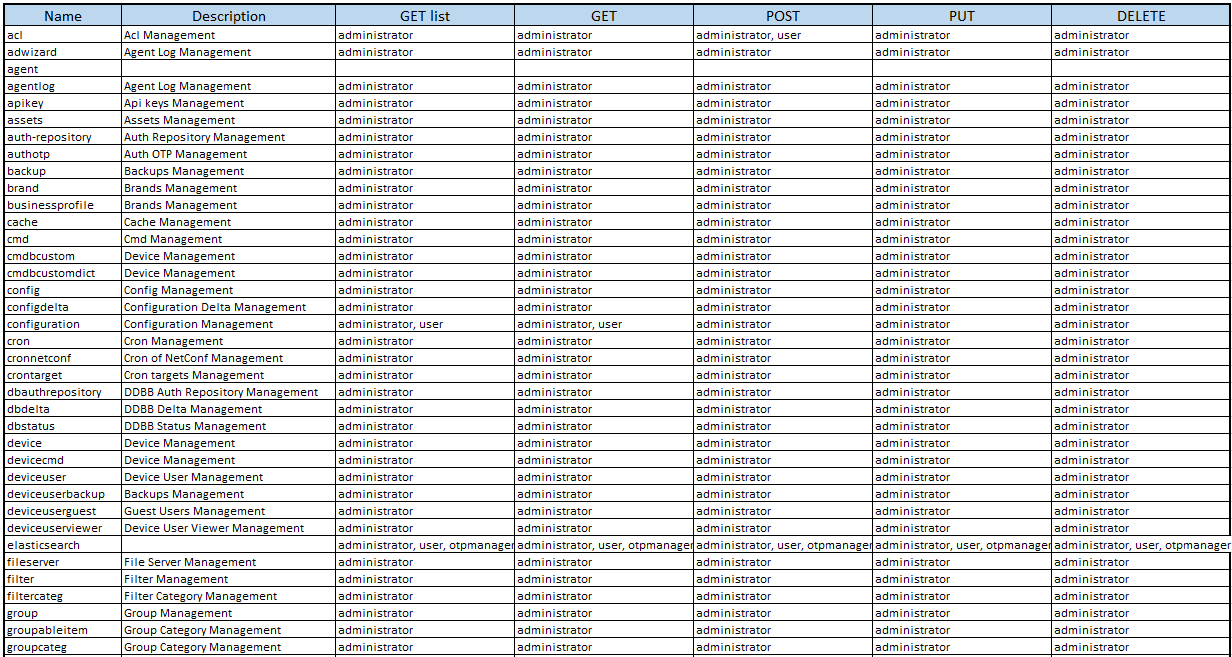
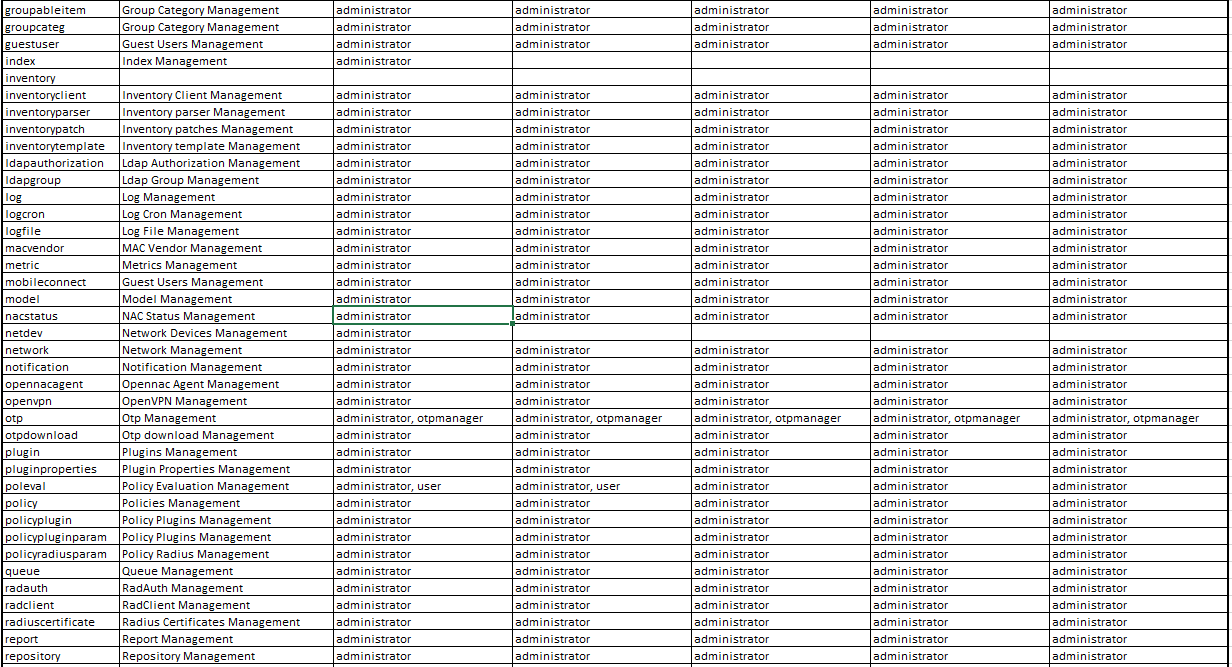
Here we can see the current ACLs, the families, its methods and the roles that can use the different capabilities.
2.6.9.5. Roles
In the Roles menu ON CMDB -> Security -> Roles we can generate console profiles (roles) and associate them to the web console users. This functionally allows administrators to provide different console views for particular uses, by customizing the console access and the permissions that are given to a particular user.
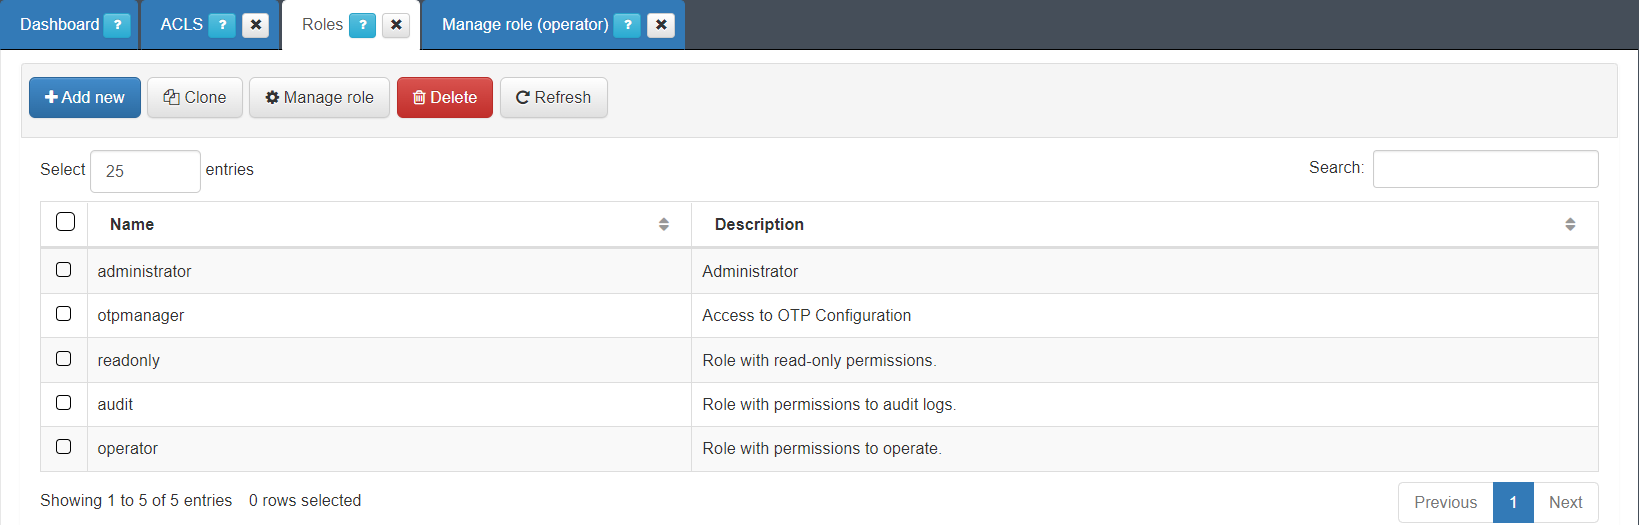
In this view we can see the default roles with basic permissions:
administrator: A privileged role from where we will be able to perform all types of actions in the administration portal.
otpmanager: This role will only have access to manage functions related to the OTP such as regenerate OTP, send emails with the OTP, configure its TTL, etc.
readonly: This role does not have permissions to create, add, modify or delete any object in the administration portal, so it will only be able to read the objects that are already created.
audit: Role with permissions to audit logs. This role will be able to check all the different logs in the administration portal related to the different functionalities of the solution.
operator: Role with permissions to operate on the different menus but with a privilege level lower than an administrator. In this case, we will not be able to make modifications to database users, import new objects, etc.
Note
We can modify all the permissions of the different roles, except for the administrator role, to adapt them according to the convenience of each environment.
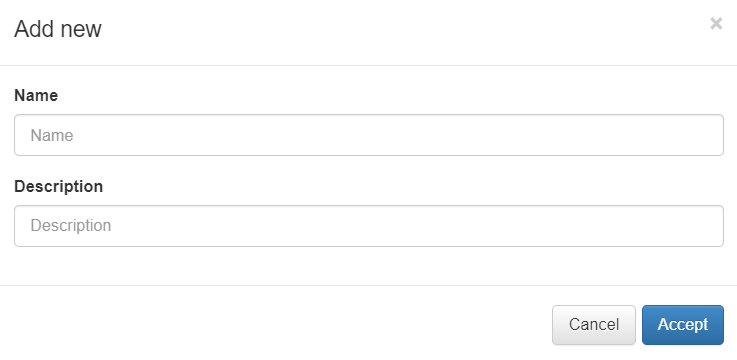
To create a custom role, click the Add new button, and a pop-up window will appear. There we will define the role name and its description.
When creating a new role, the minimum permission are assigned through ACLs. To manage those permissions, select the desired role and click the Manage role button.
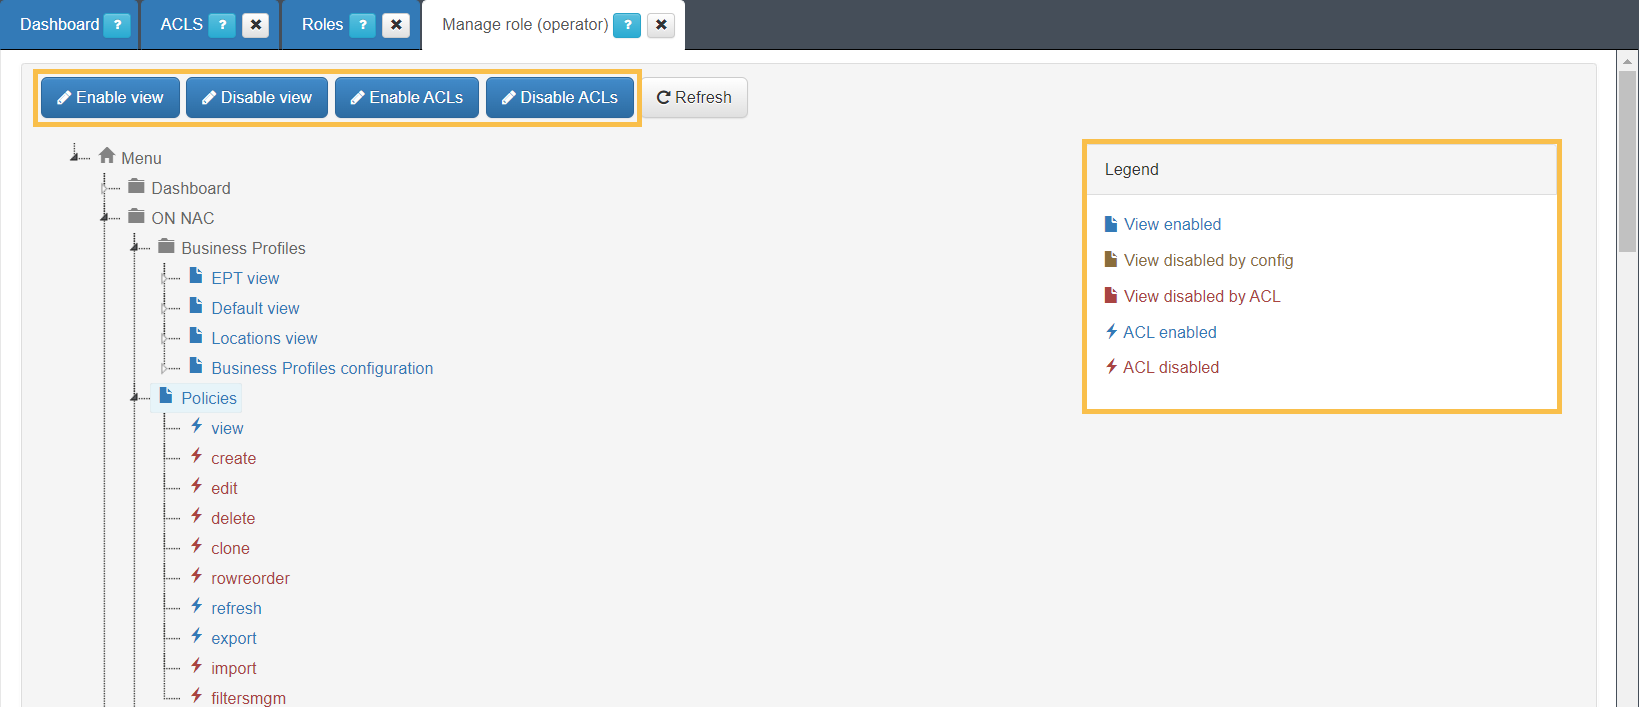
In this view, the administrator can view and select all the OpenNAC Enterprise web console menu options with the available permissions for each one, so we will be able to manage all the permissions we want to give to a specific role.
The administrator can enable and disable the different views and menus on the administration portal and manage the different ALCs (permissions to edit, add, delete, etc.) on the different sections in the administration portal.
2.6.9.6. API Key
In the API Key menu ON CMDB -> Security -> API Key we can generate different API Keys and associate them with different devices. This API Key is a security method that allows us to control network access to the ON Core API. The API Key must be defined using the source IP of the users or network devices that require communication with the ON Core API.
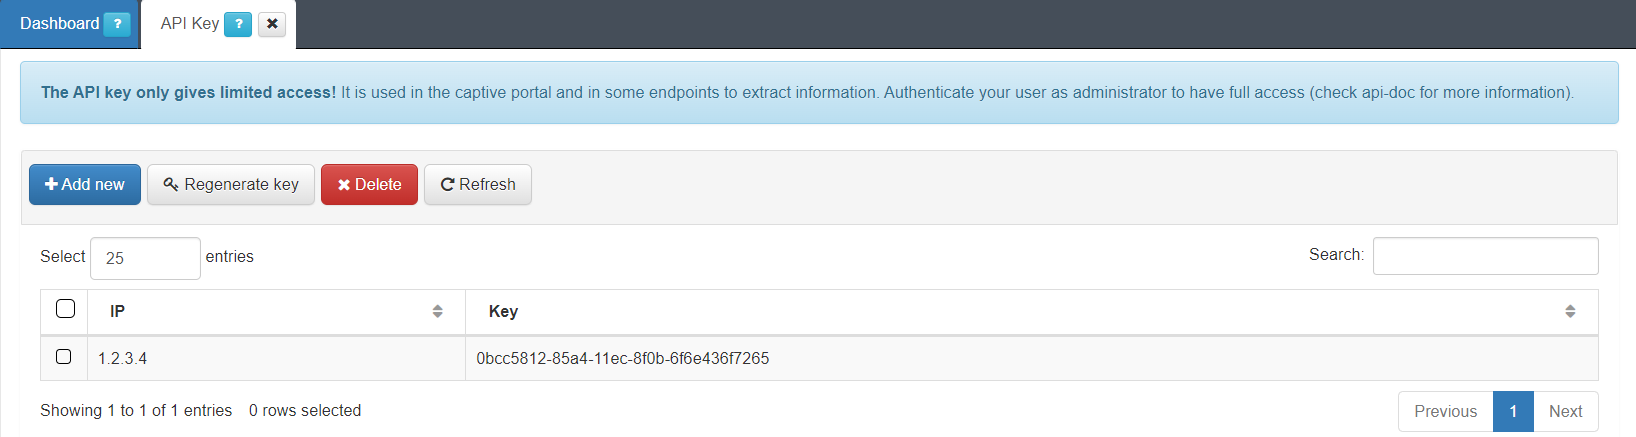
To generate a new API Key, click the Add new button. As soon as the source IP is added a security token is automatically created. If you want to interact with the product through it, you must use the API to query the API classes.
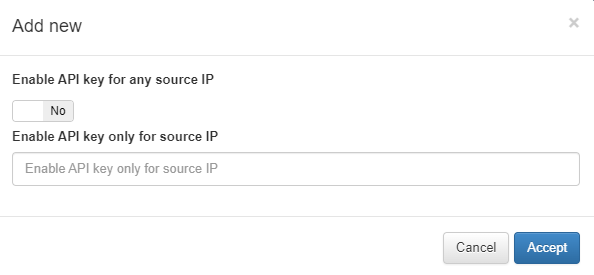
If there is more than one node that needs to have access to the API we will select the option Enable API Key for any source IP, else, we will enter the VPNGW IP in Enable API Key only for source IP.
One of the main use cases for the API Keys is third party integrations (NGFW, SIEM, AVS, PATCHING, MDMS, etc.) and our own integration. With this API Key, you do not need user/password to interact with OpenNAC Enterprise technologies.