3.2.6.1. CMI basic configuration
We access the machine with the following default credentials:
User: root
Password: viapps
The first time you enter the CMI, you need to configure the keyboard language and then run the script /root/first_run.sh. In this script, the basic parameters of the CMI configuration are established, such as IP, hostname, etc.
3.2.6.1.1. Keyboard configuration
First we must configure the keyboard input language:
loadkeys es
3.2.6.1.2. Setup Script
We run the script:
/root/first_run.sh
We complete all the required information:
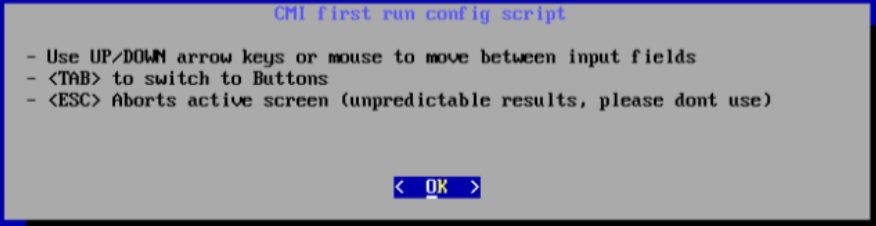
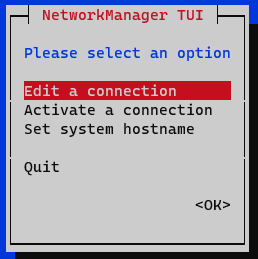
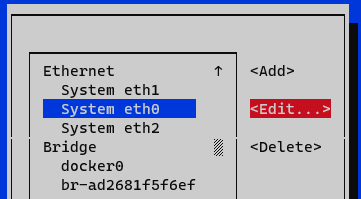
Various screens will be displayed during the script. The most relevant ones will be explained in this guide. Once you pass the home screen and the initial instructions, we will be shown a list with all the interfaces it has. We edit the following interface:
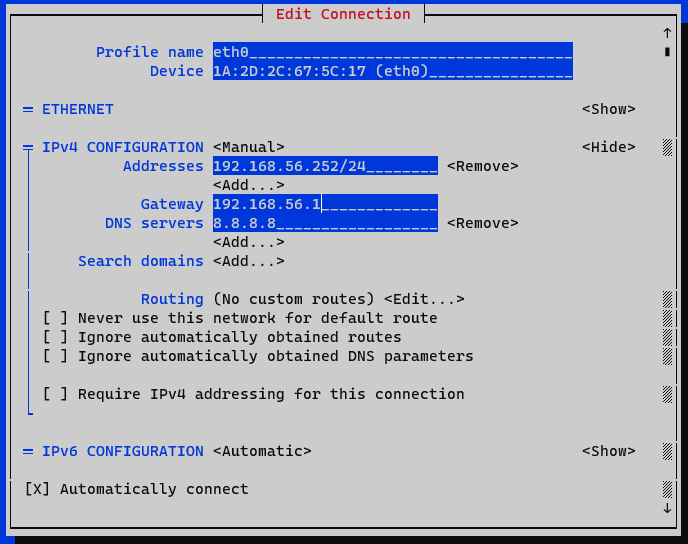
In this case, the eth0 interface will be edited:
In the “IPv4 Configuration” section, we select Manual:
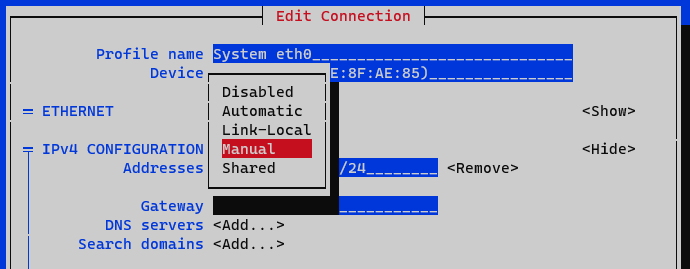
Addresses: We add the IP of the node with the corresponding network mask (<IP>/<MASK>).
Gateway: We add the gateway of the node.
DNS Servers: We add a DNS server (for example, Google).
We mark the option Require IPv4 addressing for this connection. We finish by clicking OK at the bottom.
We select Quit in the window where the list of interfaces is displayed.
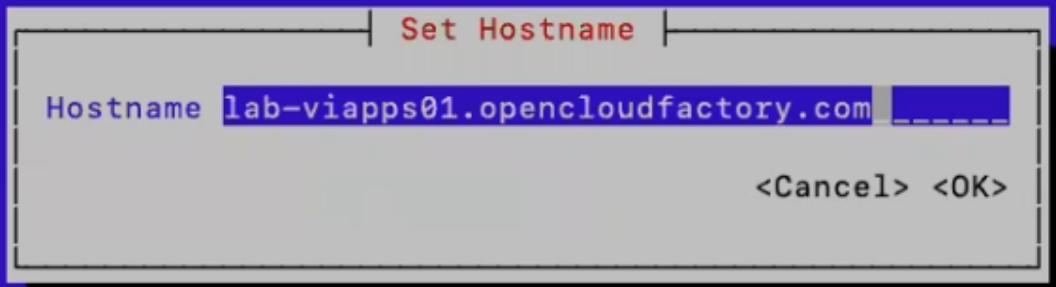
In the next step, we’ll have to configure the hostname:
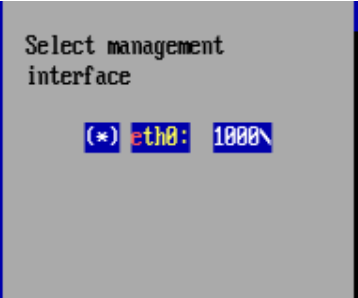
In this section, you have to select the interface. The associated IP is used in various configurations, such as sending logs, where the Filebeat is configured, etc.
We select only one interface:
In the keyboard section, we select the one that corresponds. In the case of wanting to use Spanish, we select es or es-cat.
In the time zone section, we select the one we want. In this case, Europe/Madrid will be used.
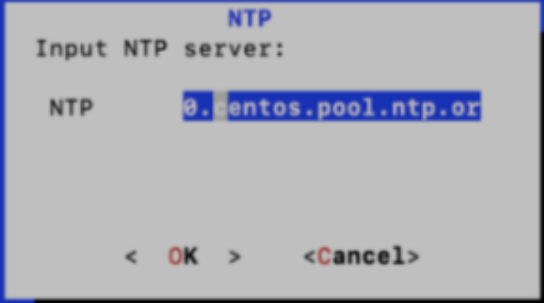
In the NTP server section we configure the server used in our organization. This can be an external server like for example hora.roa.es or an internal server of the organization (this could be a dedicated one or the AD).
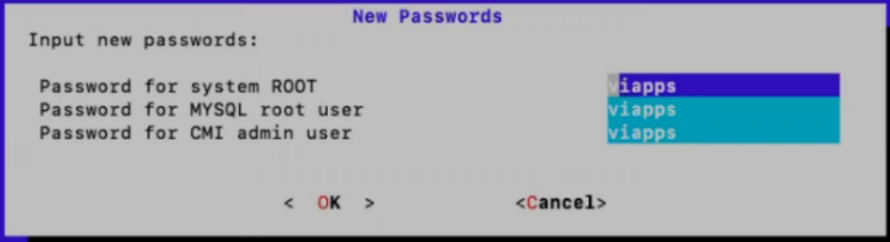
New passwords are set in this section. It is highly recommended to change the default passwords.
System ROOT: password of the root user of the system.
MYSQL root user: database root user password.
CMI admin user: password of the admin user of the web portal.
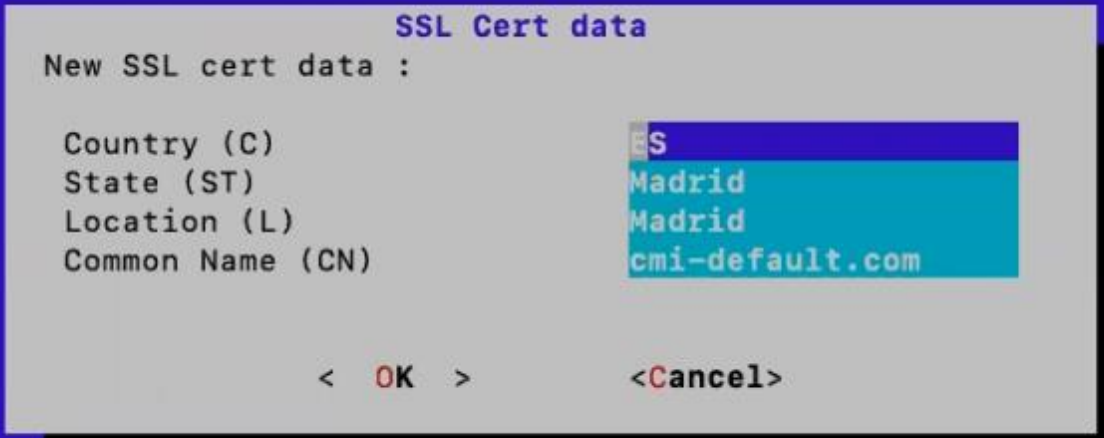
In this section we will enter the data of the self-signed certificate of the web. If you need to put your own, you will have to do it later, by connecting to the machine via SSH.
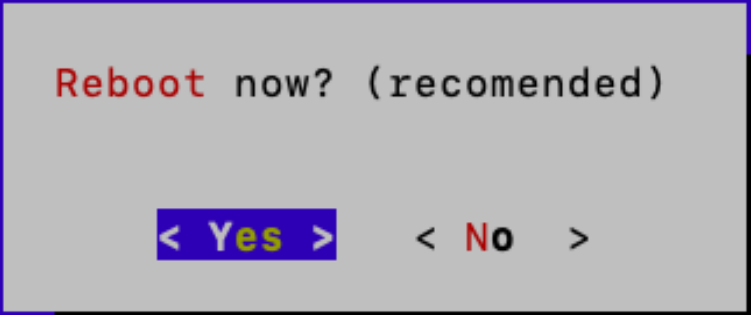
Once all the settings are applied, we click OK until we reach the next section. It is necessary to restart the machine for the changes to take effect.
3.2.6.1.3. Update the system
It is necessary to update the CMI. You can see how to update it in CMI update.
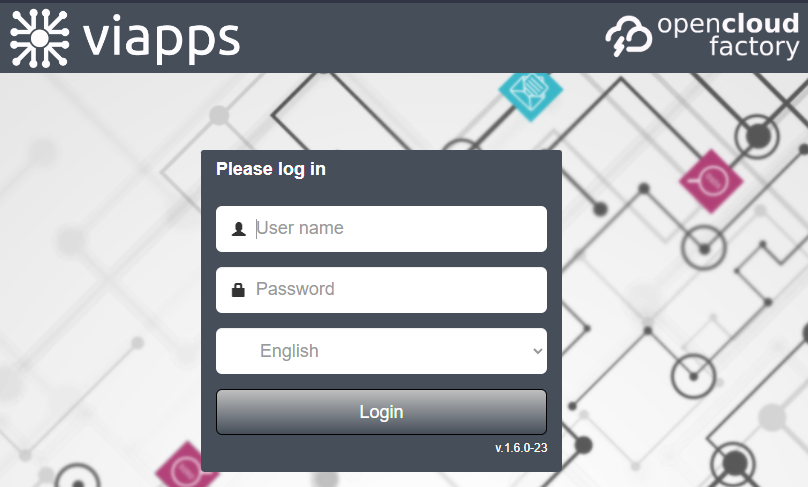
3.2.6.1.4. Access via Web
Now we should access CMI via web https://<CMI-IP>/auth/login
Default credentials:
User: admin
Password: viapps
We need to verify that we have the following configuration in the Configuration -> CMI -> System Config menu. If not, configure it.
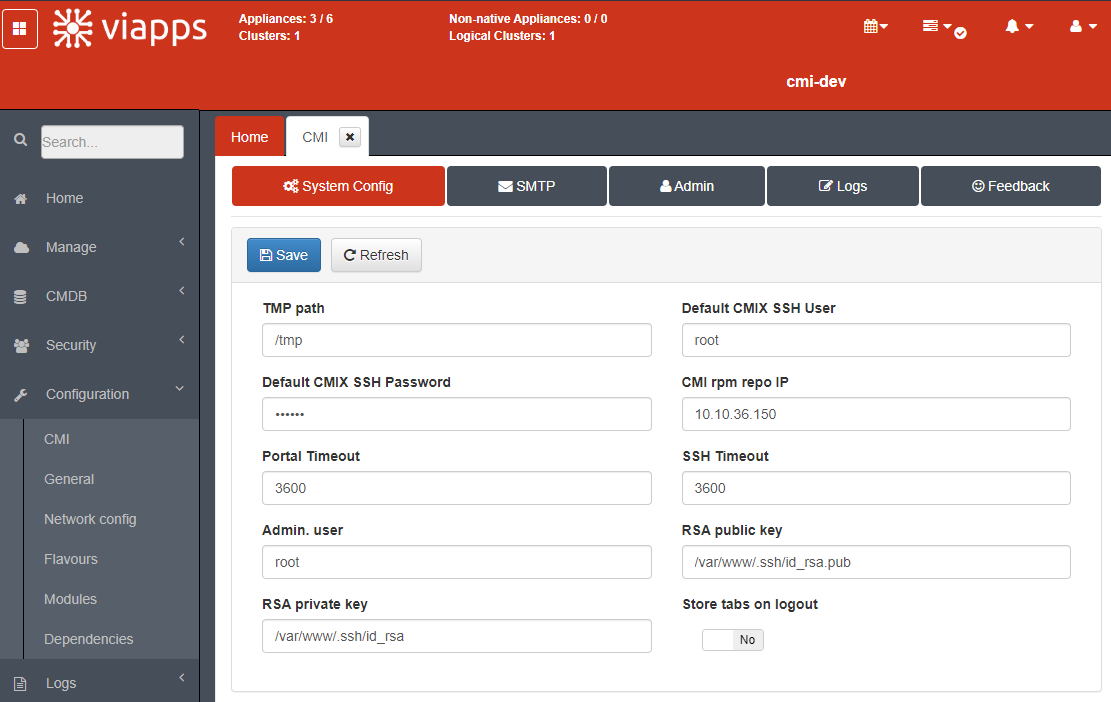
Default VPN Gateway SSH User: User that will be used by default for managing VPN Gateways.
Default VPN Gateway SSH Password: Password that will be used by default for managing VPN Gateways.
CMI rpm repo IP: IP address of your CMI.
Admin User: Administrator user, must be root.