9.2.5.1. Palo Alto
This configuration shows the integration between Palo Alto and OpenNAC Enterprise with Global protect. To understand this Palo Alto deployment, it is important to mention key concepts before starting the configuration:
1. PaloAlto VPN client: It needs to be installed in the customer’s PC. The customer will use an URL vía HTTPS. This type of deployment can be deployed as multitenat so there could be multiple service URLs. As soon as the client tries to connect to the VPN service, a configuration file is downloaded and a valid pool of Global protect gateways is offered. The Global protect gateway selected will be the one with the lowest TTL. The user will be sent to this gateway to introduce valid credentials.
2. Global protect gateway: This is the component where the service is published to the remote users.
3. Global protect portal: This is a piece where the provisioning and configuration changes are carried out.
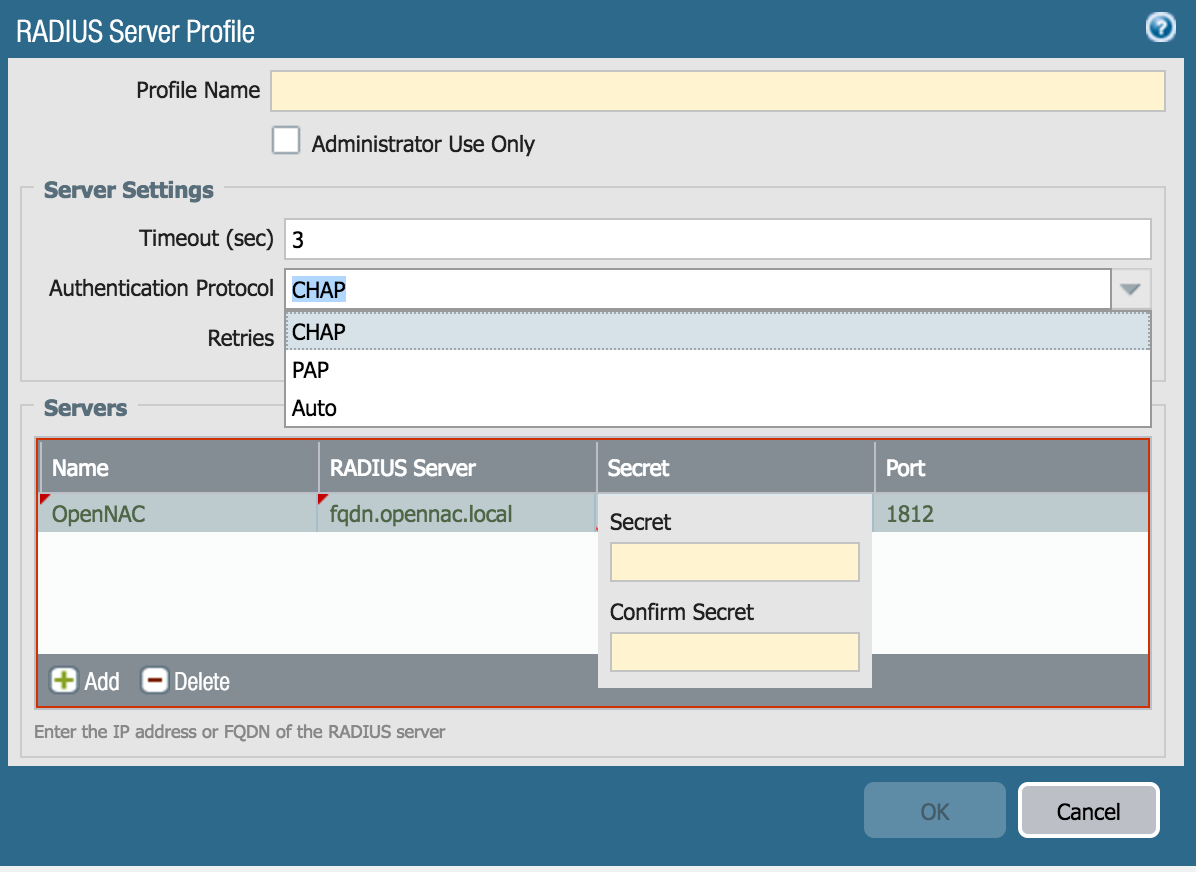
The first step is to connect to the Administration Portal and configure the RADIUS server. Go to Device → Server profiles → RADIUS Define a Profile name and specify CHAP as the desired authentication protocol. Additionally,provide the the IP address or FQDN of the RADIUS servers. For this particular configuration, the RADIUS server must be set as the ON Core server. Other key important configuration is the preshared key.
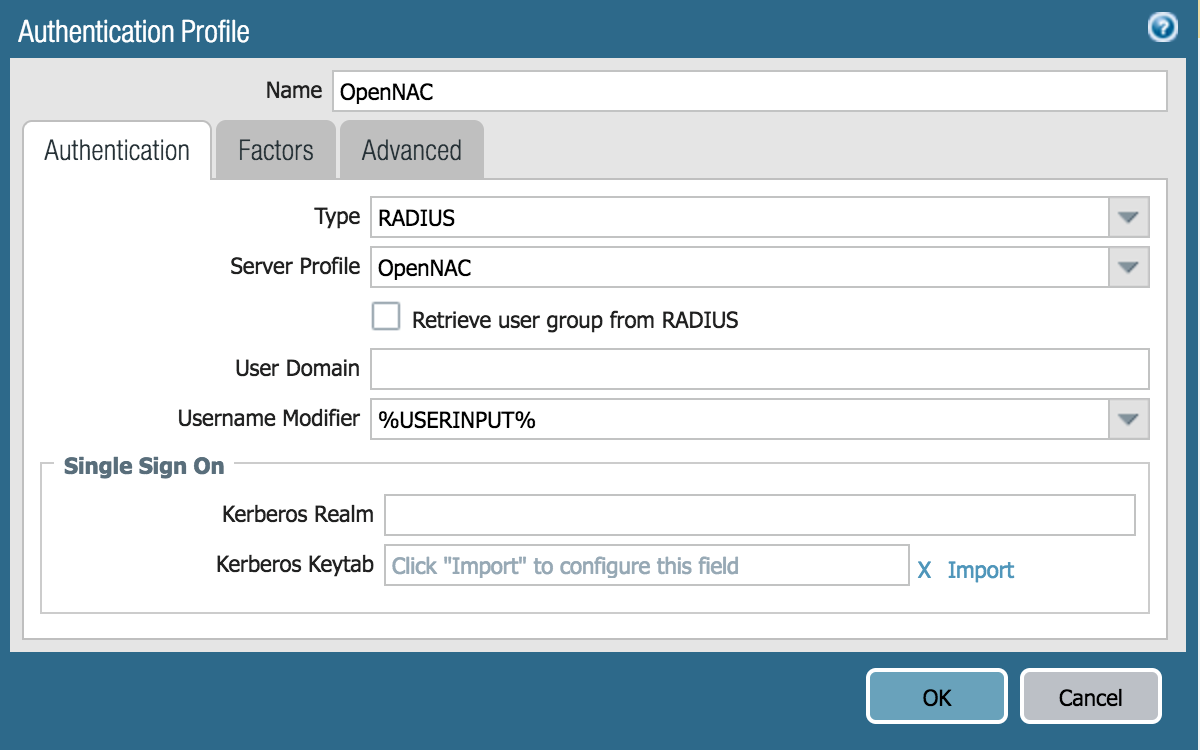
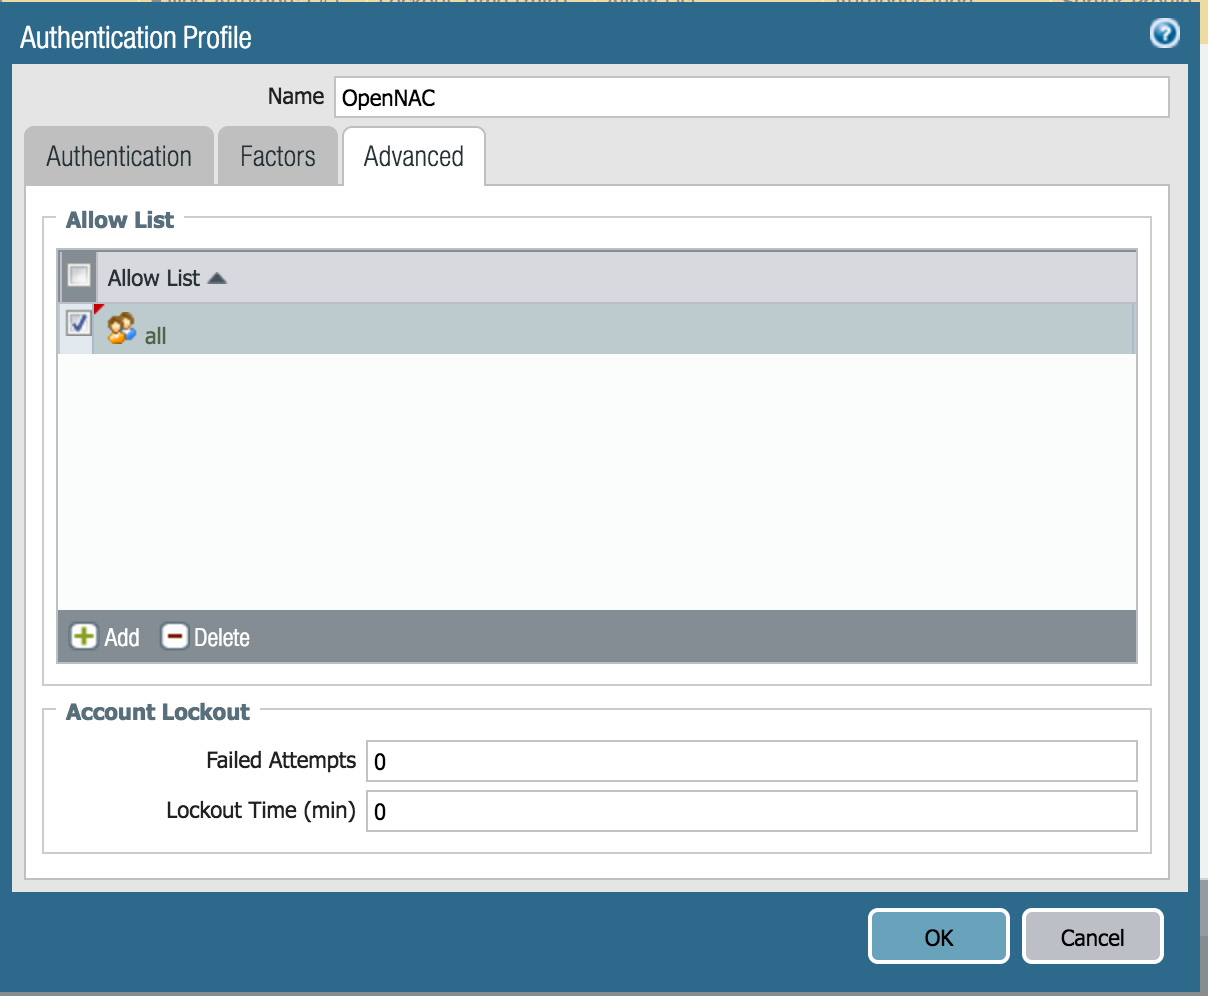
Next, create an Authentication profile by going to Device → Authentication Profile, and ensure that it is mapped to the RADIUS server that was created in the previous step.
A filter can be applied to the results, with the option to select “ANY”, “failed attempts”, or “account lookout” as the desired filter criteria.
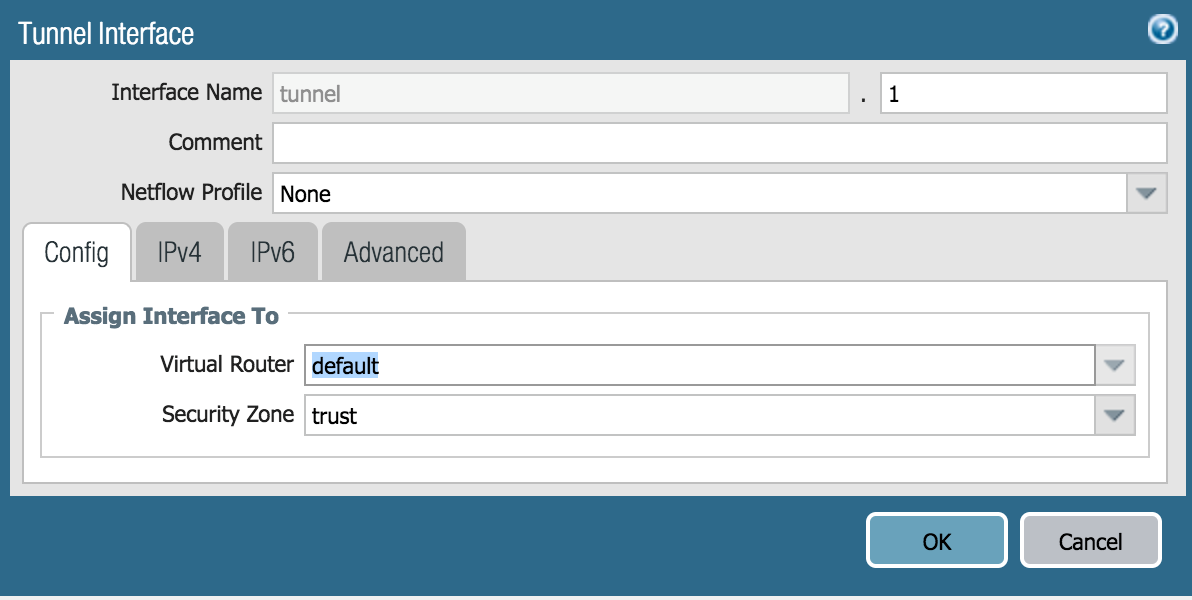
To create the VPN, first create an interface tunnel going to Network -> Interface -> Tunnel
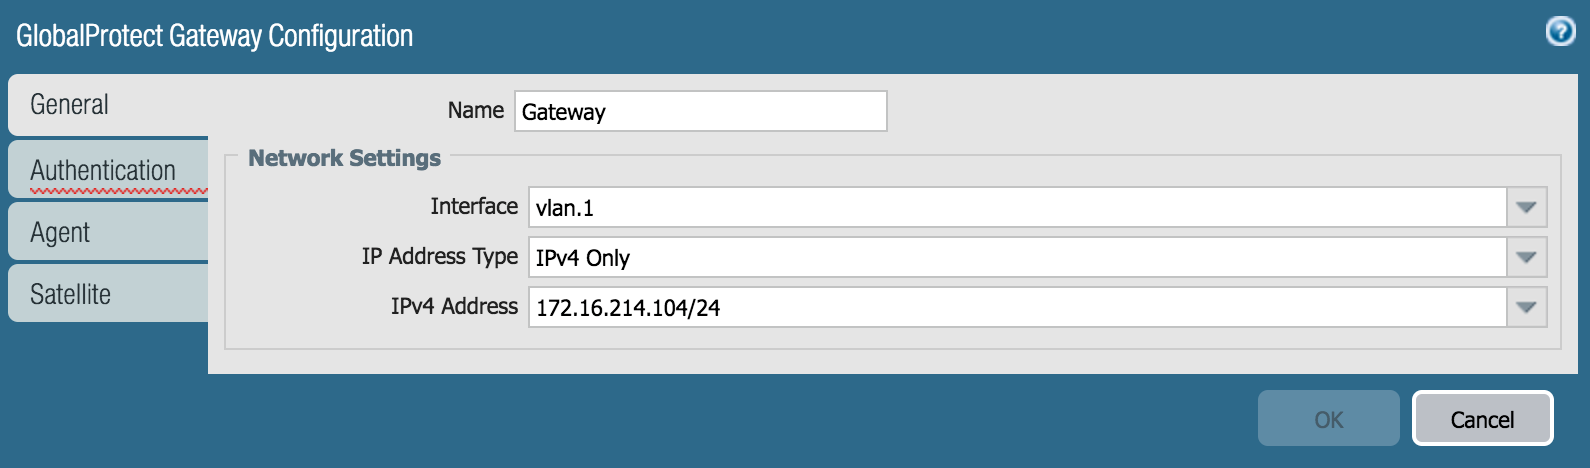
When you have a Global protect Gateway, it is required to configure the paloalto node (IP) that will provide the service.
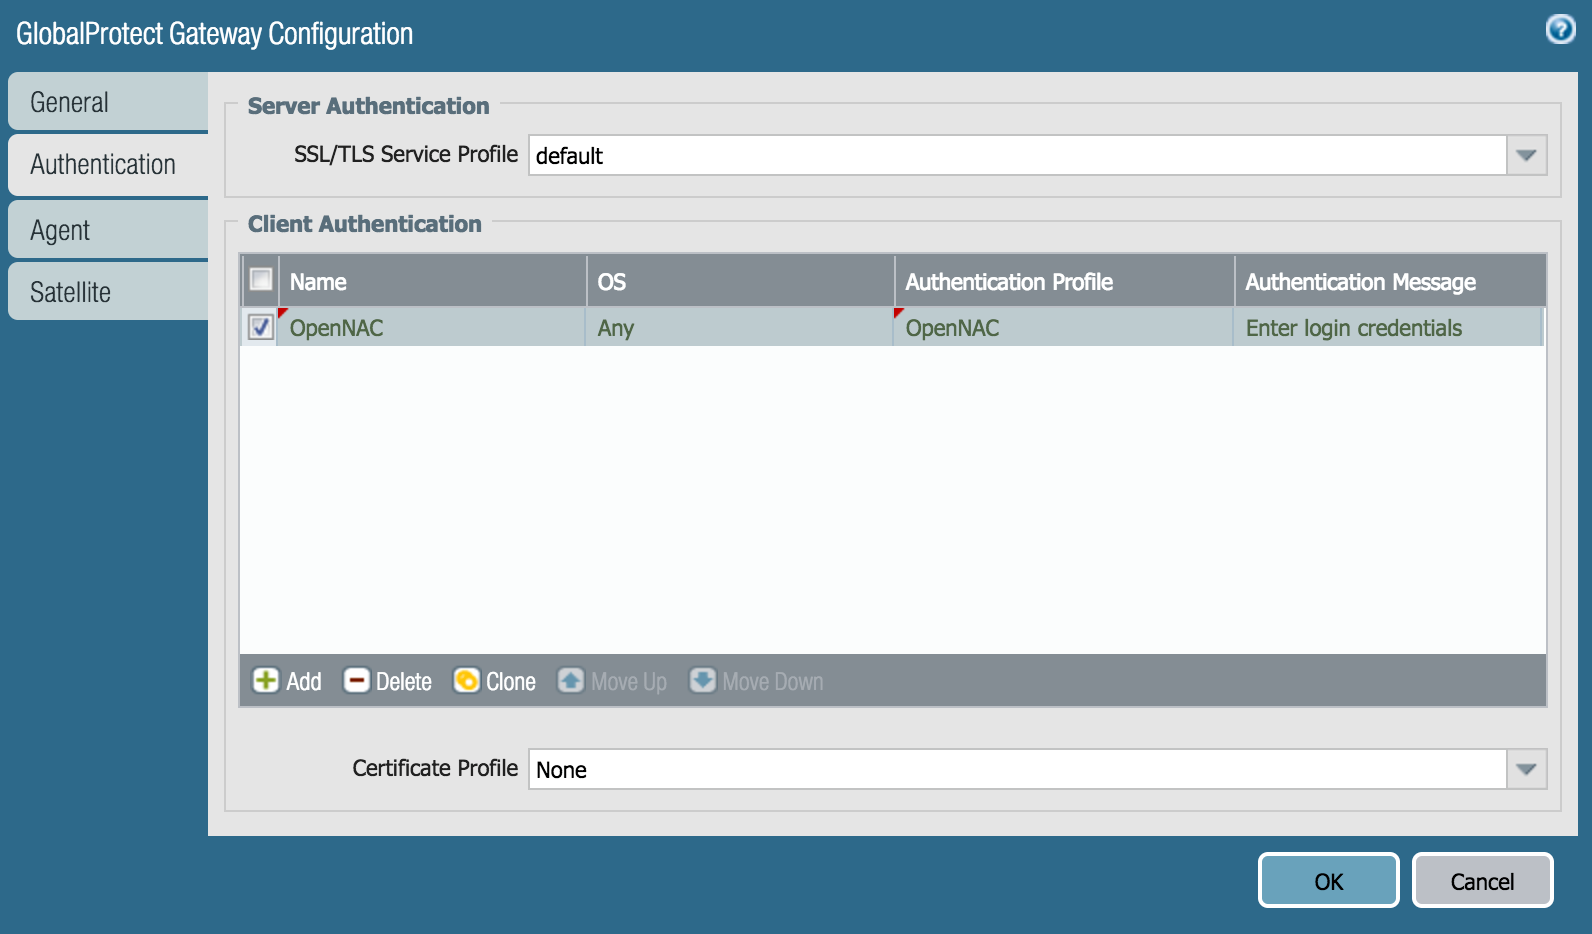
Defining the server authentication, enables the definition of the authentication profile and the option to use certificates. However, in this case, certificates will not be utilized.
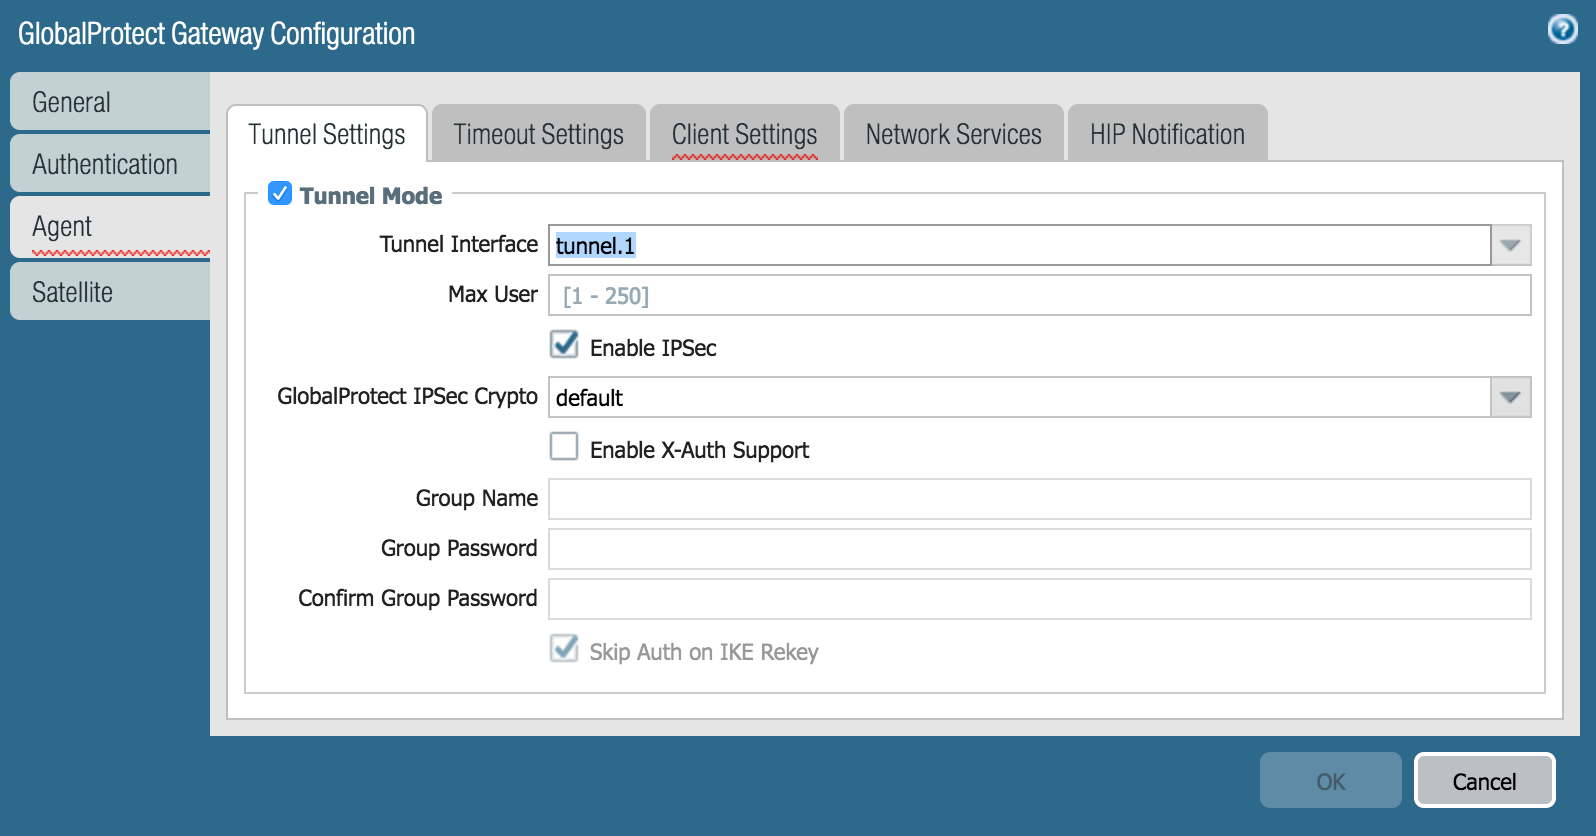
Map the gateway with the tunnel interface.
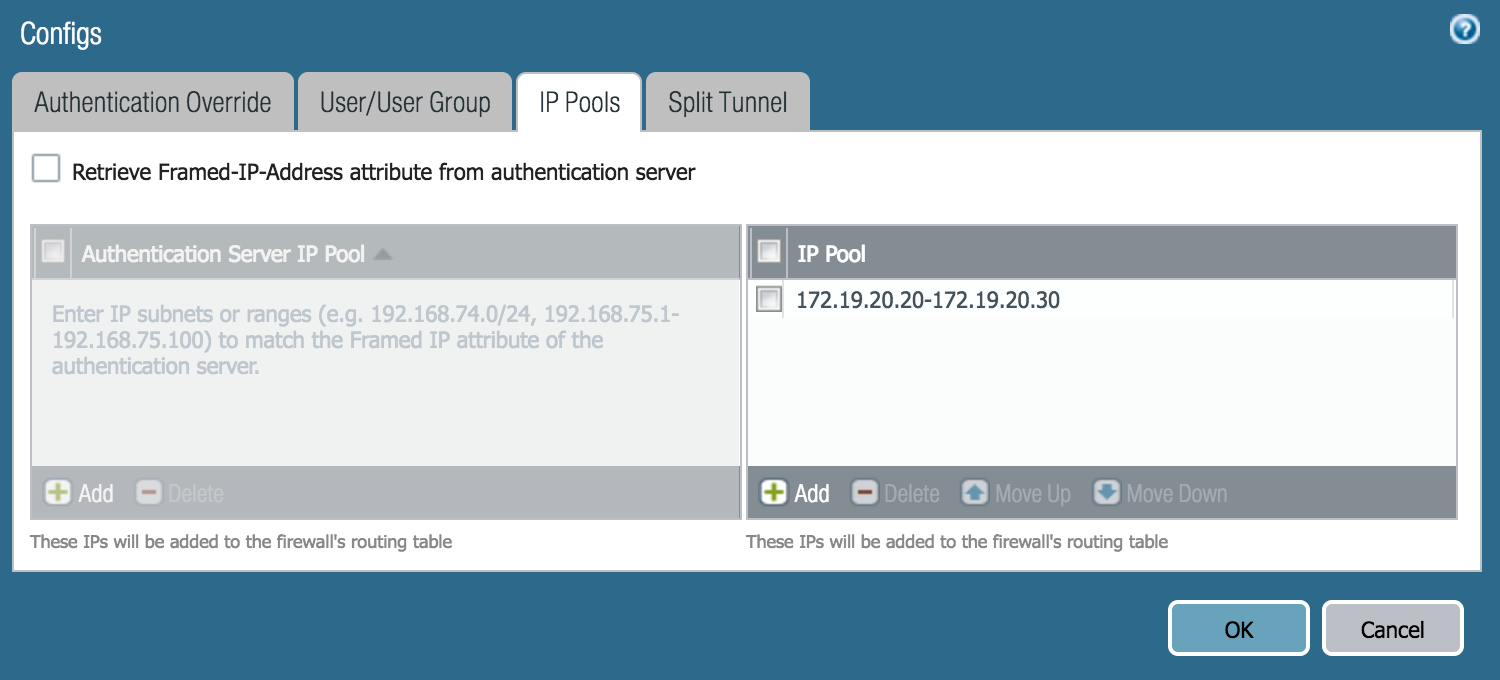
Define the DHCP pool that is going to be assigned to the remote users.
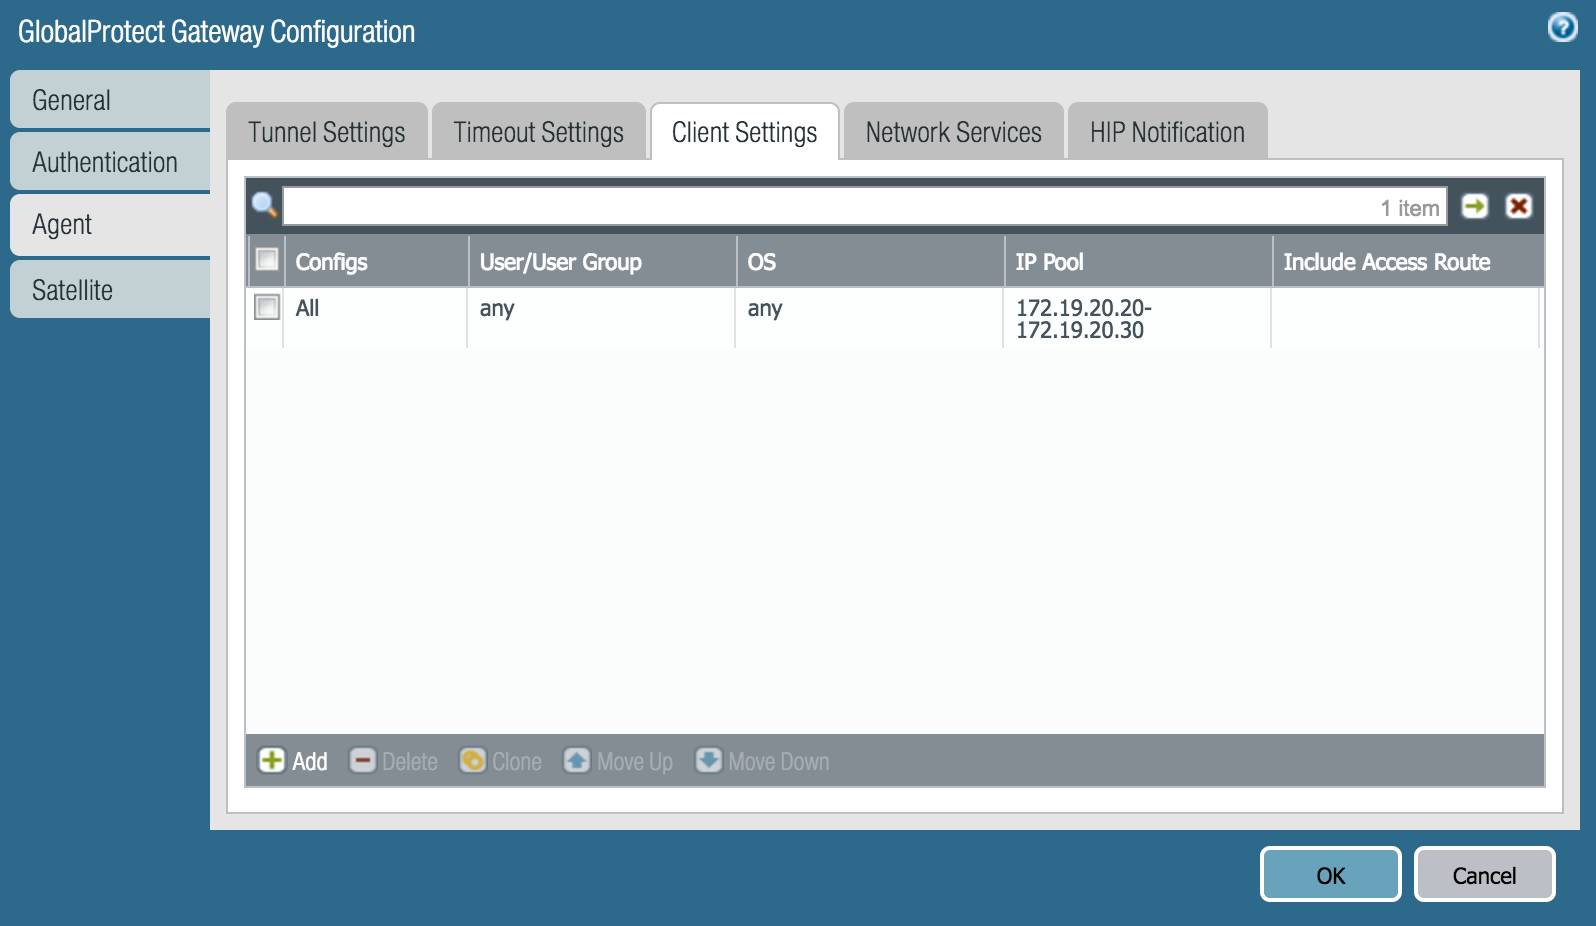
Going to the Configs section, it is possible to define the DHCP scope and pools.
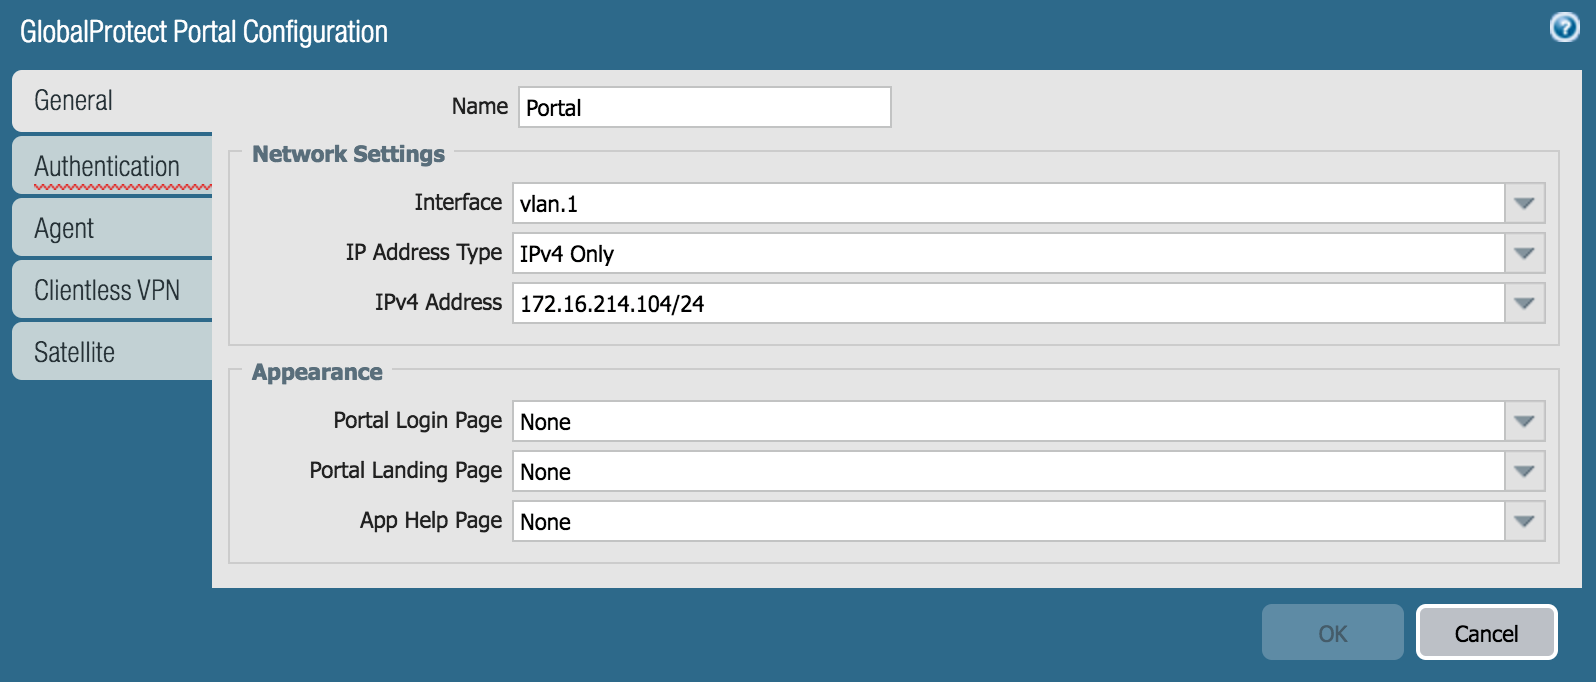
It is required to configure the Portal in the Global protect at Network -> Global Protect -> Portal. The same steps are required for the Portal.
The General configuration must be set.
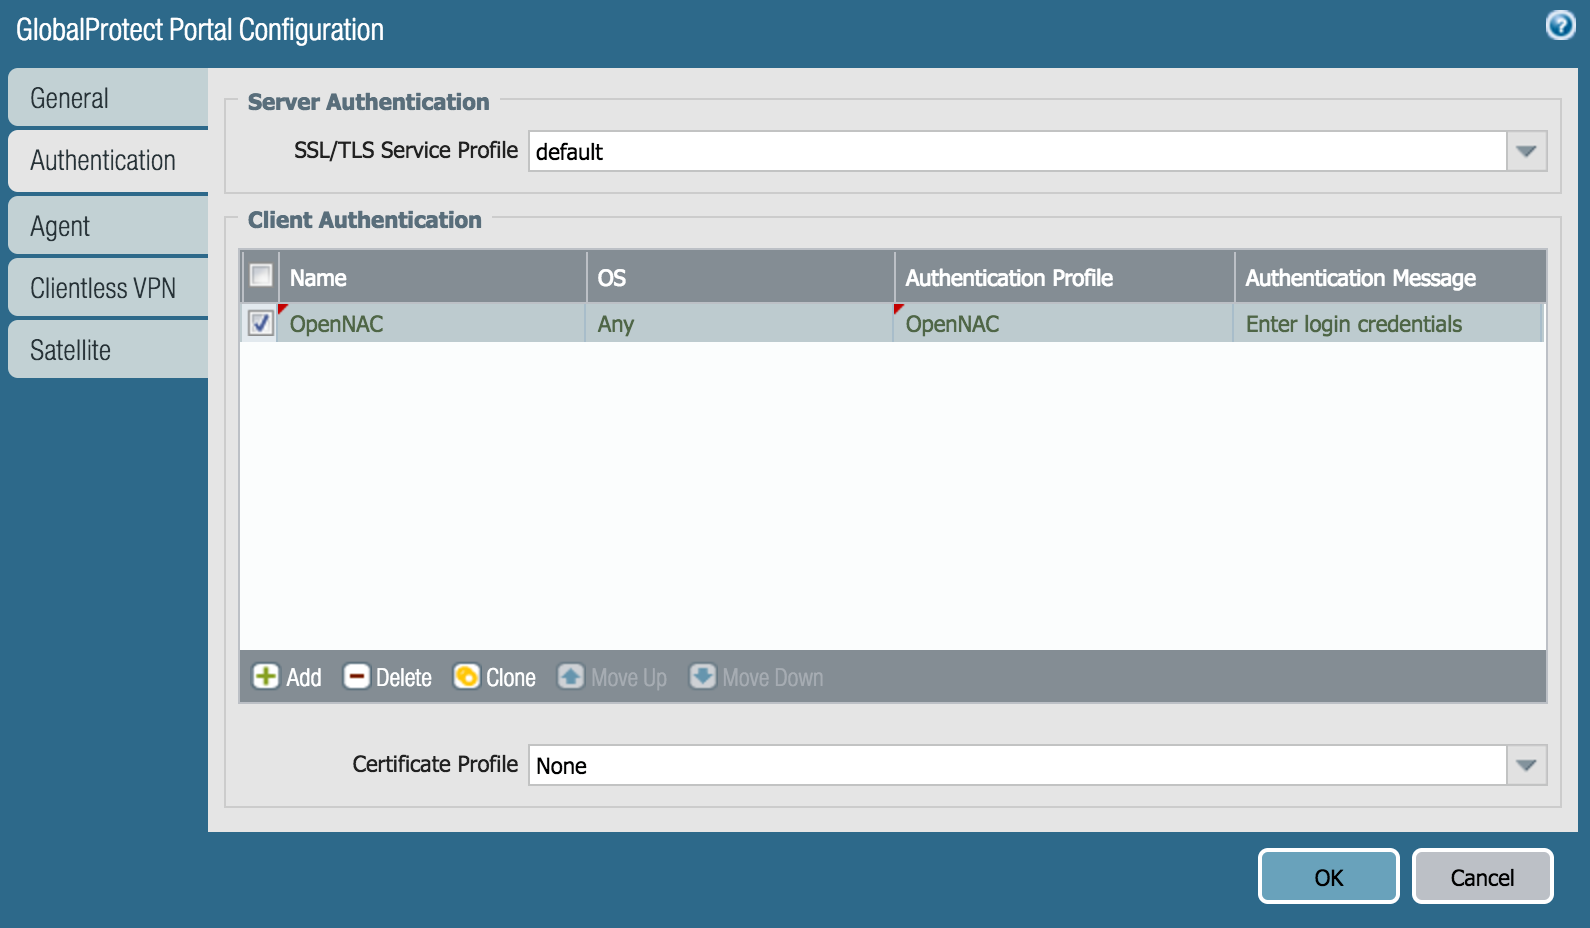
The Authentication configuration must be set.
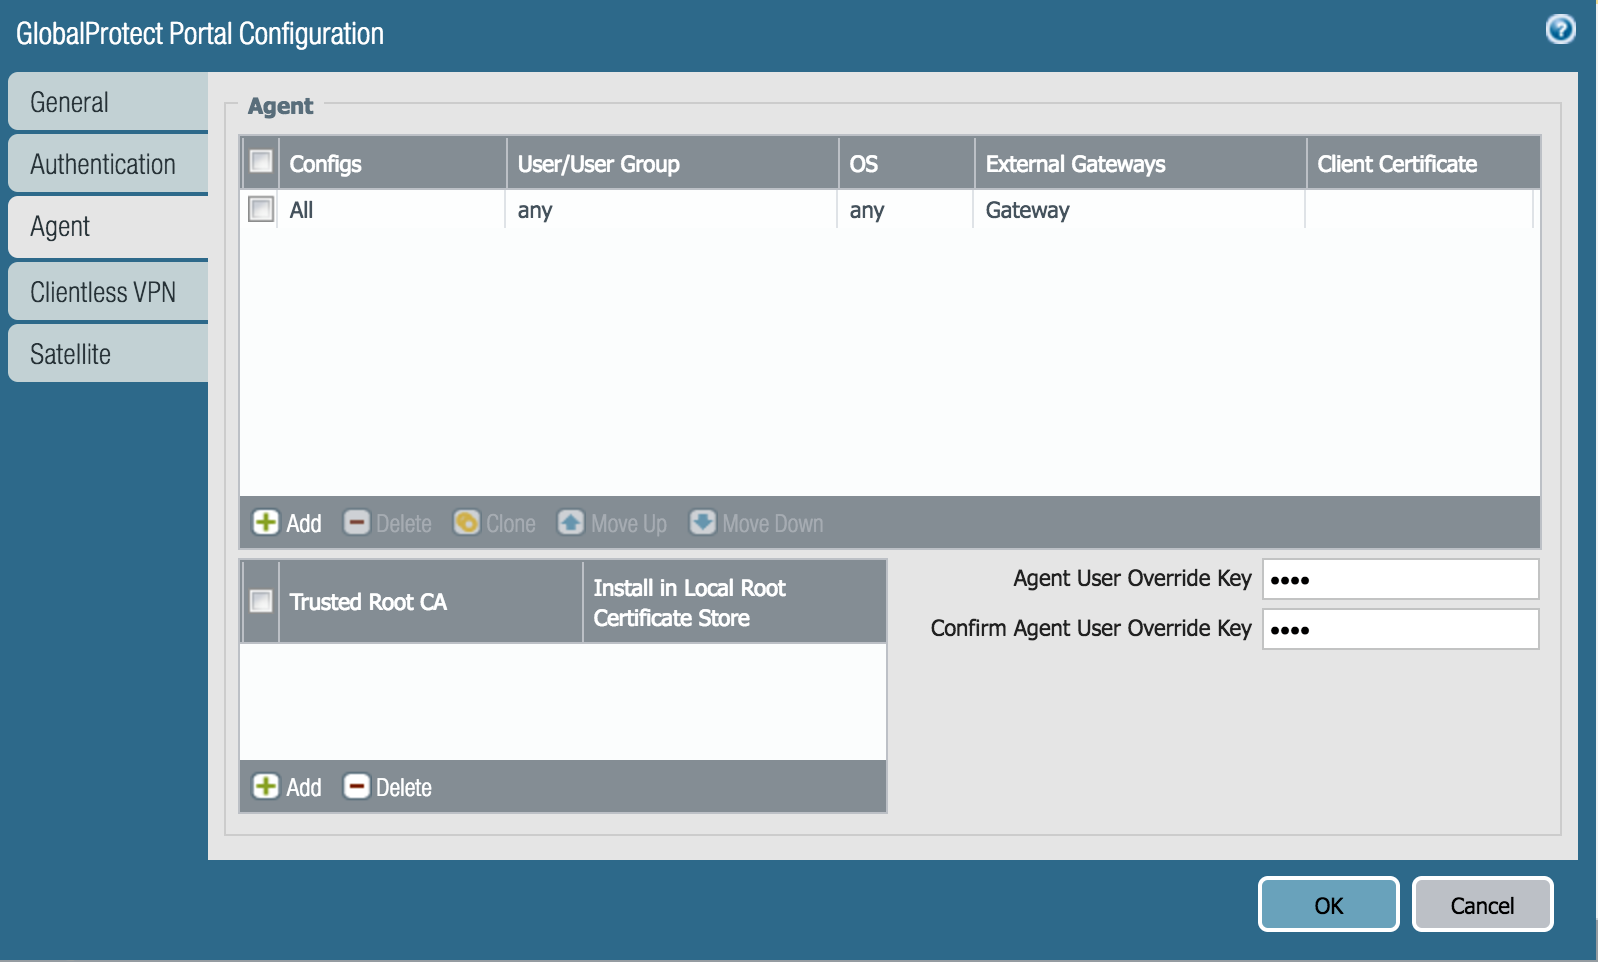
Agent configuration.
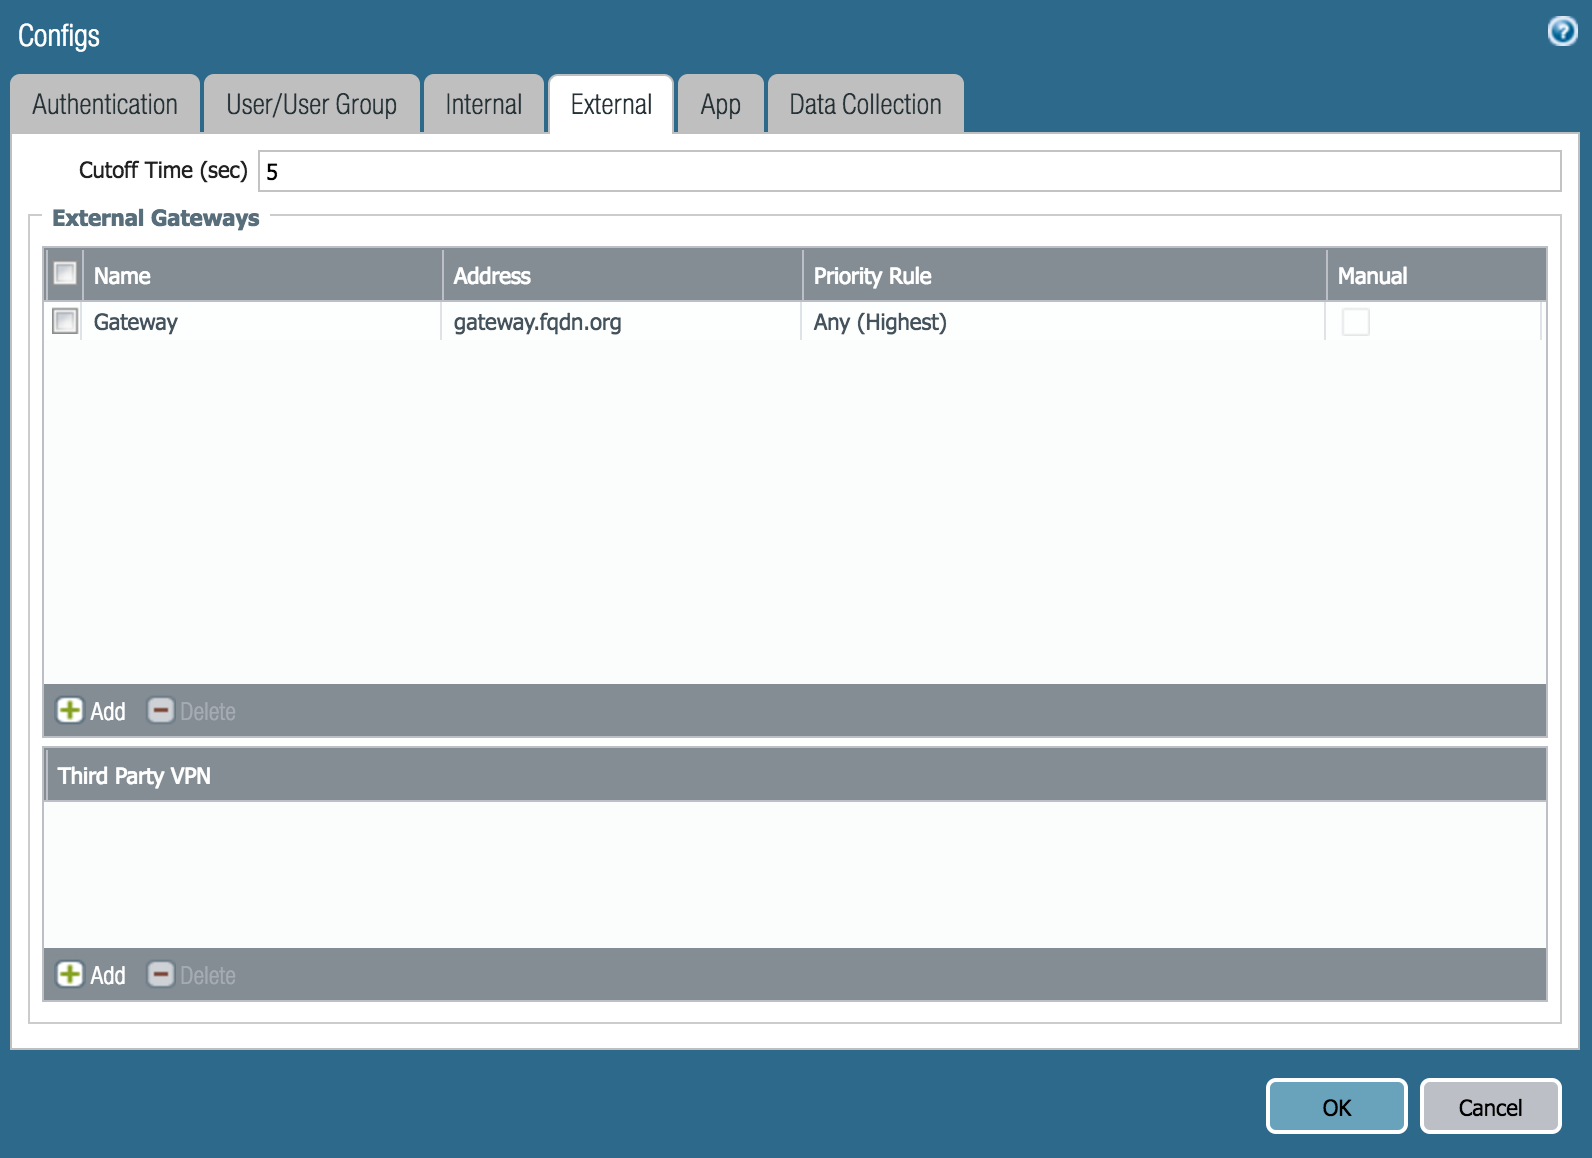
And after that, create the configuration (External) where the available gateways are defined. In this case we have only one Paloalto firewall available.