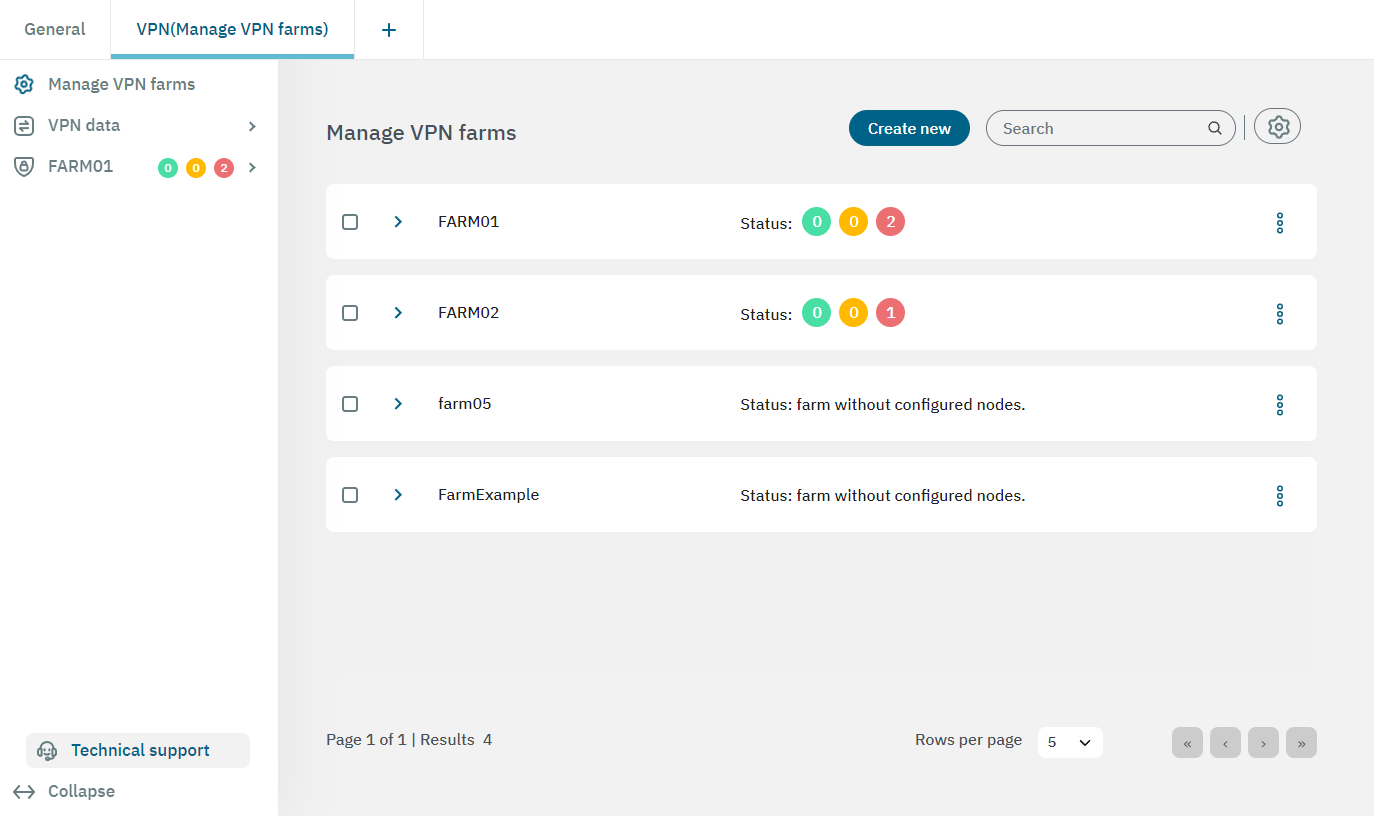
3.2.2.7.1. Manage VPN farms
In the Manage VPN farms section, you can create new farms, associate nodes to them, and configure workers to distribute workloads efficiently. See the Farm Concept section for a detailed explanation of this functionality.
3.2.2.7.1.1. Creating a new farm
To create a new farm, click on the Create new button. It will display the following window:
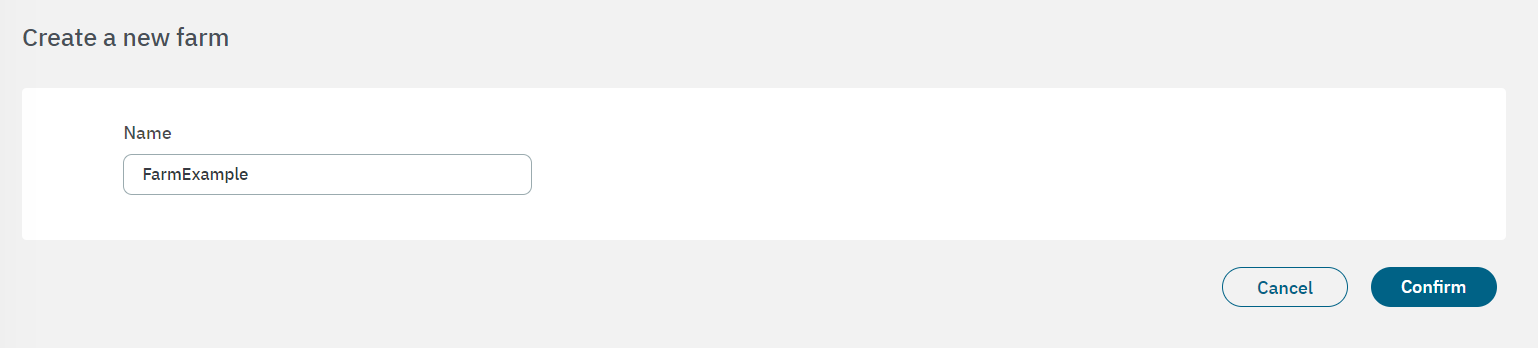
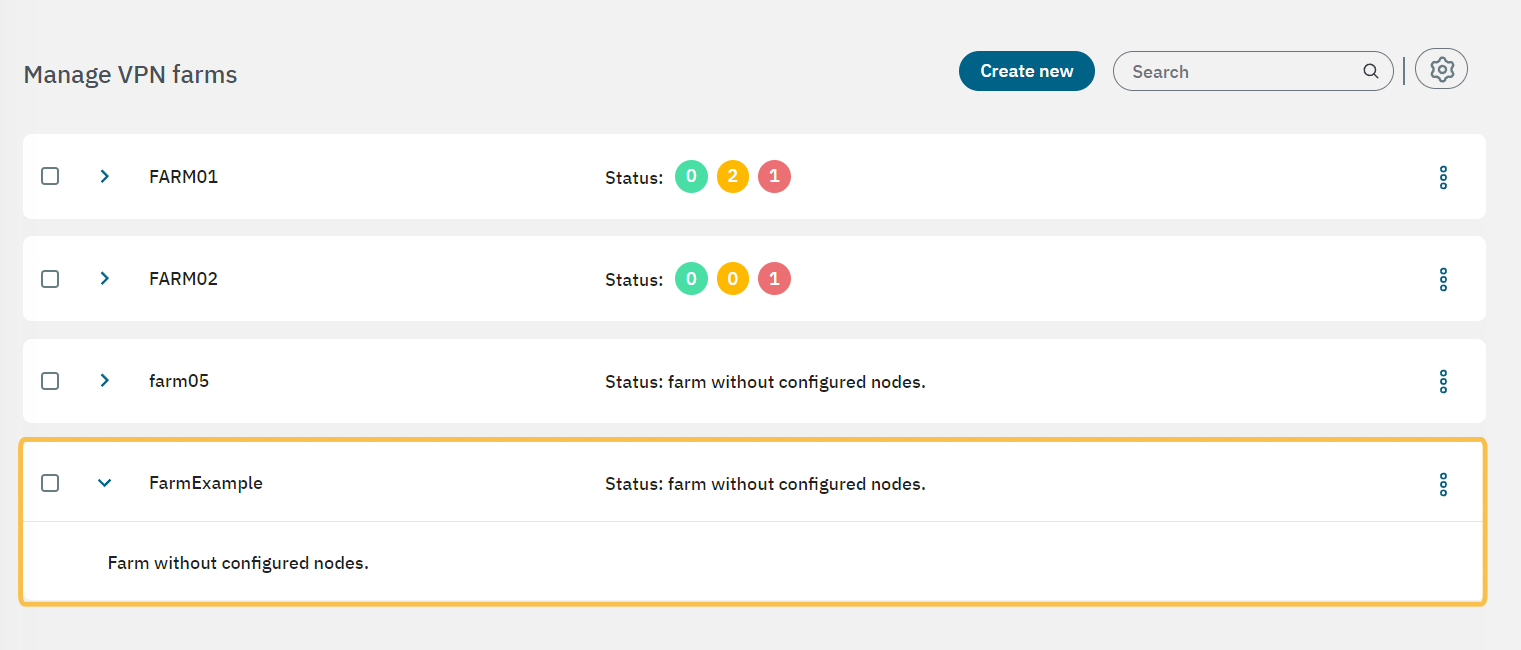
Give a name to the new farm and click on Confirm. It will display the message “A new row has been added” and you will see your new farm displayed in the main view.
3.2.2.7.1.1.1. Configuring workers
After creating the farm, you have to add nodes to it. If you want workers to be available in the moment you are creating your nodes, you can do it beforehand.

Click on the engine icon to open the “manage VPN workers” window:
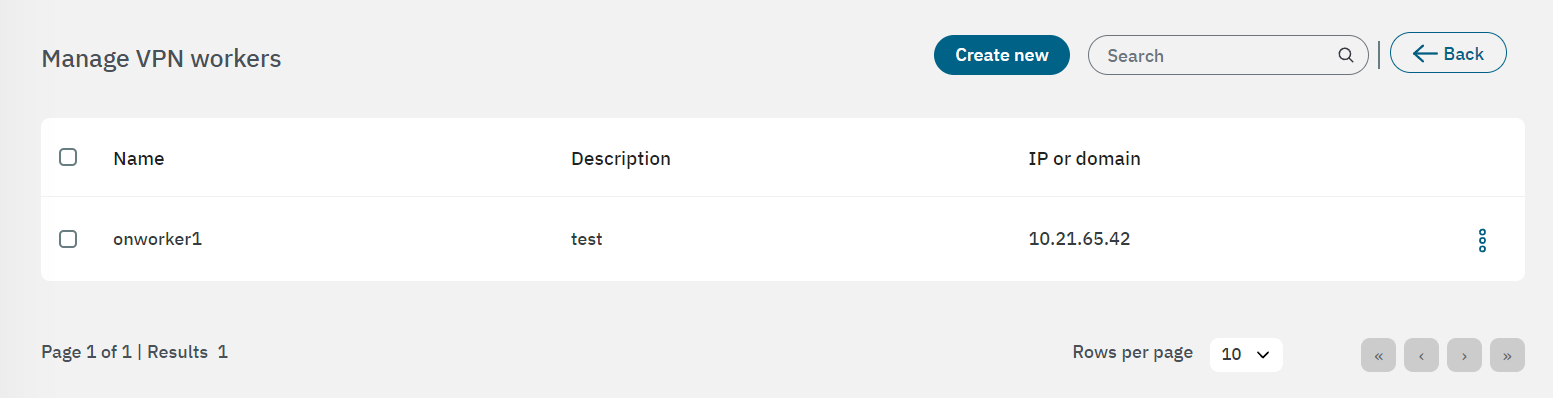
Click on Create new to create a new worker. Enter the information requested in the following fields:

Name: The onworker identification name.
Description:You can enter a worker description.
IP or domain: The worker’s IP or domain.
Click on Confirm to save your configurations and you will see the worker displayed in the Manage VPN workers table.
3.2.2.7.1.1.2. Adding nodes to a farm
Back to the main view, after having created a farm and configured a worker, it is time to add nodes to the farm.

The three-dot icon at the end of the farm row displays the Add node option. Select it to open the following window where you can configure the node:
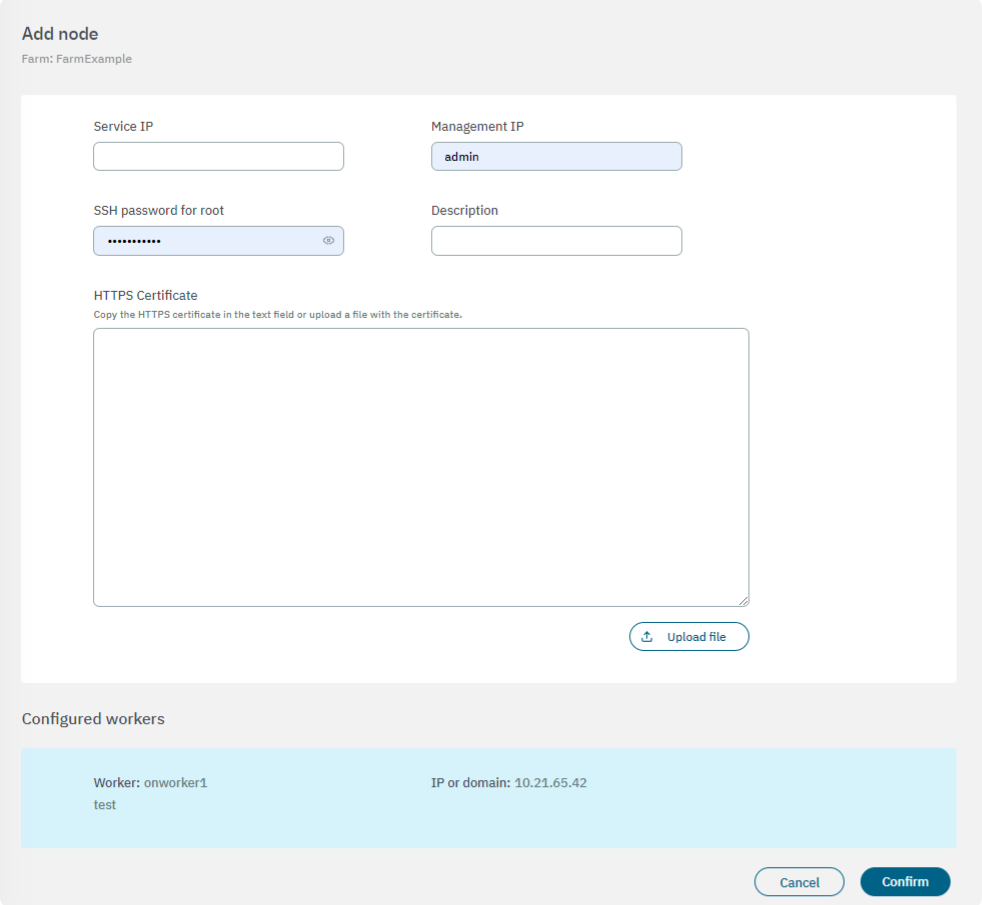
Service IP: IP assigned to the node to be imported.
Management IP: Field for the management IP of the node.
SSH password for root: SSH credentials of the node, by default root/opennac.
Description: Description of the node.
HTTPS Certificate: Copy the HTTPS certificate in the text field or upload a file with the certificate by clicking on the Upload file button.
If you don’t have a certificate you can create it with the following commands:
mkdir certificates
cd certificates/
openssl genrsa -out mydomain.key 2048
openssl req -new -key mydomain.key -out mydomain.csr
openssl x509 -req -days 365 -in mydomain.csr -signkey mydomain.key -out mydomain.crt
bash -c 'cat mydomain.key mydomain.crt' >> mydomain.pem
cat mydomain.pem
Copy the content of mydomain.pem to the HTTPS Certificate field. This file also includes the RSA Private Key in the certificate.
You will see the configured workers available at the bottom of this view.
Click on Confirm to save the configurations.
3.2.2.7.1.2. Managing options
You will finish the farm configuration in the Farm section. There, you will configure zones, policies, rules and VPN services.
Within the main view of Manage VPN farms, once you have your farms configured and the VPN services are running, you can see their status and managing options.

The Status field displays the icons of the following services:
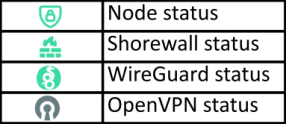
The color of the icons reflect their status:
Green: The node and its services are running, and configuration is up to date.
Yellow: The node and its services are running, but the services configuration is out of date.
Red: The node or its services are stopped or have some error.
Grey: Status unknown or not configured.
At the end of ech farm row, there is a three-dot icon that displays the following options:

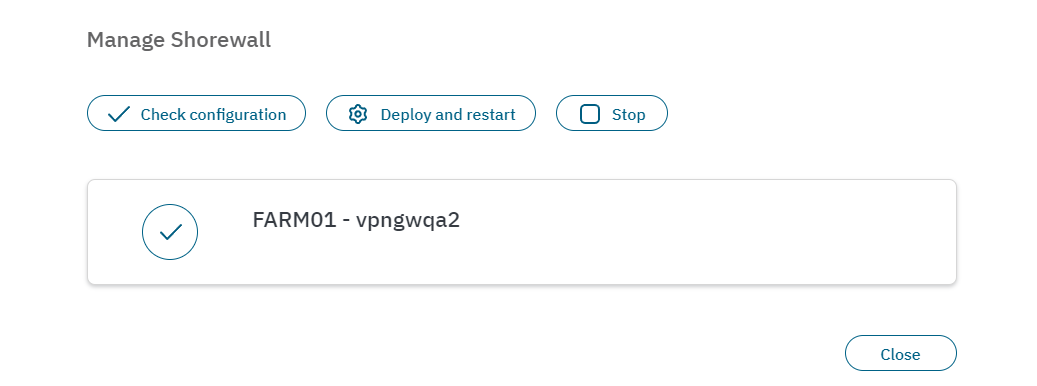
The Manage Shorewall, Manage Wireguard, and Manage OpenVPN options display the same window. It allows you to Check configuration, Deploy and restart, or Stop a service.
You also have the options to Add node, Edit, and Delete a farm.