9.2.5.2. FortiGate
Fortigate firmaware: 5.6.0
Access the Administration Portal for FortiGate appliances, and go to the User & Device → User Groups as shown in the figure bellow:
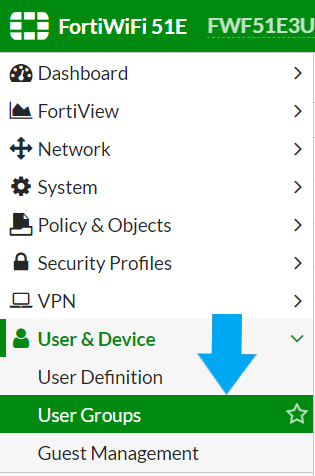
From there, it is required to create a user group where the FortiGate VPN Gateway is selected. It is important to leave the field members without any value. The following figure illustrates “any” value.

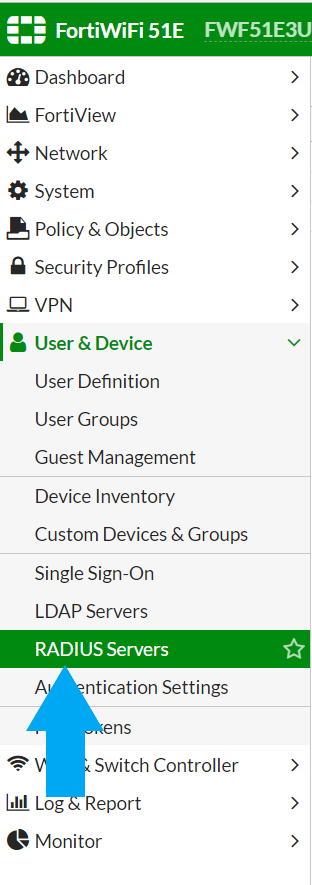
RADIUS Servers must be configured to integrate FortiGate with ON Core. Go to the RADIUS Servers menu.
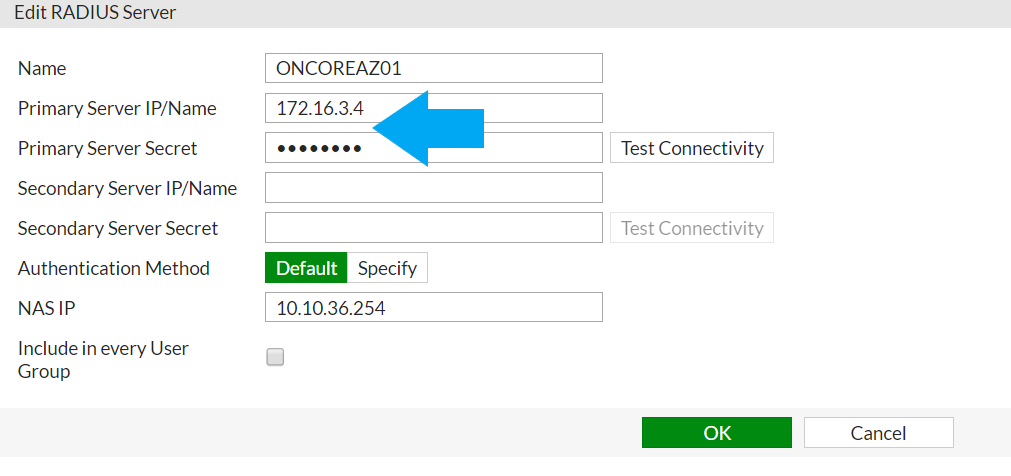
Create one RADIUS server pointing to the ON Core Server where “Primary Server IP/Name” and the preshared must be set. This PSK will be defined in the ON Core to establish the trusted relationship.
After the User groups is created, it is required to enable the fortigatevpn and its configuration. Go to the fortigatevpn → SSL-fortigatevpn Settings
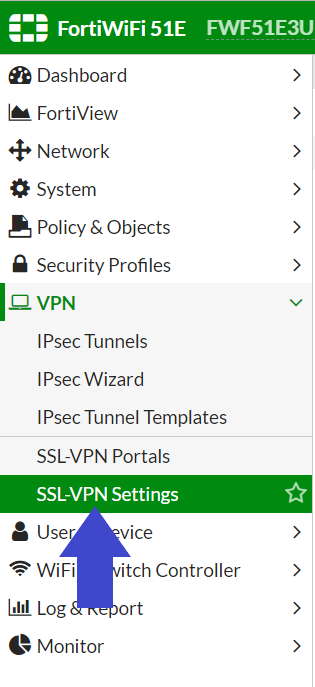
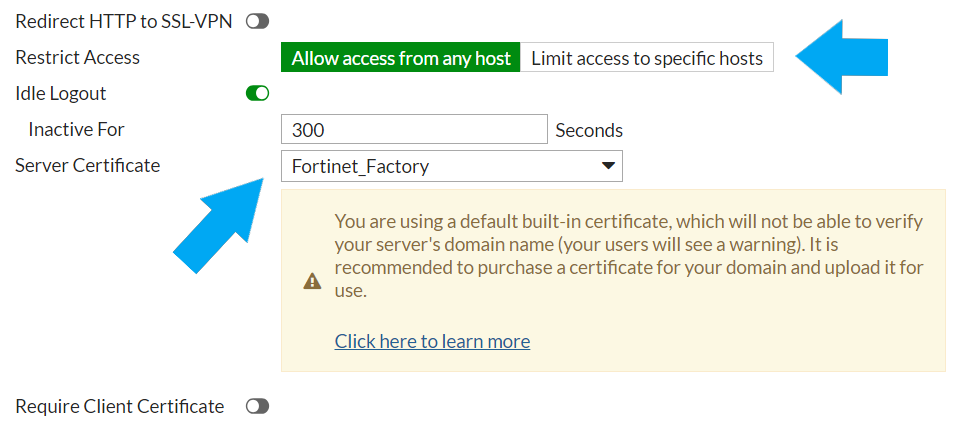
From the settings section, define a few parameters to have the fortigatevpn SSL daemon up and running.
The following settings must be established:
Interface where the fortigatevpn will listen to the network access requests, in this case, “internal”.
The port where the service will be published, in this case has been set to 4430.
There will not be limited access to the SSL-fortigatevpn interface, this can be adapted to customer requirements.
Built-in certificates will be used. If you have a PKI infrastructure in place you can use your own certificates or issued by third parties. Remember that this certificate is these certificates are used by fortigatevpn (server certificates).
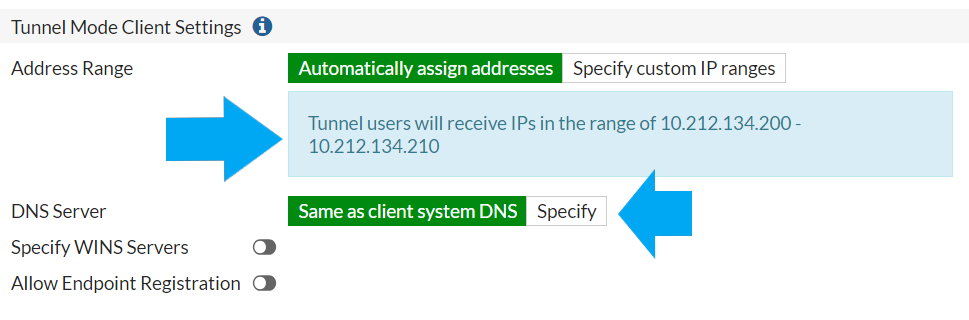
To assign client IP configuration when accessing the network, the same fortigate VPN Gateway will be used as DHCP Server assigning a scope 10.212.134.200-210.
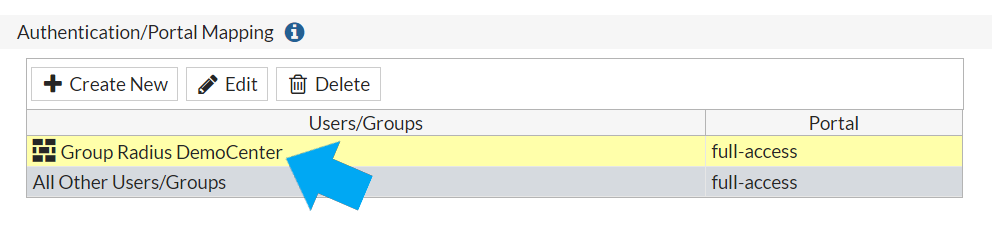
And finally, you map the group RADIUS created before with the Authentication/Portal mapping.
As soon as the fortigatevpn SSL and the RADIUS configuration is in place, it is required to create a specific rule to allow this traffic. To manage the access policy, go to Policy & Objects menu.
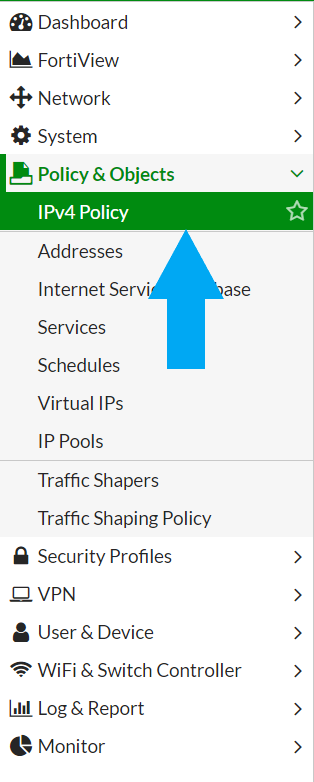
A rule must be defined to allow SSL-fortigatevpn services.

Once you have completed the configuration, it is required to test it. Go to the SSL-fortigatevpn web portal and check the credentials to confirm that the configuration is working. This test must be done when all the configuration pieces including OpenNAC Enterprise are properly set.
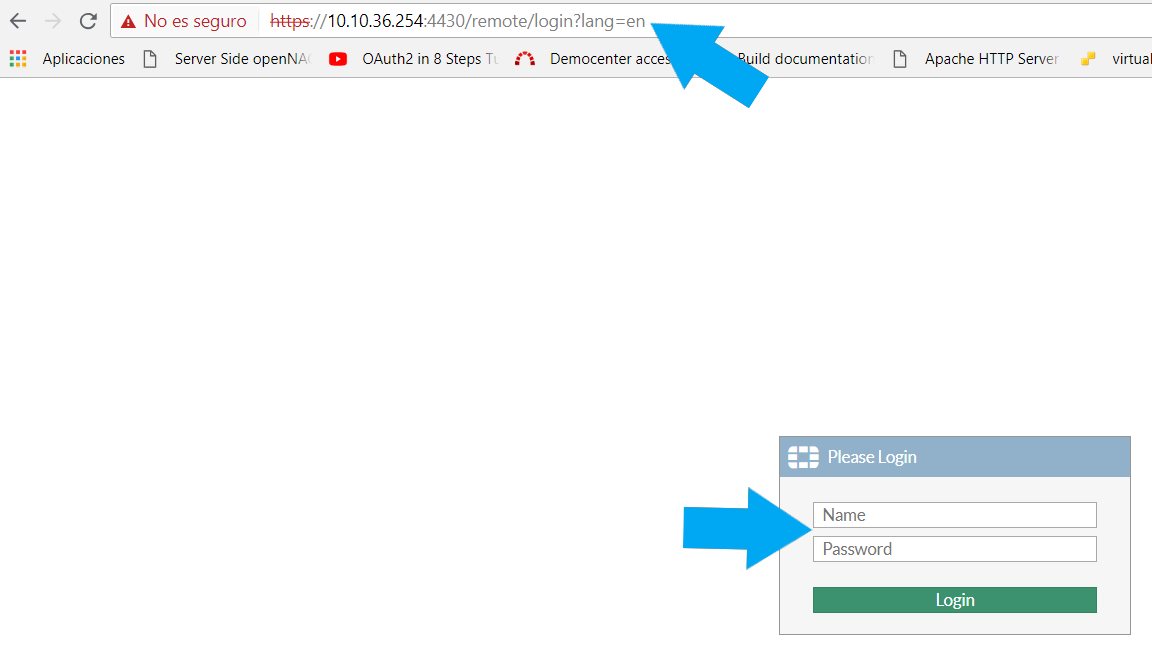
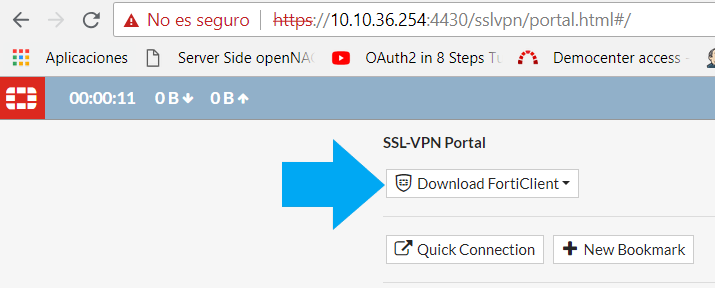
As soon as you access the portal, you can download the FortiClient.
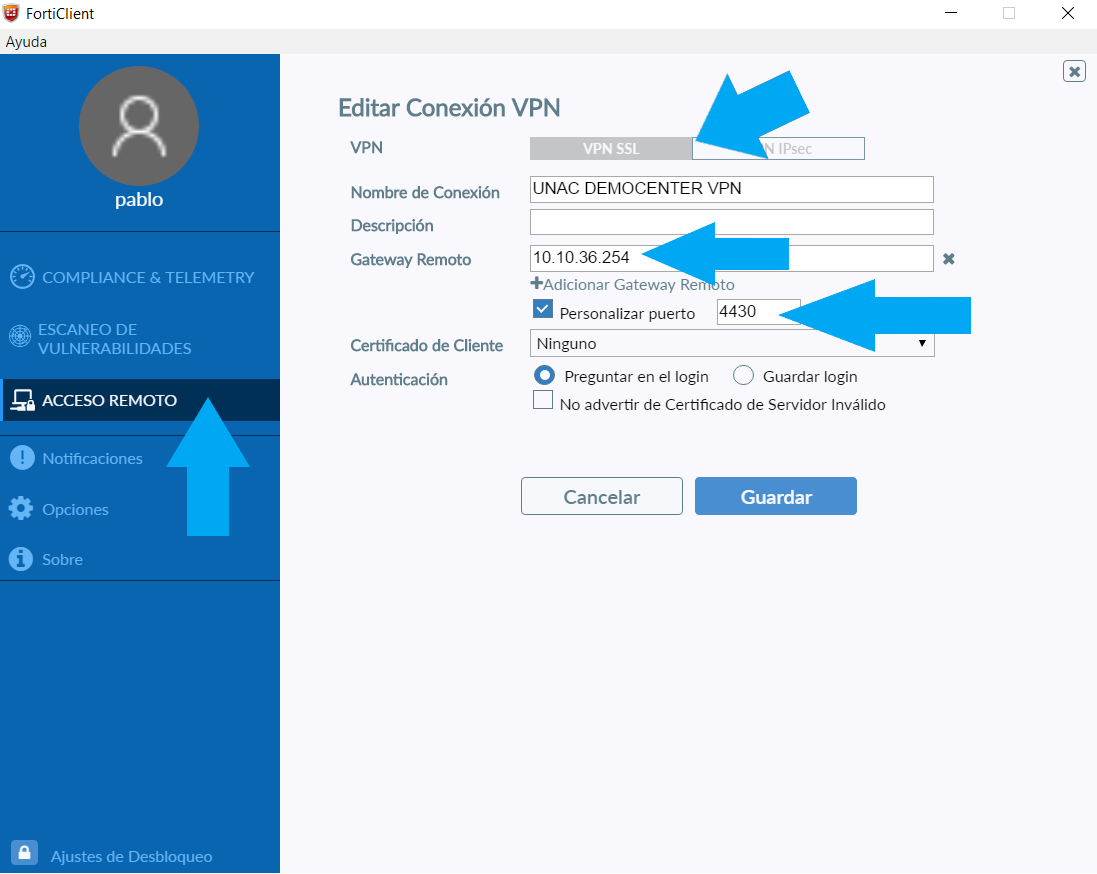
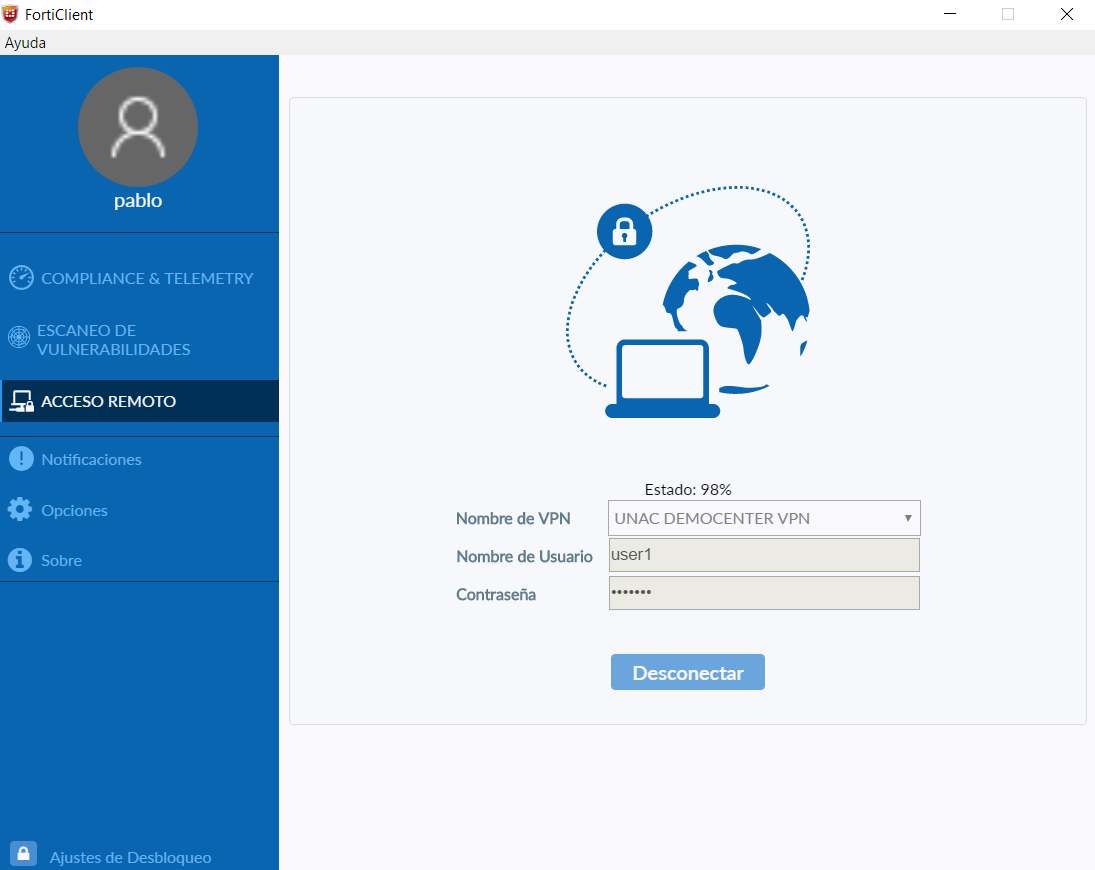
Once the FortiClient is installed you can use the following parameters to define a new SSL-fortigatevpn connection, setting the IP and the port.
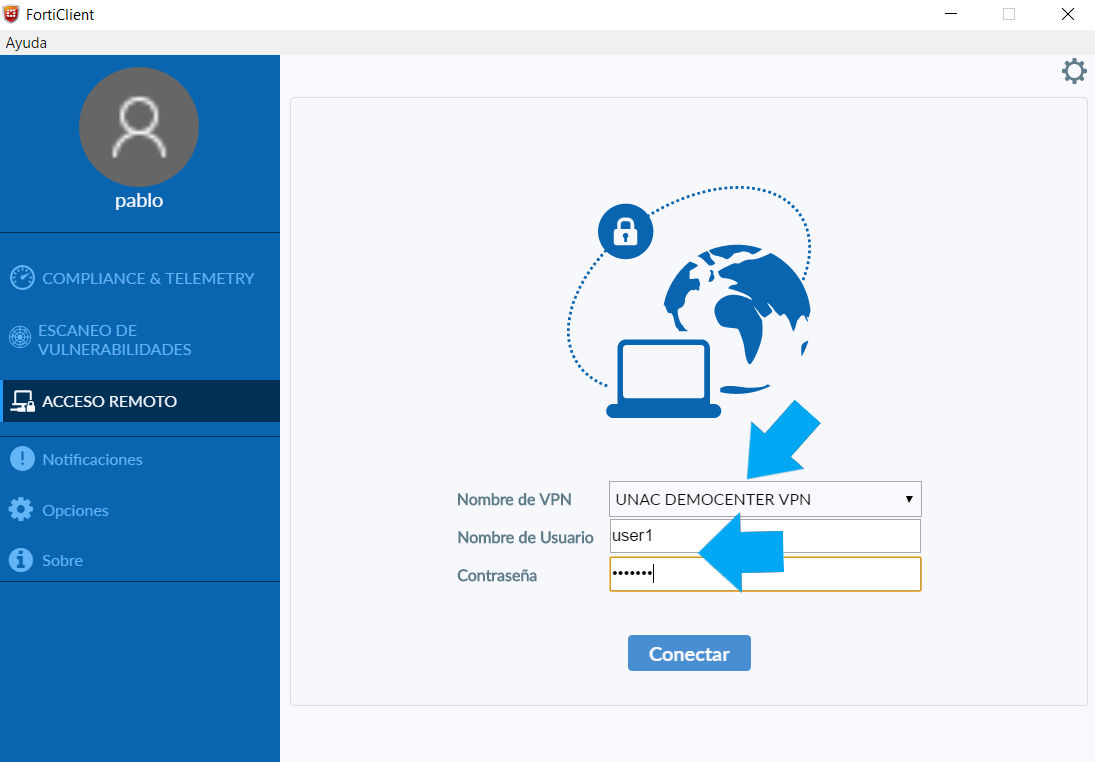
Once the FortiClient is configured, a logon prompt will appear.
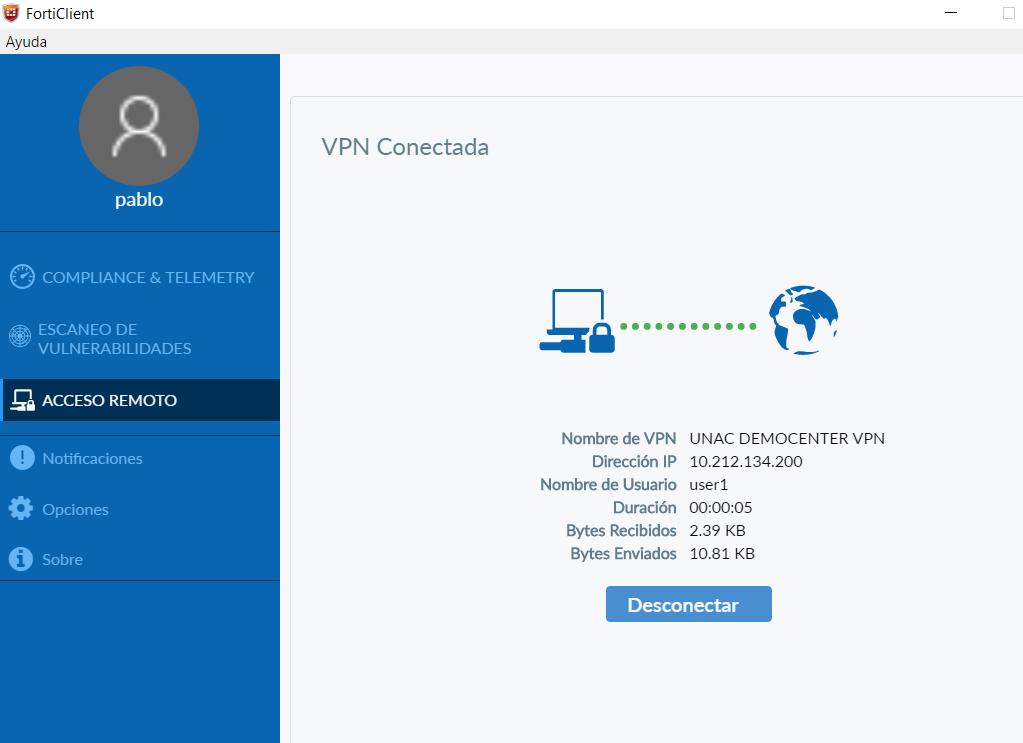
FortiGate performs technical checks right out of the box.
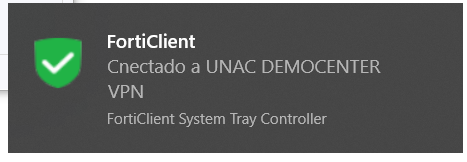
And the connection is finally established.
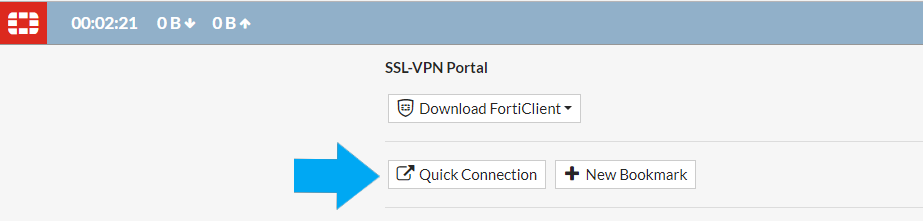
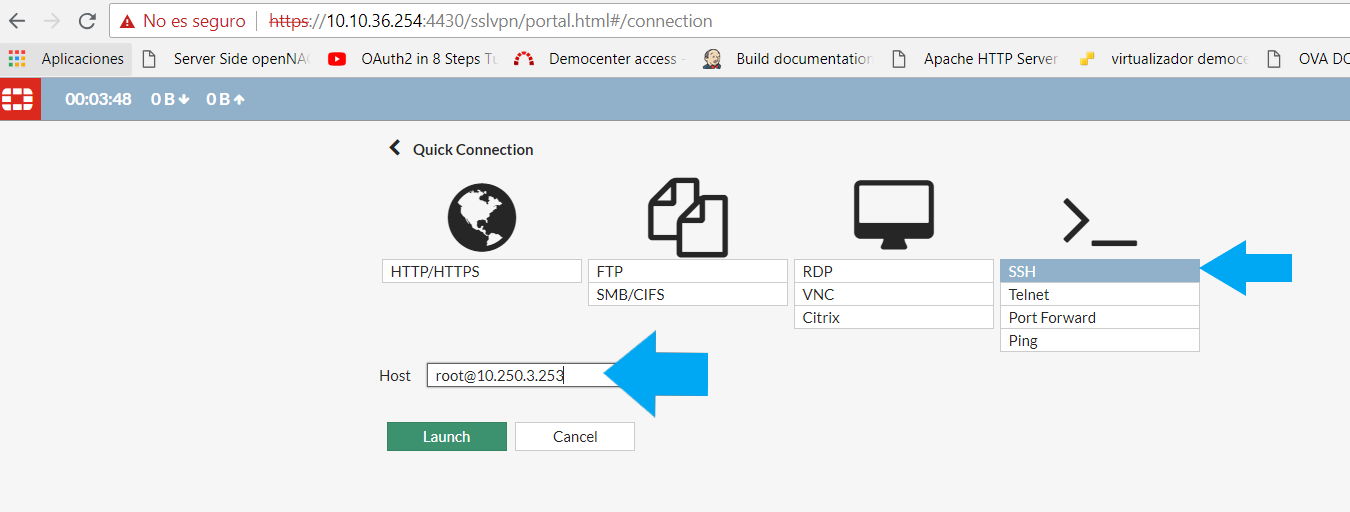
Instead of using the FortiGate Client, it is possible to use a quick connection where you can use the webportal plugins to connect.
An ssh connection will be used to check the correct connection to any internal corporate server.
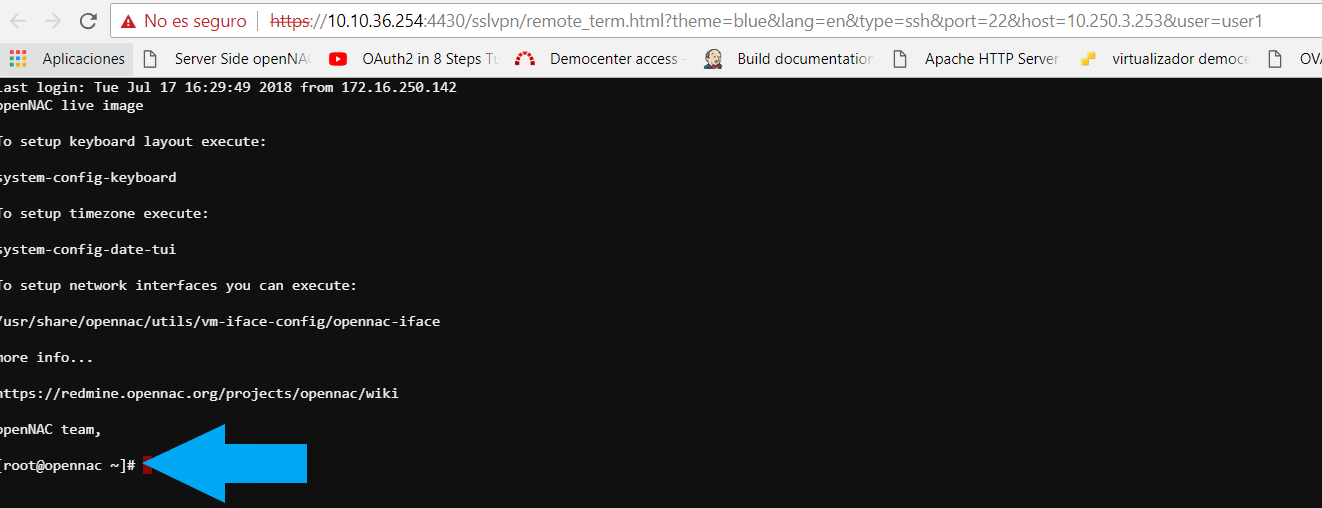
As soon as a valid credentials are introduced an prompt will appear.
9.2.5.2.1. FortiGate 40F
This section provides a comprehensive guide for configuring the FortiGate 40F firewall in conjunction with OpenNAC Enterprise to ensure proper operation. The configuration described in this section applies to authentication on the network device’s ports.
Model: FortiGate 40F
Tested Version_1: FortiOS v6.4.6 build6083
9.2.5.2.1.1. VLAN Definition
In FortiGate, to be able to assign VLANs dynamically through RADIUS, it is necessary to define the VLANs as follows:
Enable and create virtual-switches
config system virtual-switch
    #Add ports to lan interface
    edit "lan"
        set physical-switch "sw0"
        config port
            edit "portN"   # add all the ports you want in the lan
        end
    next

    #Create the VLANS
    edit "SERVICE"
        set physical-switch "sw0"
    next
end
Configure main virtual switch in 802.1x Dynamic VLAN mode
config system interface
    edit "lan"
        set ip <LAN-Default-IP/MASK>
        set allowaccess ping
        set type hard-switch
        set security-mode 802.1X
        set security-8021x-mode dynamic-vlan
        set security-groups "opennac-grp"
    next
end
Configure secondary virtual switch and vlan id association
config system interface
    edit "SERVICE"
        set ip <VLAN-IP/MASK>
        set allowaccess ping
        set type hard-switch
        set security-mode 802.1X
        set security-8021x-mode slave
        set security-8021x-master "lan"
        set security-8021x-dynamic-vlan-id <VLAN-ID>
    next
end
(Extra) If we need to create a DHCP Server for the VLANS:
Example:
config system dhcp server
    edit dhcp-server-number>
        set dns-service default
        set default-gateway 10.10.11.254
        set netmask 255.255.255.0
        set interface "registry"
        config ip-range
            edit 1
                set start-ip 10.10.11.1
                set end-ip 10.10.11.200
            next
        end
    next
end
9.2.5.2.1.2. RADIUS Configuration
Configure RADIUS Server:
config user radius
    edit " opennac"
        set server <OpenNAC IP>
        set secret <Radius-Shared-Key>
        set acct-interim-interval 60
        set radius-coa enable
        config accounting-server
            edit 1
                set status enable
                set server <OpenNAC IP>
                set secret <Radius-Shared-Key>
                set port 1812
            next
        end
    next
end
Configure User Group:
config user group
    edit "opennac-grp"
        set member "opennac"
    next
end
9.2.5.2.1.3. 802.1x Configuration
To configure the 802.1x functionality, we must define the operating mode as port security:
config system interface
    edit "lan"
        set security-mode 802.1X
        set security-8021x-mode dynamic-vlan
        set security-groups "opennac-grp"
    next
end
Reauth Periods and Types:
Reauth Period:
config user group
        edit opennac-grp
           set authtimeout <timeout_integer>   The auth time-out range is 1-43200 minutes
end
Timeout Type:
config user setting
        set auth-timeout-type <idle-timeout / hard-timeout / new-session>
end
idle-timeout: User entry will be removed if there is no traffic received for configured idle time (5 minutes by default).
hard-timeout: User entry will be removed after the configured auth- timeout value
new-session: User entry will be removed after the configured auth- timeout value
For more information about timeout types check: User and user group timeouts | FortiGate / FortiOS 7.2.4 (fortinet.com) .
9.2.5.2.1.4. MAC-Address Bypass (MAB)
To enable the MAC-Authentication functionality (used to perform MAB):
config system interface
    edit "lan"
           set security-mac-auth-bypass enable
    next
end
9.2.5.2.1.5. 802.1x Features
Default VLAN
The default VLAN will be the one that will be assigned in case of defining the default VLAN in the OpenNAC policy.
If we do not create a default VLAN in FortiGate, when sending the default VLAN from OpenNAC, it will assign the native network of the “lan” interface.
If we prefer, we can create a VLAN with ID 0 to act as the default VLAN in FortiGate:
Create virtual-switches VLAN
config system virtual-switch
    #Create the VLANS
    edit "DEFAULT-VLAN"
        set physical-switch "sw0"
    next
end
Configure secondary virtual switch and vlan id association
config system interface
    edit "DEFAULT-VLAN"
        set ip <VLAN-IP/MASK>
        set allowaccess ping
        set type hard-switch
        set security-mode 802.1X
        set security-8021x-mode slave
        set security-8021x-master "lan"
        set security-8021x-dynamic-vlan-id 0
    next
end
Critical VLAN
The critical VLAN will be the one in which the connections will be established in case the radius servers are not available for authorization.
unp
Security Profiles (ACLs)
Since FortiGate is a firewall, there is no concept of ACLs. Therefore, it will not be possible to apply them at the RADIUS level.
9.2.5.2.1.6. Toggle Port
SNMP
To perform the policy reevaluation through SNMP, it will be necessary to activate this functionality and define the keys of the reading and writing communities:
snmp
CoA
To perform the policy reevaluation through CoA, it will be necessary to activate this functionality and define de clients with their shared-key:
config user radius
    edit " opennac"
        set radius-coa enable
        next
end
9.2.5.2.1.7. NetConf & NetBackup
We can apply remote configuration and get a configuration backup from the opennac administration portal.
9.2.5.2.1.8. Troubleshooting & Monitoring
Display connected users:
 diagnose sys 802-1x status

diagnose firewall auth mac list
9.2.5.2.1.9. FortiSwitch Use Cases
Here we can find some examples of authentication configuration by use cases:
Use cases | FortiSwitch 7.2.3 (fortinet.com)