3.2.7.1. VPN Gateway Basic Configuration
We access the machine with the following default credentials:
Note
User: root
Password: opennac
3.2.7.1.1. Keyboard configuration
To modify the keyboard language by console, you can execute the following command:
[root@fw-vpngw ~]# loadkeys es
Loading /lib/kbd/keymaps/i386/qwerty/es.map.gz
3.2.7.1.2. Network configuration
To assign an IP, we execute the graphical network manager:
nmtui
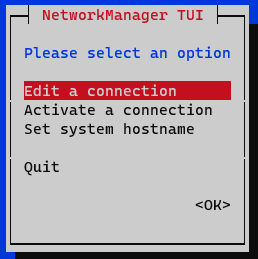
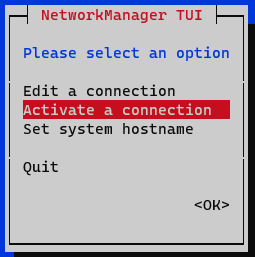
In the initial window, we select Edit a connection.
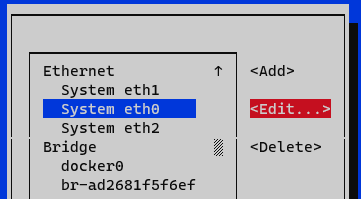
Select the interface and press Edit.
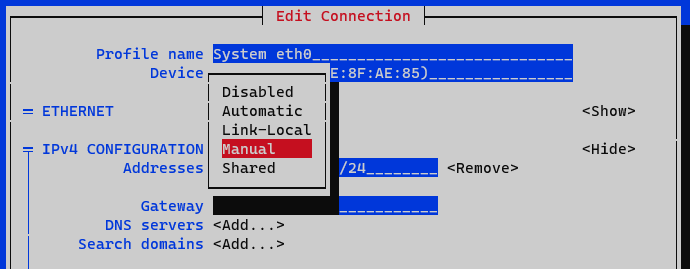
In the IPv4 Configuration section, we select Manual.
We display the IPv4 configuration by selecting the <Show> option
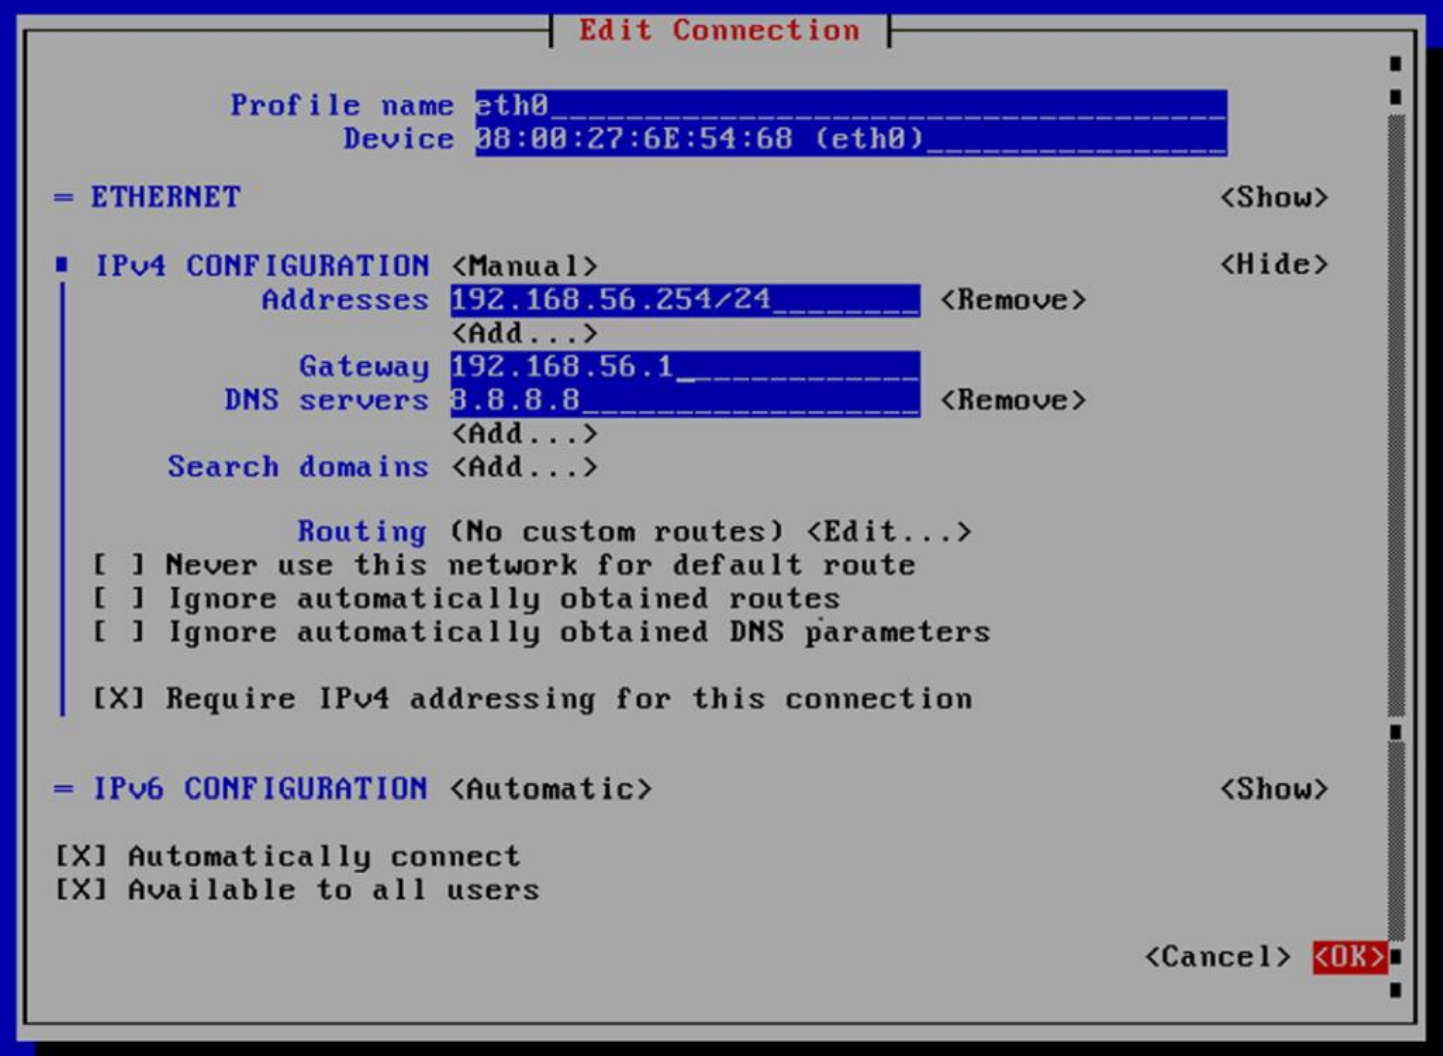
Addresses: We add the IP of the node with the corresponding network mask (<IP>/<MASK>).
Gateway: We add the gateway of the node.
DNS Servers: We add a DNS server (for example, Google).
We mark the option Require IPv4 addressing for this connection.
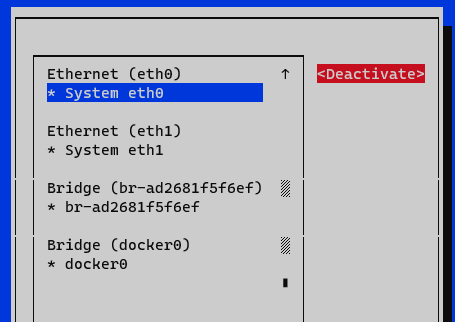
We end the configuration by clicking on <OK> at the bottom. At this moment we must activate and deactivate the interface to apply the changes to the interface that we have edited. In the menu, we select the option Activate a connection.
We deactivate and activate the interface and return to the initial menu.
Now we have the node configured, we can verify it with the command ifconfig or ip a:

We must modify the /etc/hosts file and include the appropriate ON Core address identified as onprincipal as well as the others nodes, onanalytics, onaggregator, onsensor, and cmi if they are part of the module architecture. It should also appear as Modified IP in the previous step as emmafront.
It is important to keep these machine names with the corresponding IPs of the installation.
[root@core ~]# cat /etc/hosts
127.0.0.1 localhost localhost.localdomain localhost4 localhost4.localdomain4
192.168.45.254 onmain
192.168.45.253 on analytics
192.168.45.253 onaggregator
192.168.56.252 sensor
10.10.10.184 emmafront
192.168.45.251 cmi
3.2.7.1.3. Installation of the Node in the CMI
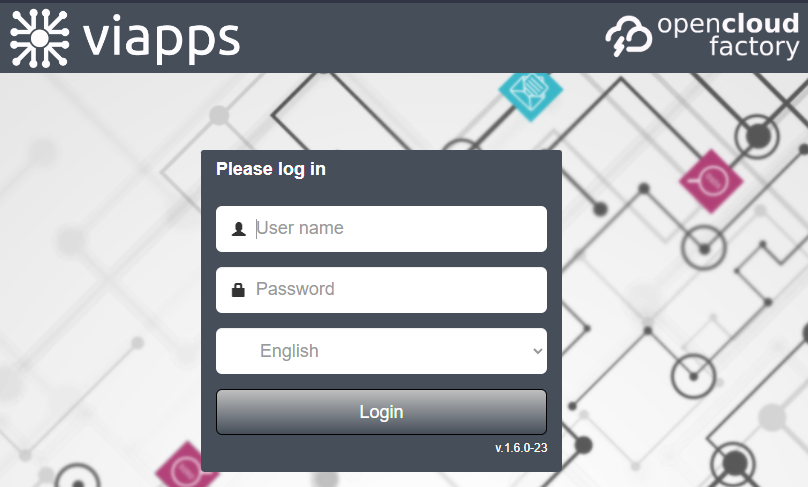
First we must access the CMI administration web portal by entering the IP in the browser: http://<CMI_IP>/auth/login
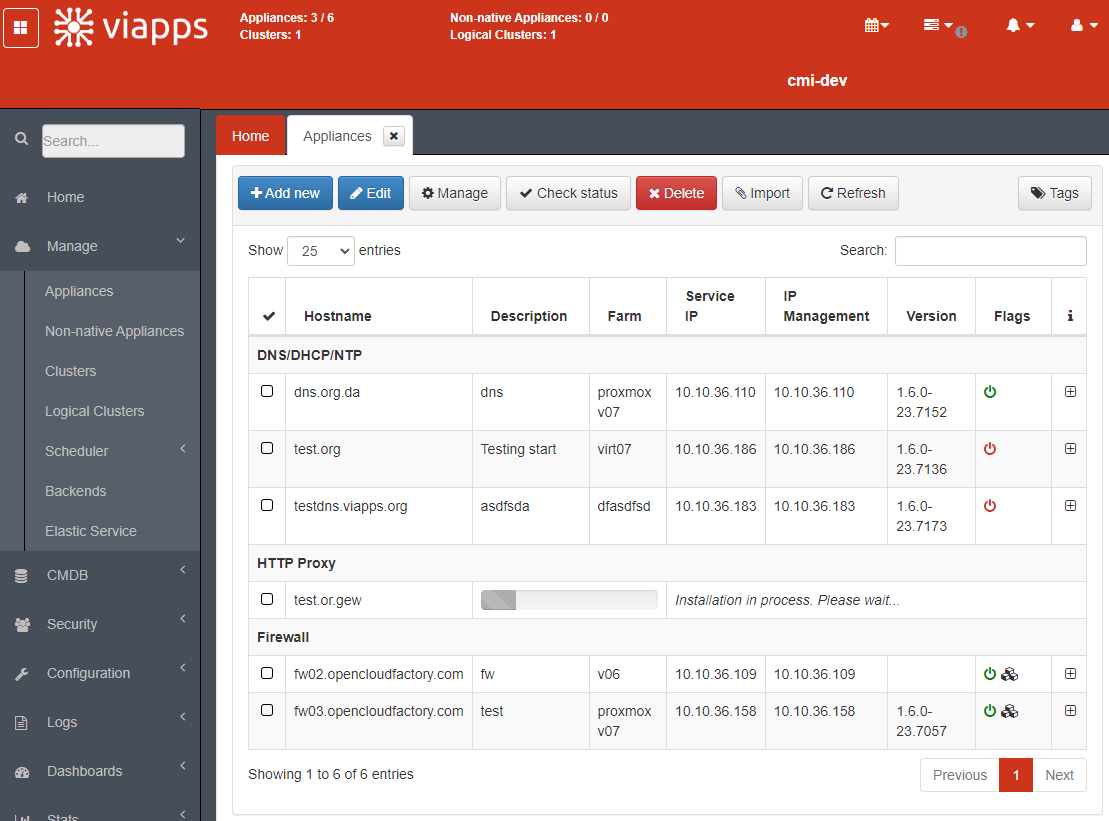
In the web portal we access the “Manage -> Appliances” section and select “Add New” to add a new node.
Note
Do not close the browser in the middle of the process.
In the pop-up window, we fill in all the information of the node we want to install.
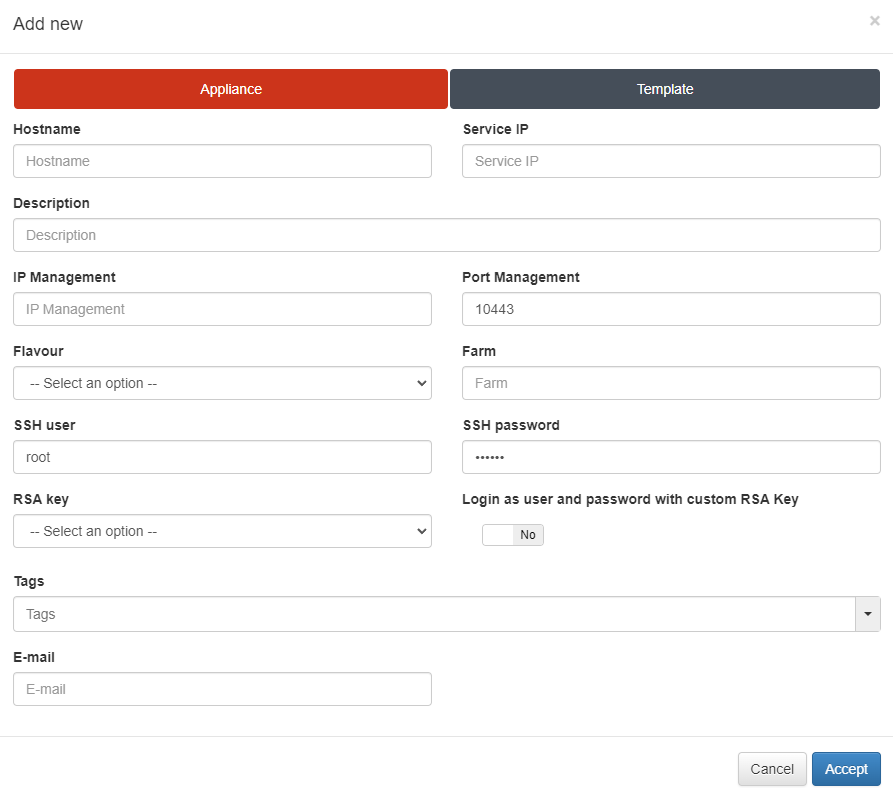
Hostname: Name of the node machine. It must be in FQDN format (FQ: hostname ; DN: domain).
IP: IP assigned to the node to be imported.
Description: Description of the node.
IP Management: IP management of the node.
Port Management: Port to access the node management (10443 by default).
Flavour: Type of node, in this case we will select Firewall.
Farm: Location of the node to be able to identify where the node is located.
SSH user (default): SSH credentials of the node, by default root/viapps.
SSH password (default): SSH credentials of the node, by default root/viapps.
RSA key: Key to authenticate. The keys that are stored in the CMI are displayed in the list. If you want to create a key, access to CMDB->CMDB RSA Keys and click Add new.
Login as user and password with custom RSA Key: Allows access to the node using the username and password and the key RSA at the same time.
Once all the fields have been filled in, press Accept and the node will be installed. This process may take a few minutes. It is important not to close the browser in the middle of the process.
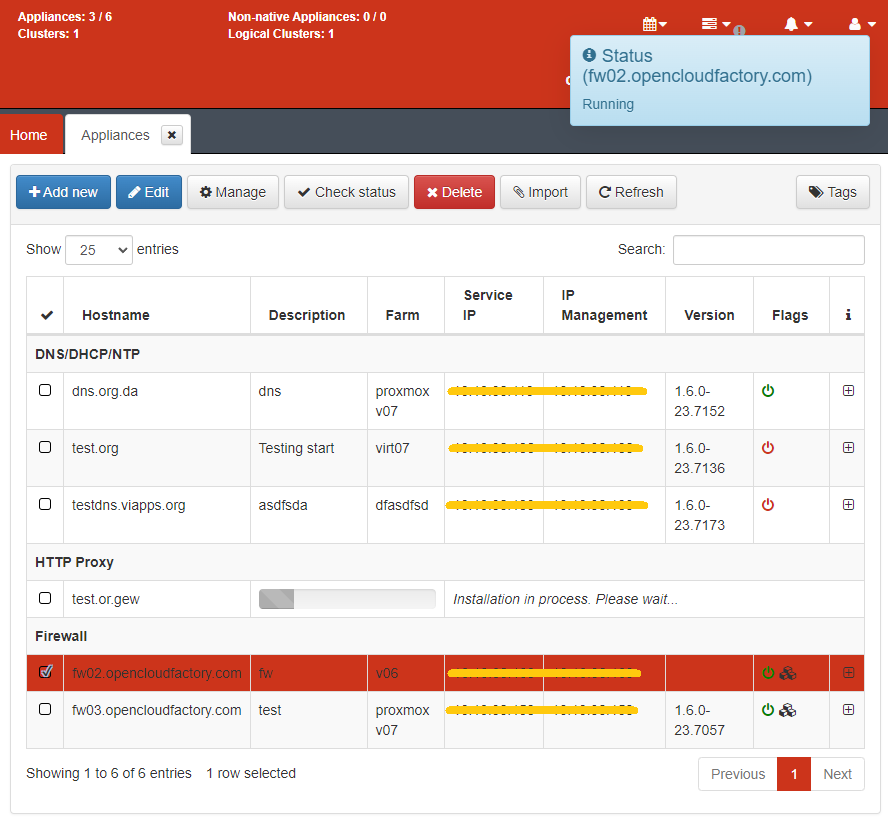
Once the installation is finished, the Appliance will appear with its corresponding information and the “Status: Running” flag.
Note
Once the node is installed, it is necessary to restart from the console (reboot) to apply the changes.