5.1.7. Platform Users
On this section, you can define the users that access OpenNAC Enterprise.
In the ON CMDB -> Security -> Roles tab, we can generate console profiles (roles) and associate them to the web console users. This functionally allows administrators to provide different console views for particular uses, by customizing the console access and the permissions given to a particular user. Configure roles as follows:
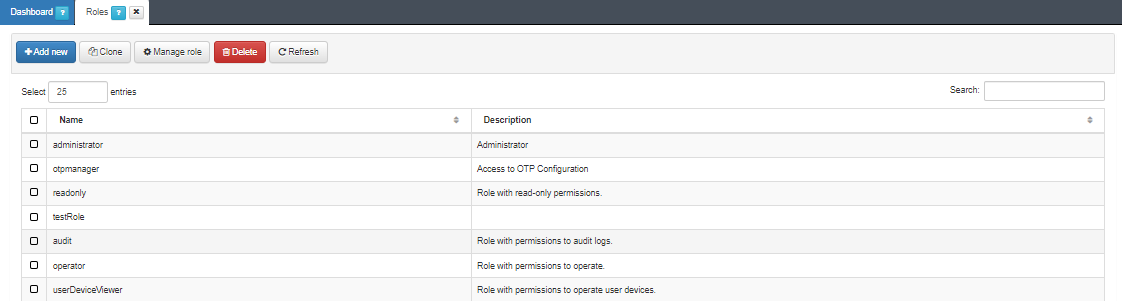
In the Roles tab, we can see the default roles with basic permissions. To create a custom role, click the Add new button and a pop-up window will appear. We can then define the role name and a description.

When creating a new role, the minimum permission are assigned through ACLs. To manage those permissions, select the desired role and click the Manage role button.
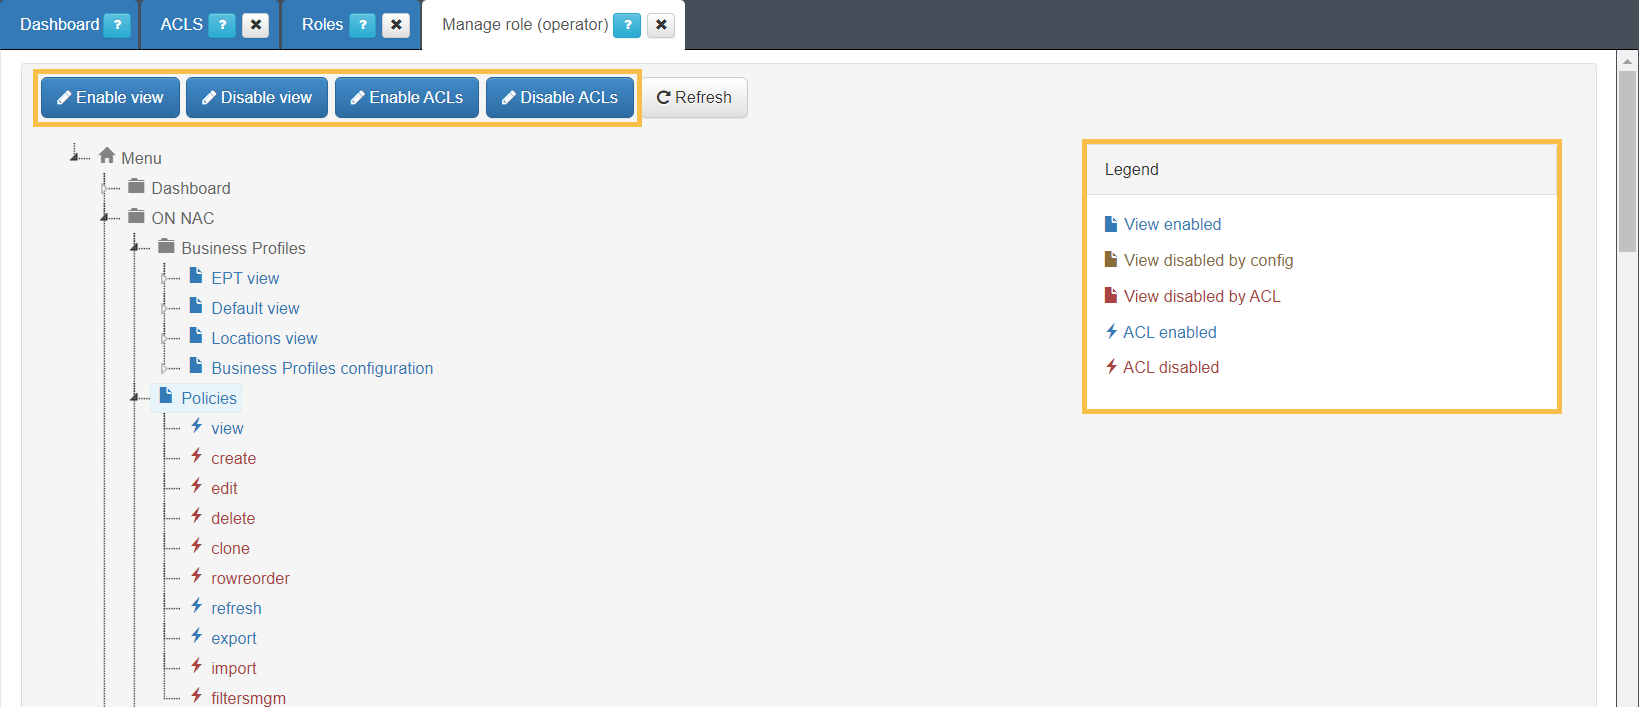
In this tab, the administrator can view and select all the OpenNAC Enterprise web console menu options, with the available permissions for each one. This way, we can manage all the permissions that we want to give to an specific role.
The administrator will be able to enable and disable the different views and menus on the Administration Portal and manage the different ALCs (permissions to edit, add, delete, etc.) and the different sections.
5.1.7.1. Admin Users
Going to ON CMDB -> Security -> Admin Users section, we can create administrator users. We will manage those users who will have access to the OpenNAC Enterprise Web Administration Portal. We can create different users and configure parameters such as email, role, phone, etc.
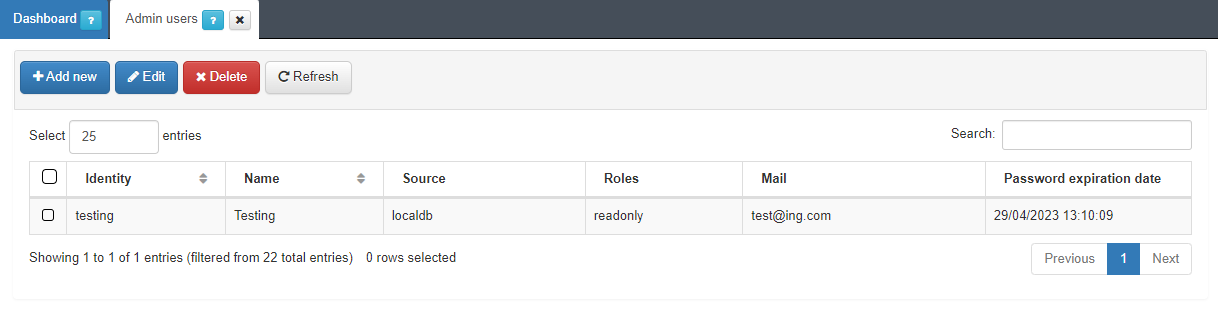
These users can be created on different user data sources and we can also assign them different roles. These roles are used to manage access to the OpenNAC Enterprise Web Administration Portal so that each user can have different permissions when navigating through the different sections of the portal (these roles must be created previously).
Note
If a user with a specific role switches to another role, they will automatically be logged out to renew their permissions. The new permission of the assigned role will apply the next time the user logs in.
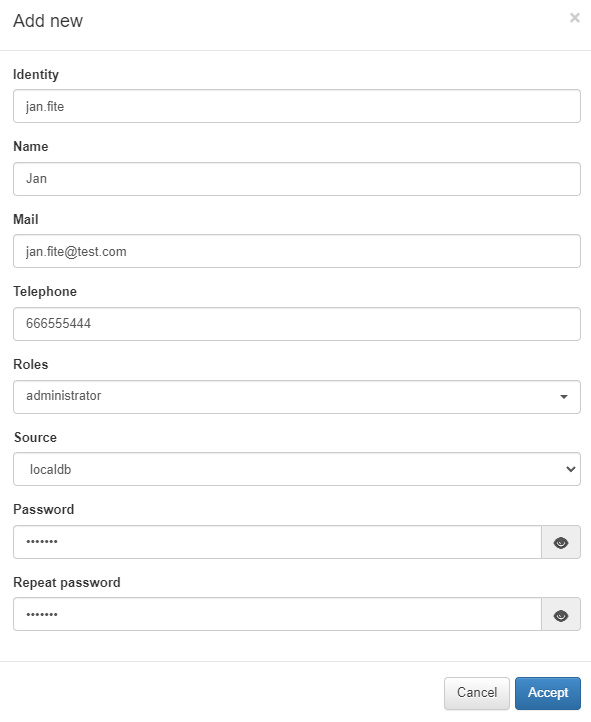
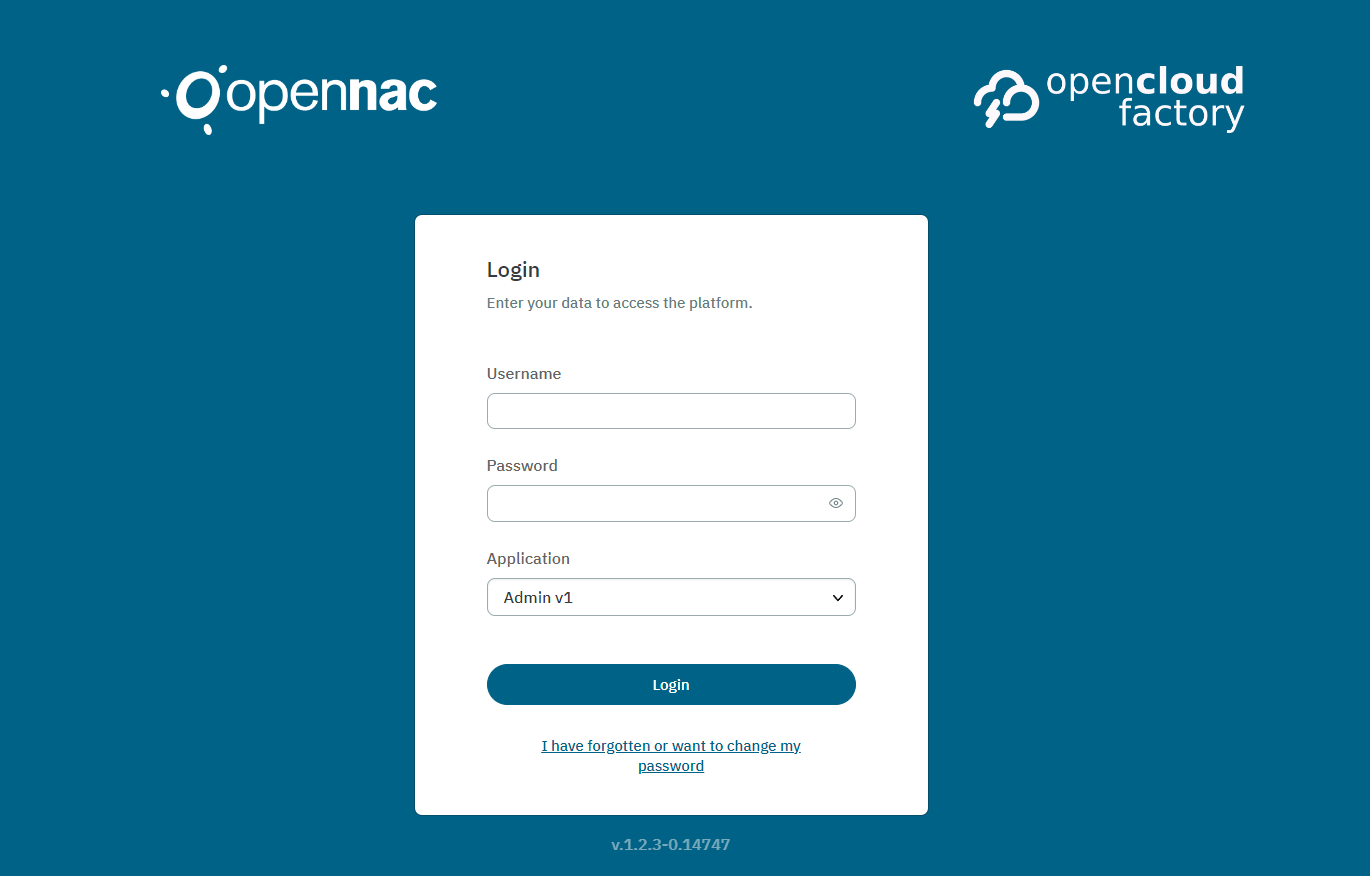
After creating the new user, use the newly configured credentials to log in to the Administration Portal.
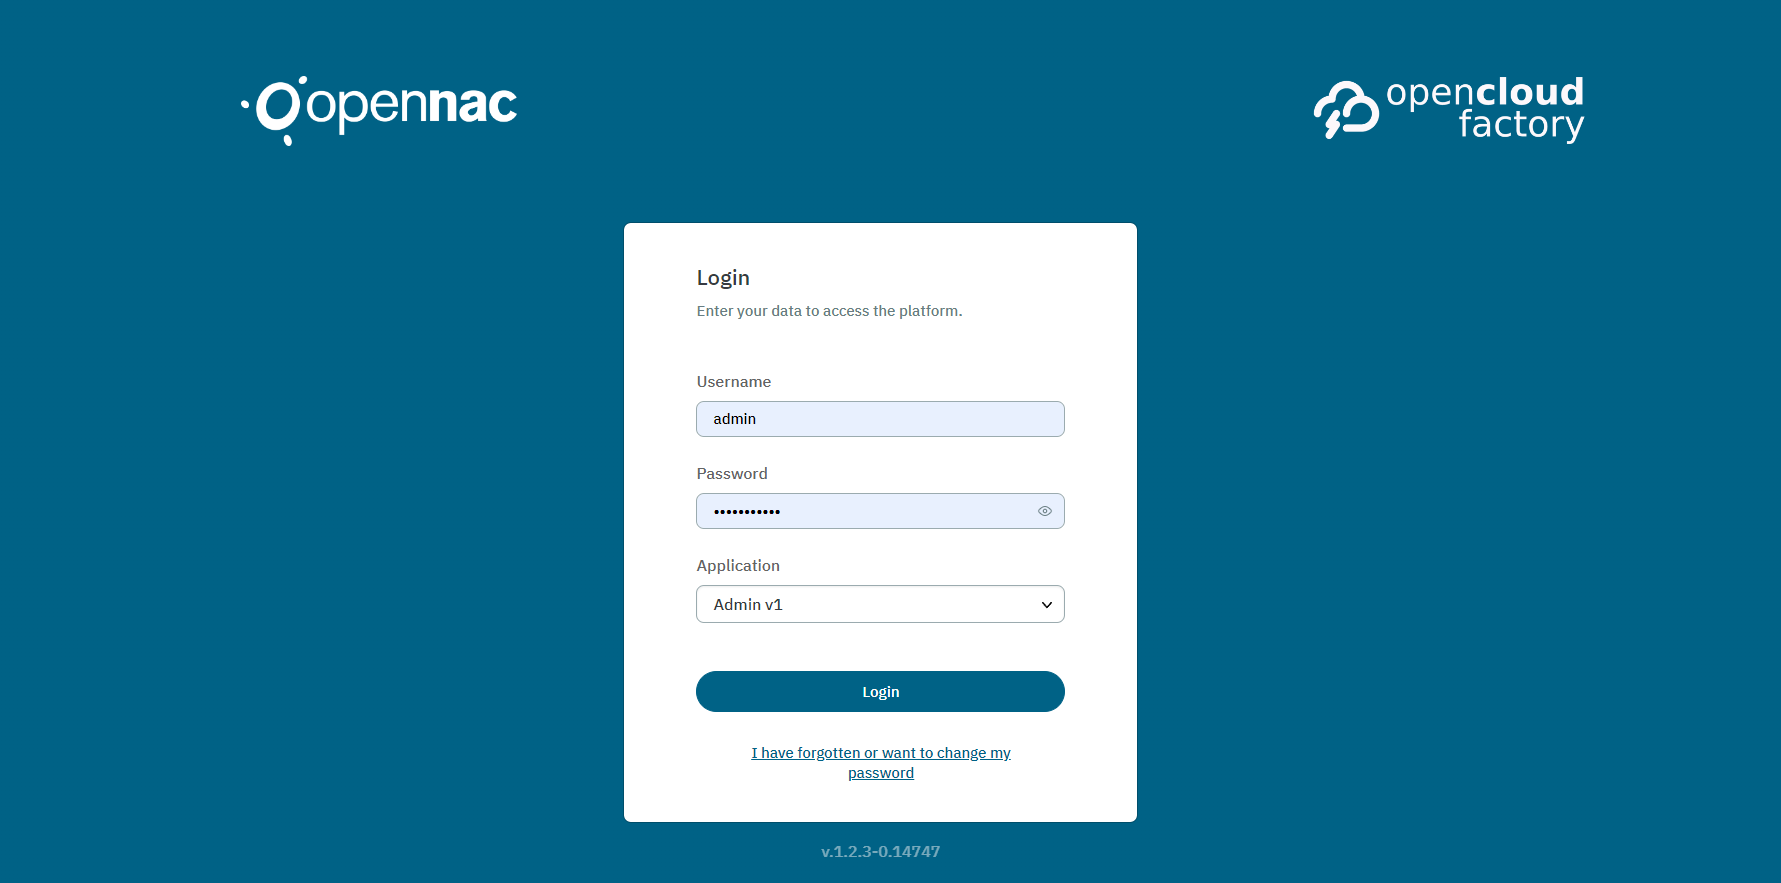
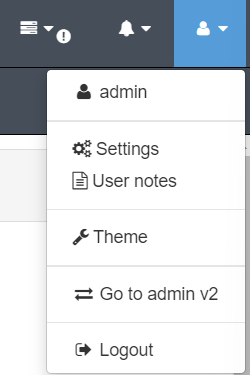
As we can see, we are logged in.
5.1.7.2. User Data sources
Multiple user data sources (UDS) can be defined on the OpenNAC Enterprise CMDB, this allows the system to use different identities in the authorization process. AD attributes are used to be part of the authorization process. For instance, if a user is a member of one group in the Active Directory, they can be assigned a different level of access, like VLANs.
When you have the ON Core added to the domain and a UDS configured, it is possible to define different authorization policies.
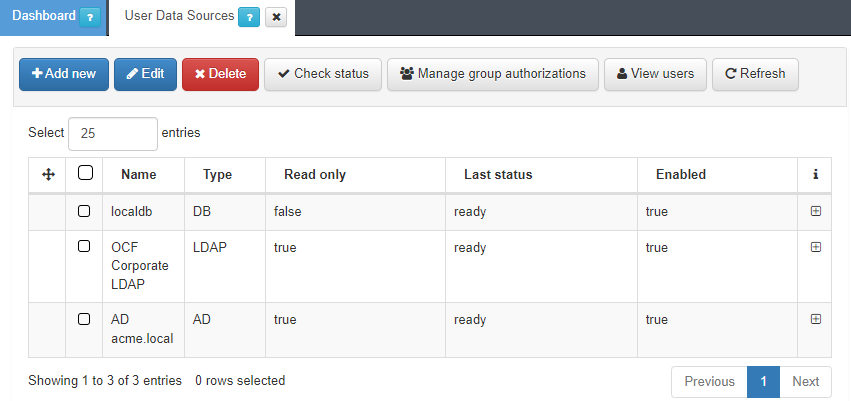
Some of the user data sources that can be defined are:
LocalDB: This is a local database based on MySQL.
Sample ldap: This is a local ldap service that can be used for proof of concepts, is not recommended for productive environments.
Active Directory (optional): This is the connection established with Active Directory.
LDAP Server.
External Database or many others.
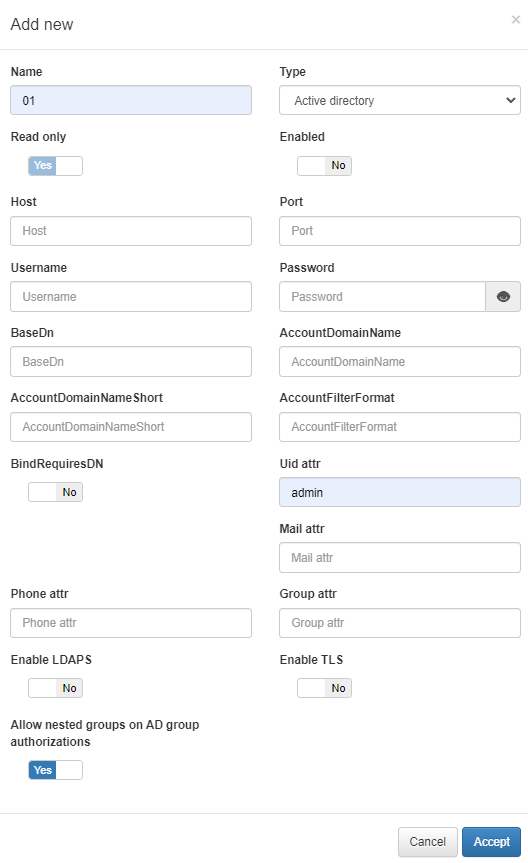
To add a new UDS, click the Add new button. A pop-up window will appear where we must enter the following information:
Parameter |
Description |
|---|---|
Name |
is the name used by the UDS, in this case this is a UDS type LDAP/AD and for this reason, for instance: AD Mycompany |
Type |
is defined as LDAP/AD, Database connection could be used to get user attributes. |
Read only |
if the query is launched with a real only flag, this will avoid any write action in the commands. |
Enabled |
The UDS can be enabled and disabled. |
LDAP Host |
The LDAP/AD IP where the queries are launched, for instance: 172.16.11.5, additional ips can be added. |
LDAP Port |
The port used for the AD/LDAP Search query by default use an unsecure connection, default is 389 and if AD/LDAP SSL is enabled is 636. |
LDAP Username |
Is the user registered in the AD/LDAP server, this allows to bind aud use AD/LDAP information, for instance the user created in the picture in the active directory is Step 1. |
LDAP Password |
Is the password for the AD/LDAP binding. |
LDAP Base DN |
BaseDN in the top of the domain name structure, our domain is named mycompay.local and its BaseDN is DC=mycompany,DC=local. |
LDAP AccountDomainName |
Is the DNS name for the domain in uppercase, in this case MYCOMPANY.LOCAL. |
LDAP AccountDomainName Short |
Is the short name for the domain or commonly named NETBIOS name, for instance MYCOMPANY. |
LDAP AccountFilterFormat |
is the attribute used to select users, we have included two options (only one must be used), in this example is defined (sAMAccountName=%s) for Active Directory and (uid=%s) for LDAP Servers. |
LDAP Bindrequires DN |
The bindDN DN is basically the credential you are using to authenticate against an LDAP. When using a bindDN it usually comes with a password associated with it, sometimes anonymous binding doesn’t allow certain types of actions. |
LDAP Uid attr |
Is the attribute used to identity users IDs, depending if AD or LDAP is used the filter change. |
LDAP Mail attr |
Is the filter use to identify the mail as an attribute of the user. |
LDAP Phone attr |
Is the filter use to identify the phone number as an attribute of the user. |
LDAP Group attr |
Is the filter use to identify the groups as an attribute of the user. |
Enable LDAPS |
Is used to authenticate and authorize users where LDAP communication is transmitted over an SSL tunnel port 636 TCP. |
Enable TLS |
Is used to secure communication between LDAP clients and LDAP servers. |
We can check the UDS status, its connection details and if it is enabled or disabled by clicking on the “+” button.

We can also manage group authorizations by using local groups and assigning them authorized administration roles. It is also possible to use Active Directory Groups, this allows us delegate administration portal identities and profiles to any Active Directory Group.
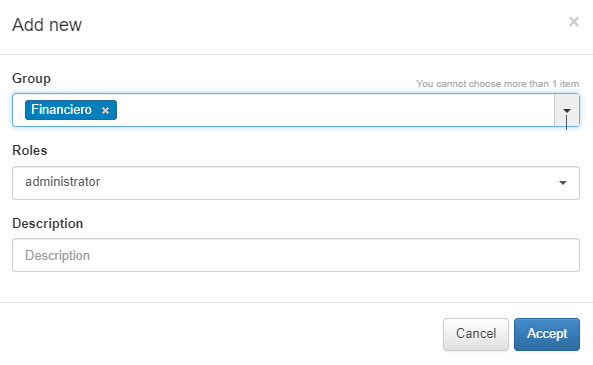
To create a User roles based on AD groups, select the desired UDS and click the Manage group authorizations button. A pop up window will appear where we will be able to define the different groups and associate a rol to them.
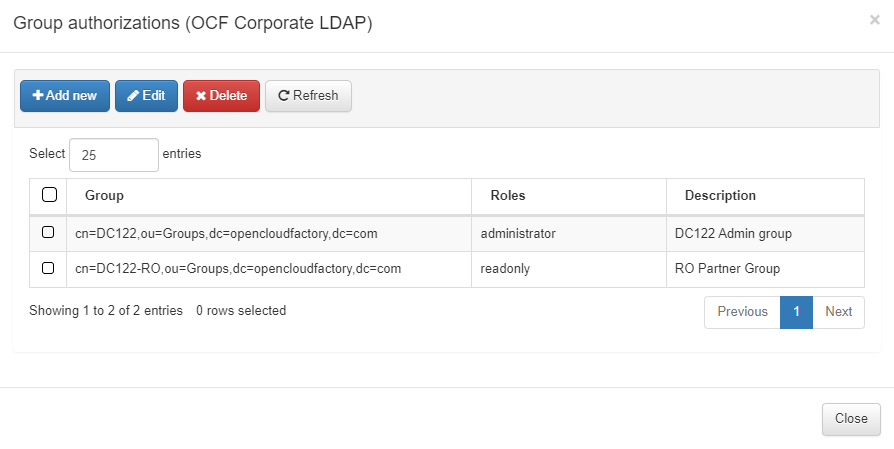
To add a new group authorization, click the Add new button. In the pop up window we will be able to select the AD group and associate a role (or multiple roles) and set a description.