2.1.2. VMWare OVA Deployment
VMWare is a kind of virtualization and cloud computing software that allows you to access your virtual machines regardless of the restrictions of your physical hardware.
In this section we will see the necessary steps to install OpenNAC Enterprise virtual machines in VMWare. The whole process will be guided with one OVA as an example, but the process will be the same for each OVA.
Important
You should deploy the OVAs on a minimum ESXi 7 virtualization platform.
You will need to have the desired OVAs downloaded. If you haven’t downloaded it yet, check the Index to see what image you need.
First of all, go to the “Virtual Machines” view and click on Create/Register VM
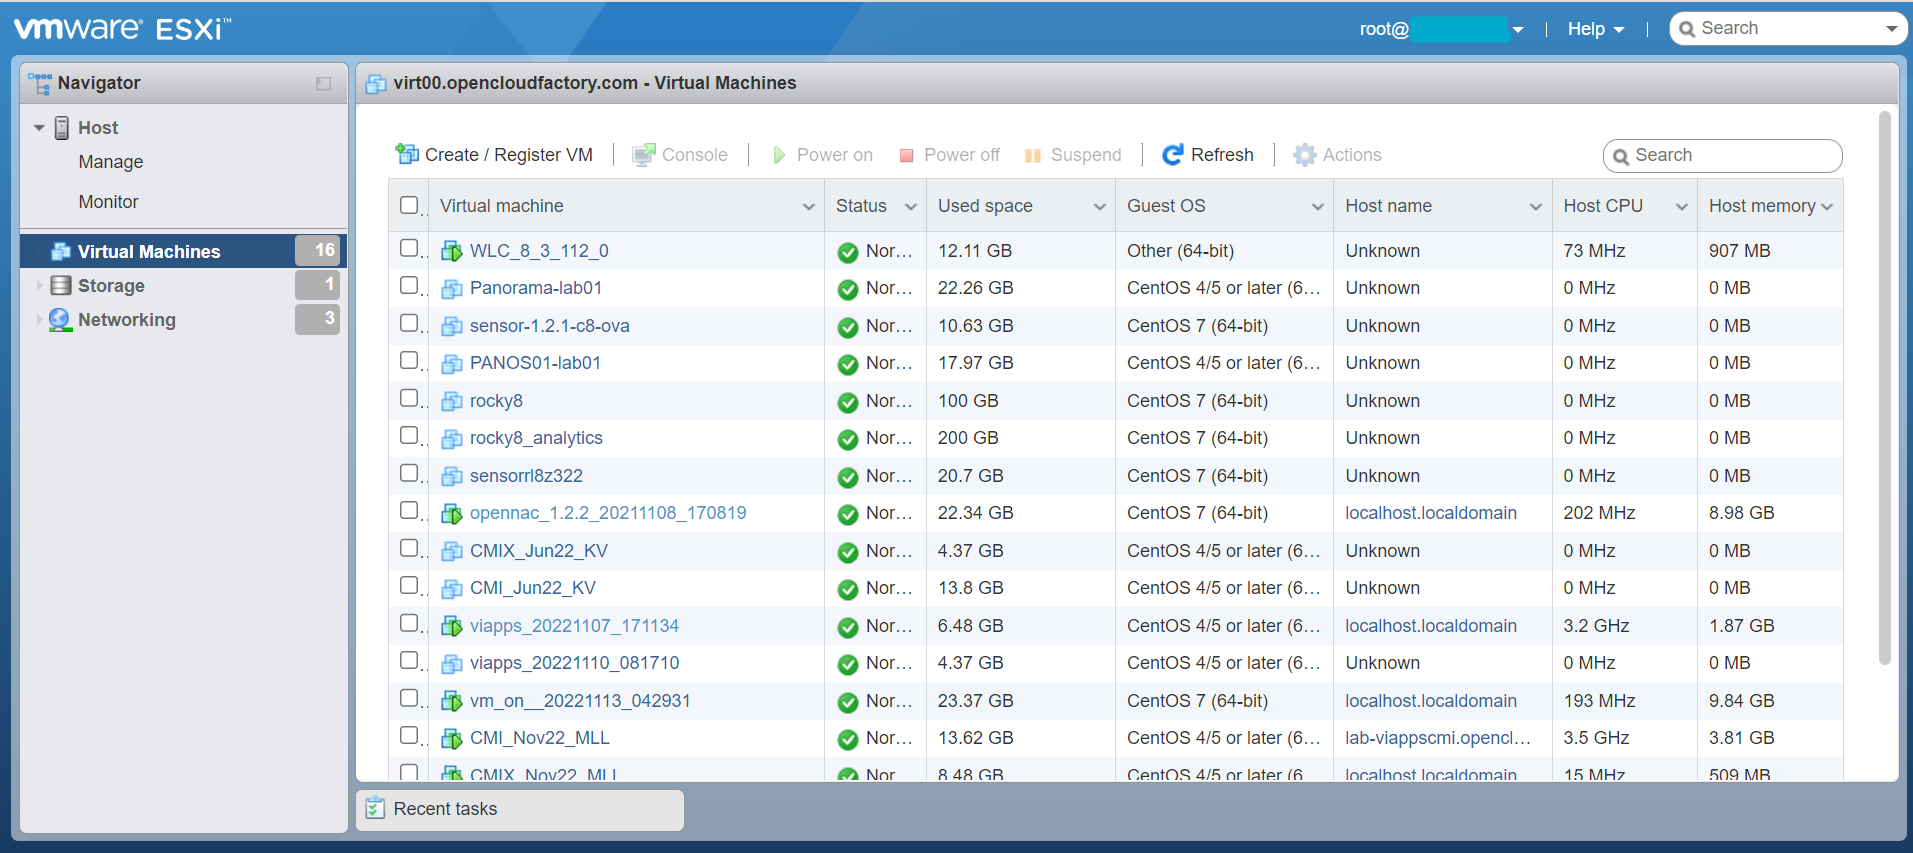
This will open a new windows with the steps to create the VM, we will just follow the instructions.
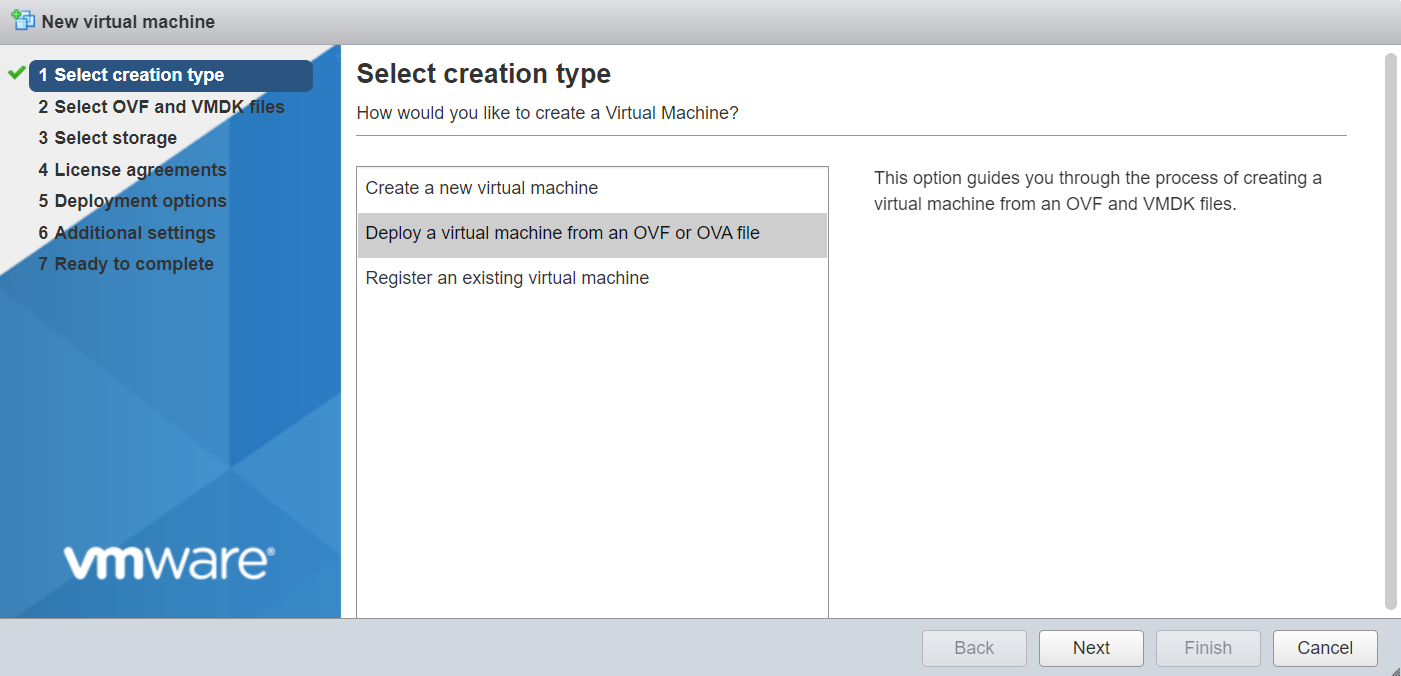
On the first step “Select creation type” we will click on Deploy a virtual machine from an OVF or OVA file and then on Next.
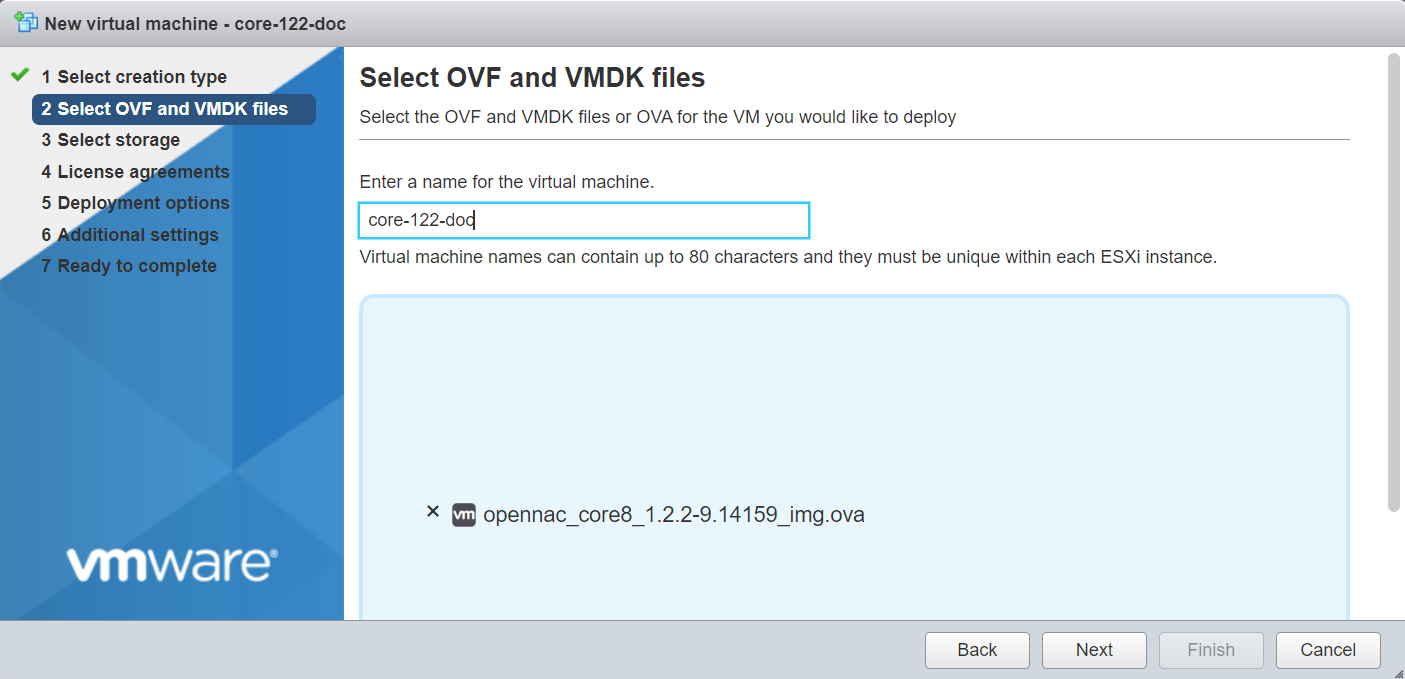
On the second step “Select OVF and VMDK files” we should enter a name for the virtual machine and drop our OVA file. Then click on Next.
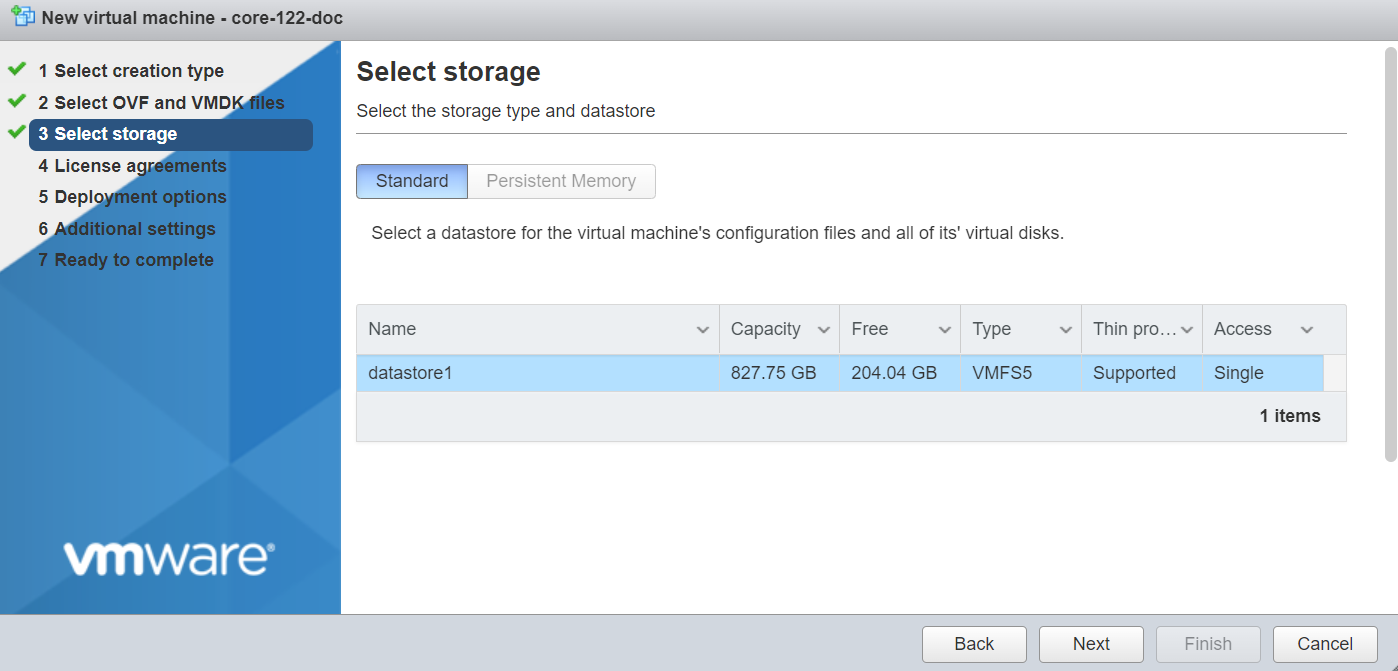
On the third step “Select storage” we should select the datastore for the virtual machine’s disks and files. This depends on your VMWare configuration. Then click on Next.
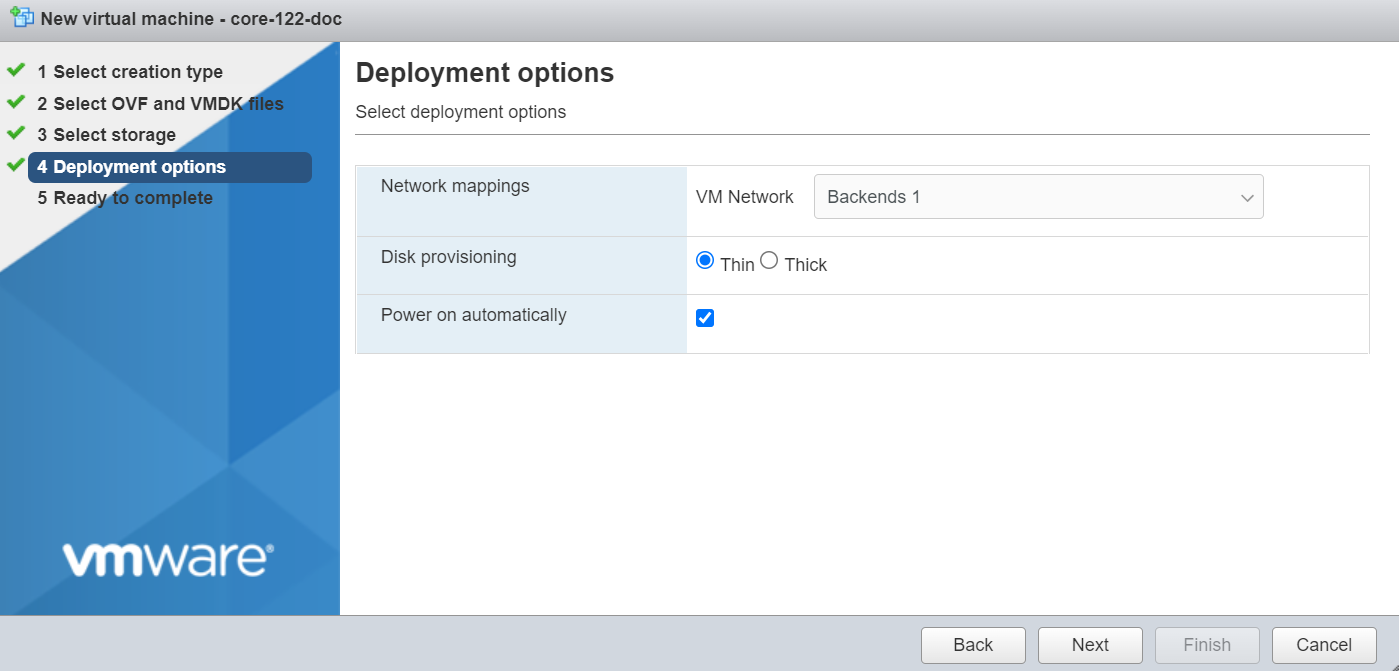
On the fourth step “Deployment options” we can choose the network configuration selecting one of the configured networks, the disk provisioning (thin vs thick) will depend on our space and preferences but we will select “Thin”, and if we want the machine to be started automatically.Then click on Next.
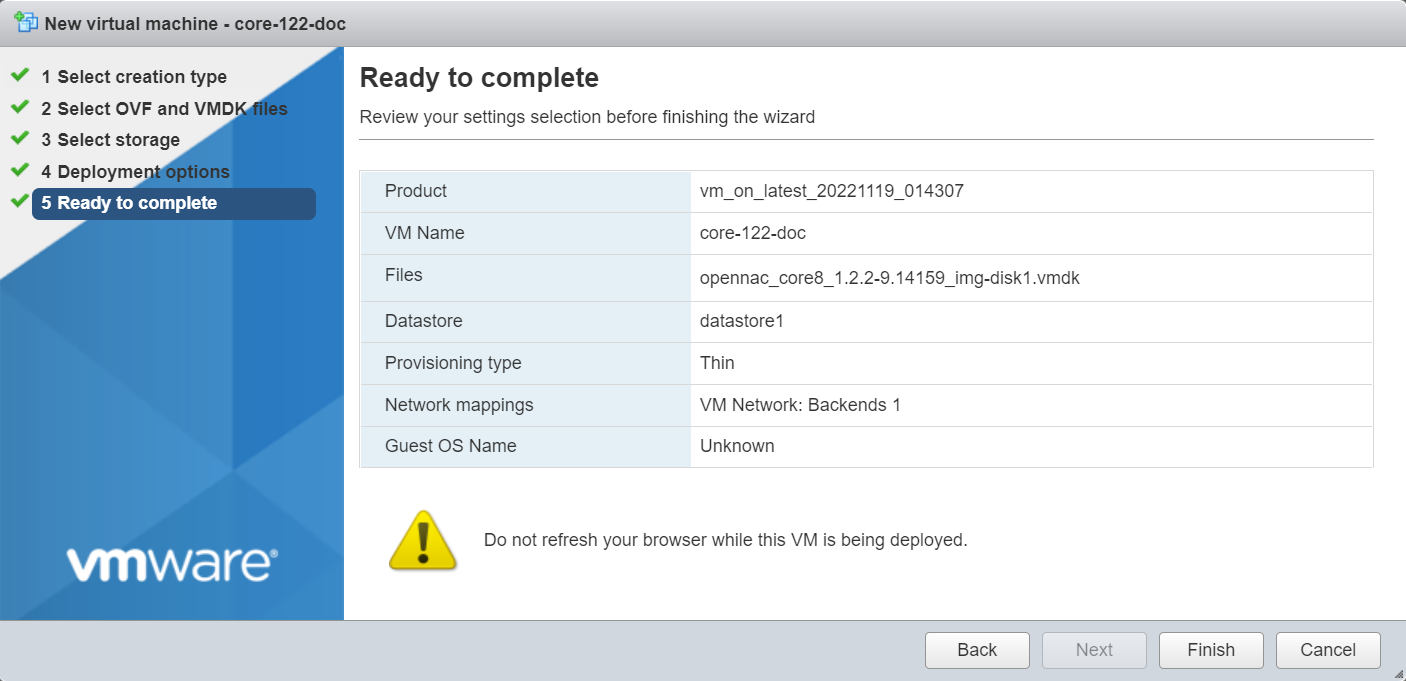
The last step “Ready to complete” is just a review of the settings we have selected. If everything is correct we can click on Finish. This process might take a few minutes, so please, be patient.
Once the process has finished, you just have to go back to the “Virtual Machines” view and click on the just created VM.