2.7.5. Captive Themes
If we access the ON Captive menu by clicking on the Captive themes tab, we will be able to create and modify different themes that will affect the appearance of the captive portal web.
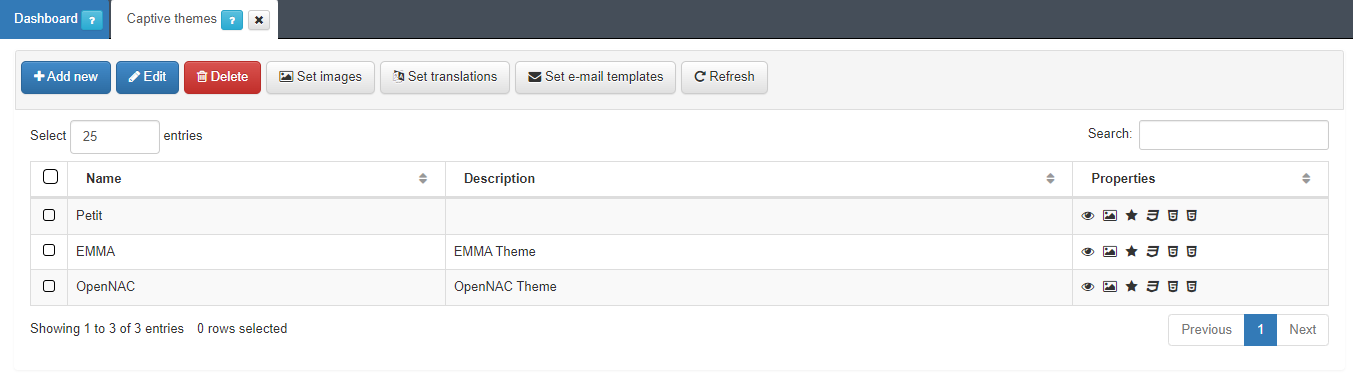
To create a new Captive theme, click on the Add new button. A pop up window will appear and you will be able to modify multiple parameters.
2.7.5.1. General
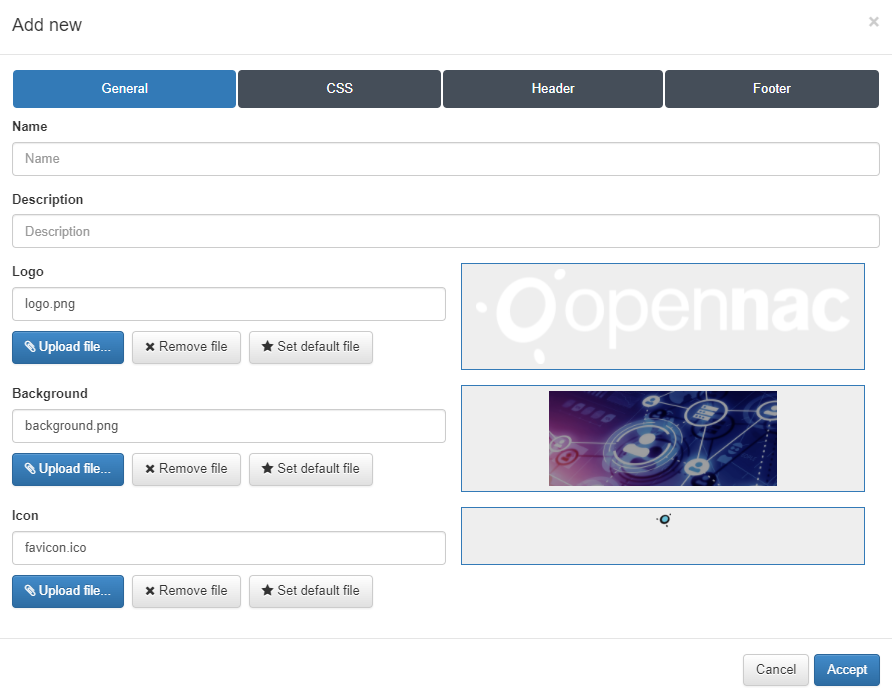
By default, the window displays the configurations related to the General tab:
Name: Enter the name of this Captive theme.
Description: Type a meaningful description for this theme.
Logo: This field defines what .png image will be used as the logo for this new captive theme. By default, the logo.png file is already configured, and it corresponds to the default OpenNAC Enterprise logo.
Background: This field defines what .png image will be used as the background for this new captive theme. By default, the background.png file is already configured and it corresponds to the default OpenNAC Enterprise background.
Icon: This field defines what .ico image will be used as the favicon for this new captive theme. By default, the favicon.ico file is already configured and it corresponds to the default OpenNAC Enterprise favicon. The favicon is displayed on the user’s browser address bar, just before the URL.
In the case the customer wants to use its own logo, to meet the visual identity of the organization, there are three buttons for each field that allow changing the images:
Upload file: Allows choosing the desired logo image and uploading this Captive logo. The preview of the image will be displayed within the square on the right side of the field.
Remove file: Useful if you want to remove this element.
Set default file: Defines the chosen file as default for the creation of new themes.
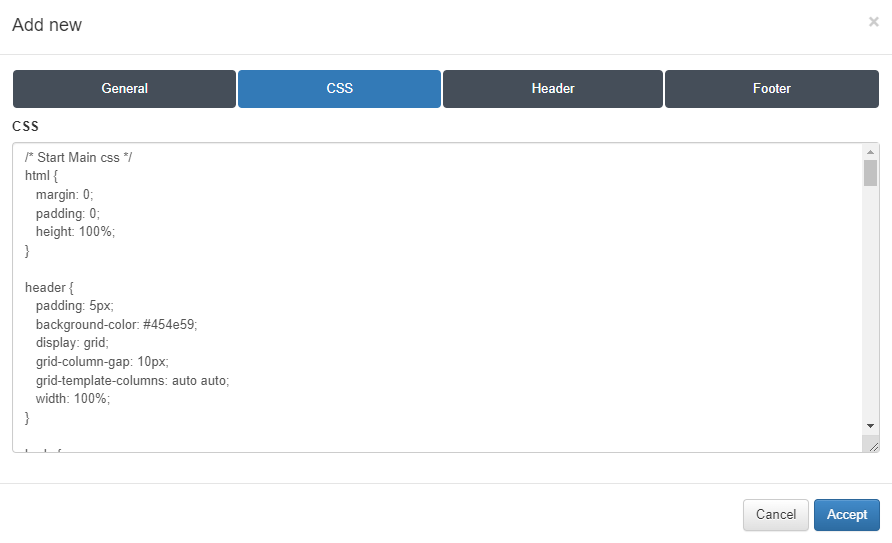
2.7.5.2. CSS
In the CSS tab, we will be able to insert a CSS code to modify the captive web portal as we desire.
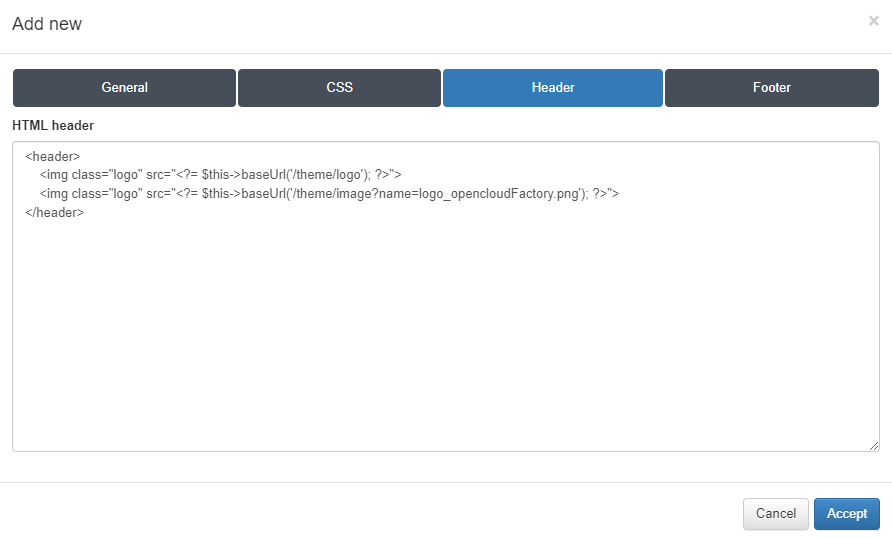
2.7.5.3. Header
In the Header tab, we will be able to insert a custom HTML code for the header of the Captive theme.
2.7.5.4. Footer
In the Footer tab, we will be able to insert a custom HTML code for the footer of the Captive theme.
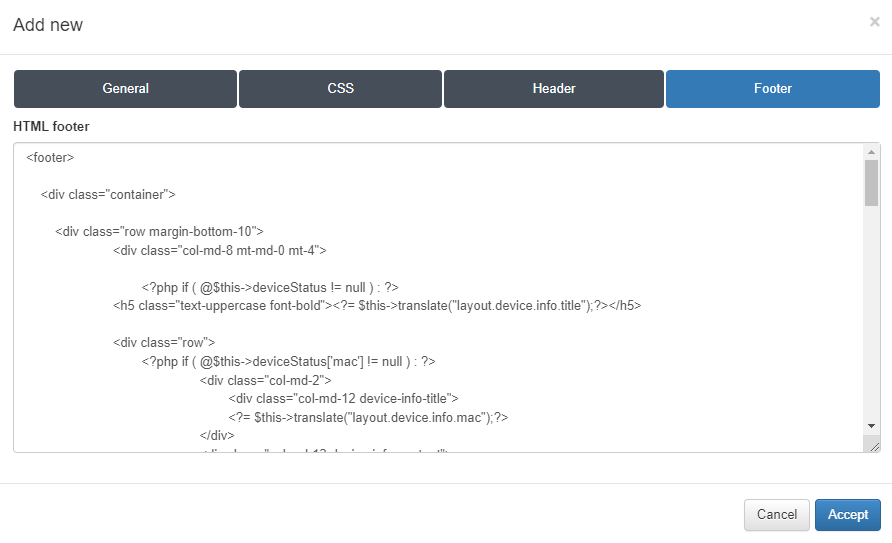
To finish the creation of the new Captive domain, which will be used on the next steps, click on the button Accept.
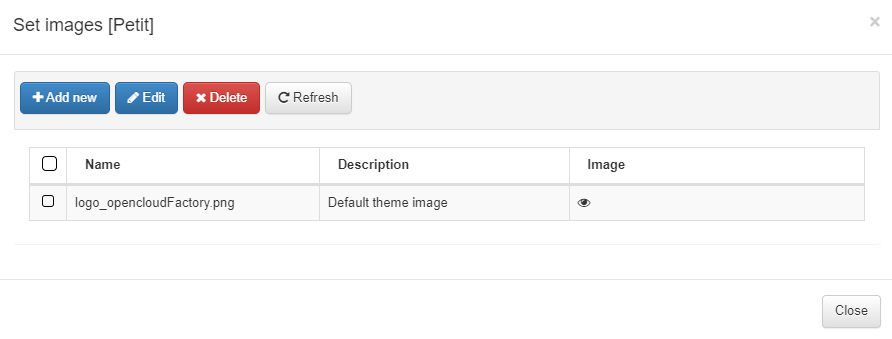
To upload the images that we want to use when we configure a theme, we can select a theme (already created), and click the Set images button.
Once the pop-up window appears, we will see all the images that have already been uploaded. We will be able to edit the existing images and see a preview by clicking on the eye icon.
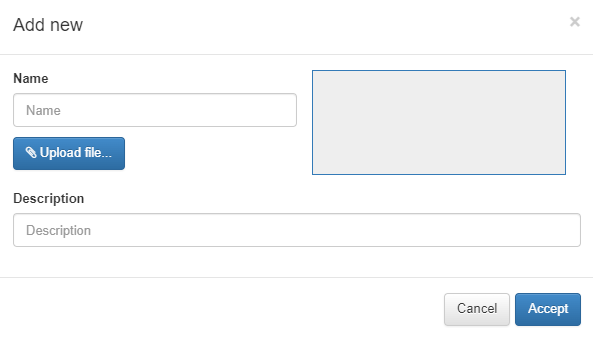
To upload a new image, click on the Add new button and a new window will appear. Here we can set a name and a description and select the image that we want to upload.
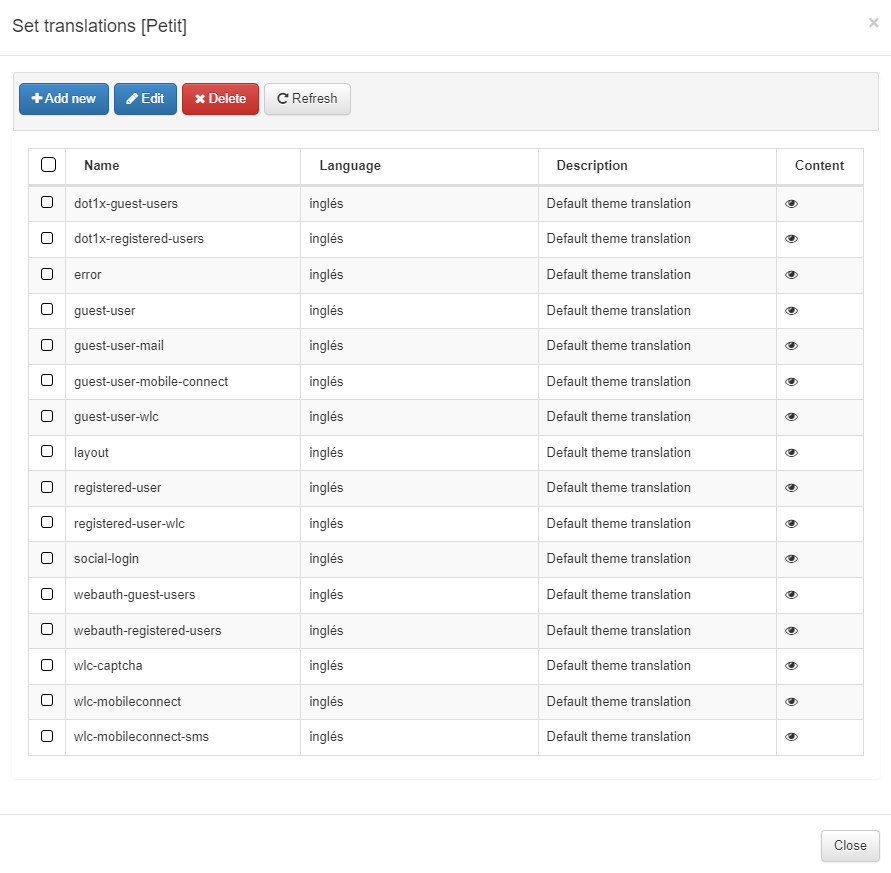
We can also set different translations or adapt the actual text from the different captive portal workflows and their sections. To modify it, we can select an already created theme, and click the Set translations button.
Once the pop up window appears, we will see all the translations for the different modules that are already done. We will be able to edit the existing ones and see a preview of their content by clicking on the eye icon.
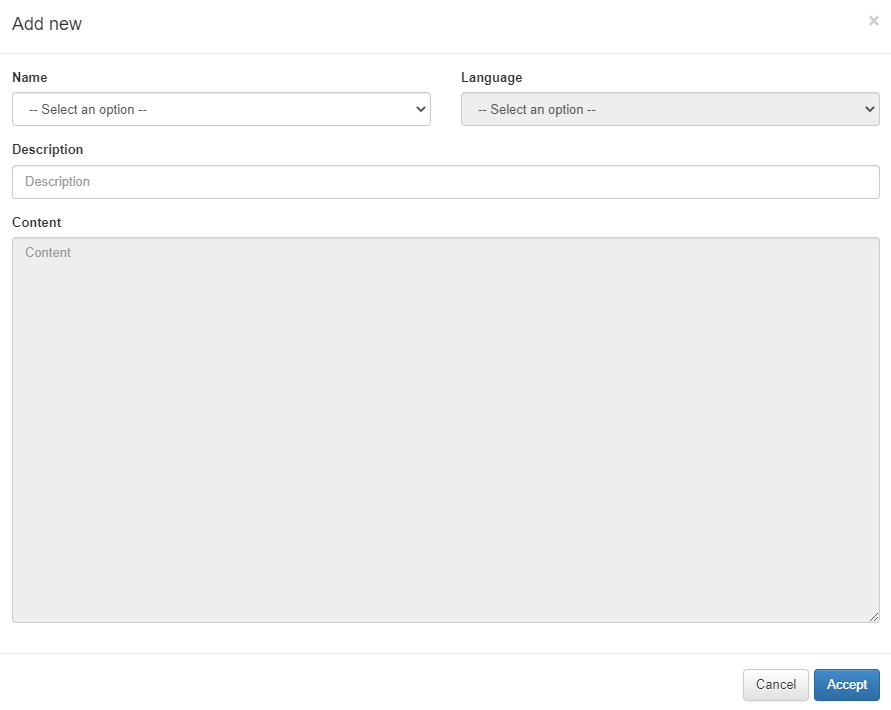
To translate a new section, click on the Add new button, and a new window will appear. In the name field, we can select all the different modules that can be translated. Once we select the module that we want to translate, the content of the module, variables and the associated text will appear on the content field, so we will have to translate the text associated to the variables to the desired language. The next step will be to select the language to which we are going to translate the selected module. Also, we will be able to add a description.
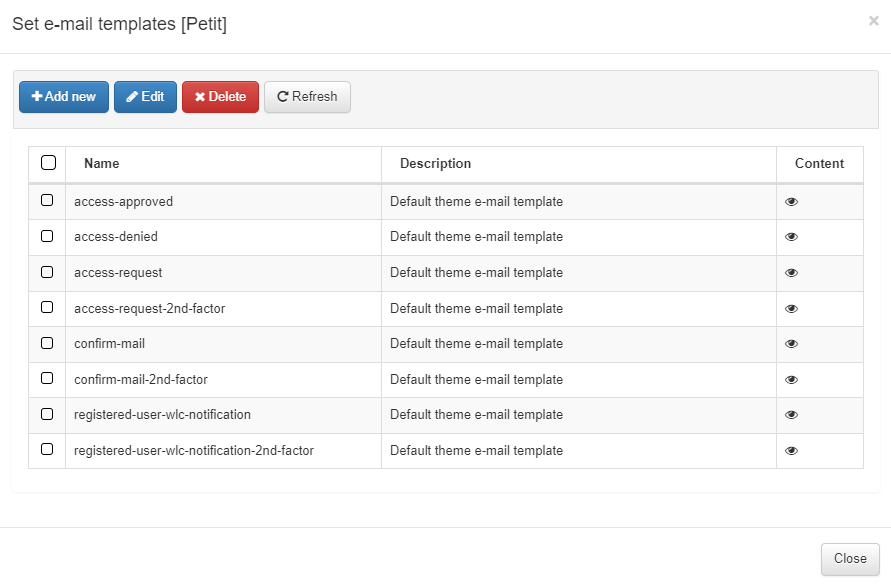
We can also set different e-mail templates or adapt the actual ones by configuring the HTML code that is sent via e-mail from the different captive portal workflows. To modify it, we can select an already created theme, and click the Set e-mail templates button.
Once the pop up window appears, we will see all the templates for the different workflows. We will be able to edit the existing ones and see a preview of the content by clicking on the eye icon.
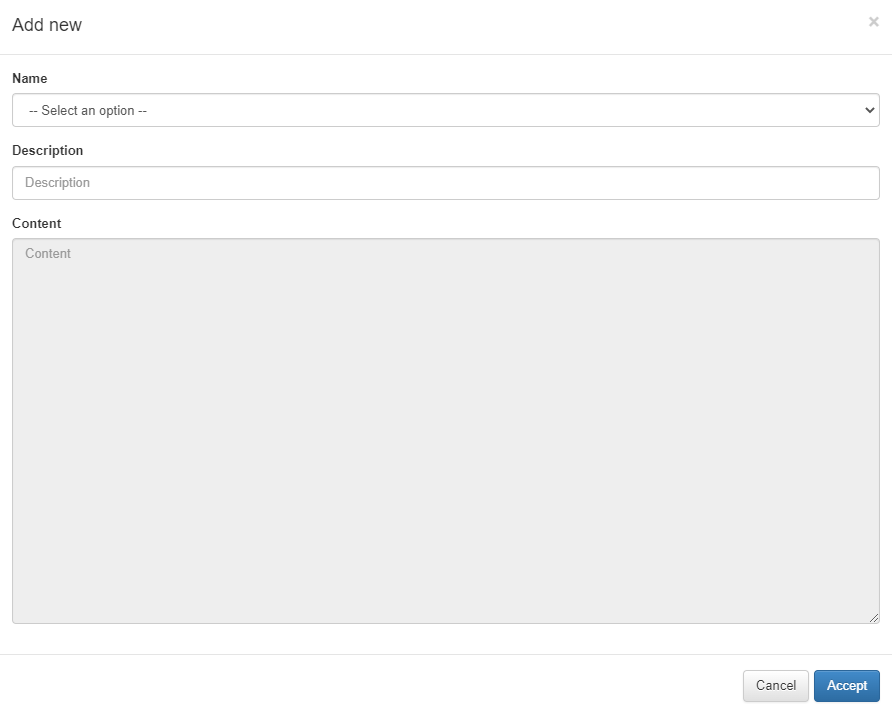
To configure a new email template, click on the Add new button, and a new window will appear. In the name field, we can select all the different modules that can be configured. Once we select the module that we want to modify, the content of the module, variables and the associated text will appear on the content field in HTML format so we can modify it. Also, we will be able to add a description.
You can execute a script to synchronize Captive Themes between your instances. It copies all the captive portal theme files from the onprincipal to the onworker instances, ensuring that the themes are consistent between them.
/usr/share/opennac/api/scripts/synchronizeCaptiveThemes.sh